If your washer or dryer is still in its packaging
WARNING
Excessive Weight Hazard
Use two or more people to move washer or dryer. Failure to do so can result in back or other injury.
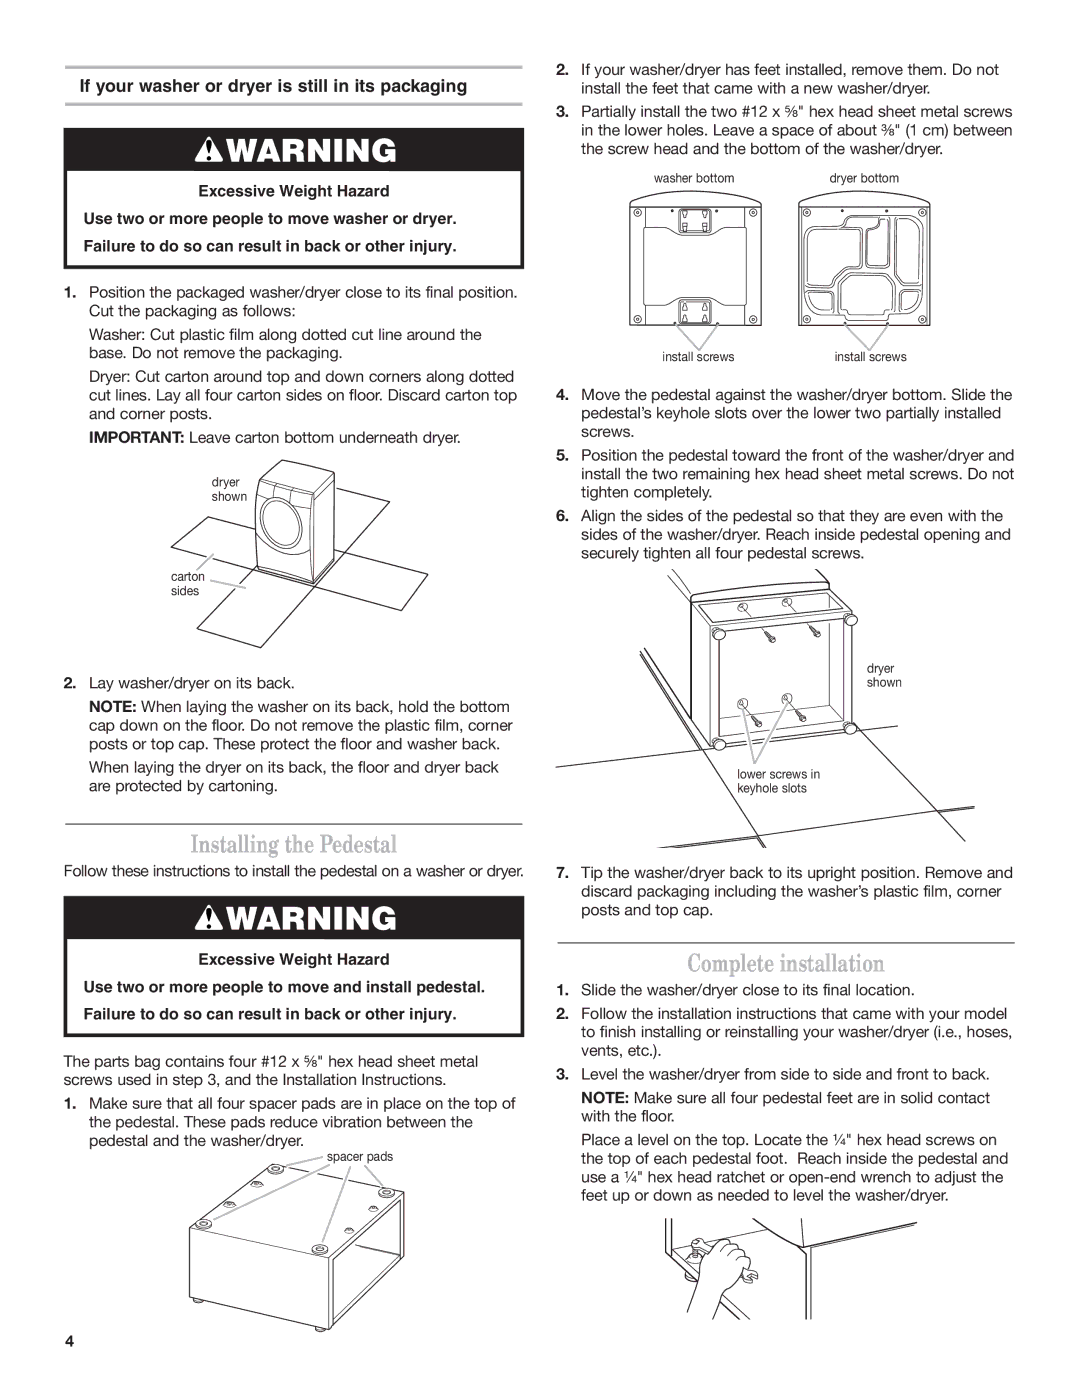
1.Position the packaged washer/dryer close to its final position. Cut the packaging as follows:
Washer: Cut plastic film along dotted cut line around the base. Do not remove the packaging.
Dryer: Cut carton around top and down corners along dotted cut lines. Lay all four carton sides on floor. Discard carton top and corner posts.
IMPORTANT: Leave carton bottom underneath dryer.
dryer shown
carton sides
2.Lay washer/dryer on its back.
NOTE: When laying the washer on its back, hold the bottom cap down on the floor. Do not remove the plastic film, corner posts or top cap. These protect the floor and washer back.
When laying the dryer on its back, the floor and dryer back are protected by cartoning.
Installing the Pedestal
Follow these instructions to install the pedestal on a washer or dryer.
WARNING
Excessive Weight Hazard
Use two or more people to move and install pedestal. Failure to do so can result in back or other injury.
The parts bag contains four #12 x ⁵⁄₈" hex head sheet metal screws used in step 3, and the Installation Instructions.
1.Make sure that all four spacer pads are in place on the top of the pedestal. These pads reduce vibration between the
pedestal and the washer/dryer.
spacer pads
2.If your washer/dryer has feet installed, remove them. Do not install the feet that came with a new washer/dryer.
3.Partially install the two #12 x ⁵⁄₈" hex head sheet metal screws in the lower holes. Leave a space of about ³⁄₈" (1 cm) between the screw head and the bottom of the washer/dryer.
washer bottom | dryer bottom |
install screws | install screws |
4.Move the pedestal against the washer/dryer bottom. Slide the pedestal’s keyhole slots over the lower two partially installed screws.
5.Position the pedestal toward the front of the washer/dryer and install the two remaining hex head sheet metal screws. Do not tighten completely.
6.Align the sides of the pedestal so that they are even with the sides of the washer/dryer. Reach inside pedestal opening and securely tighten all four pedestal screws.
dryer shown
lower screws in keyhole slots
7.Tip the washer/dryer back to its upright position. Remove and discard packaging including the washer’s plastic film, corner posts and top cap.
Complete installation
1.Slide the washer/dryer close to its final location.
2.Follow the installation instructions that came with your model to finish installing or reinstalling your washer/dryer (i.e., hoses, vents, etc.).
3.Level the washer/dryer from side to side and front to back.
NOTE: Make sure all four pedestal feet are in solid contact with the floor.
Place a level on the top. Locate the ¹⁄₄" hex head screws on the top of each pedestal foot. Reach inside the pedestal and use a ¹⁄₄" hex head ratchet or
4