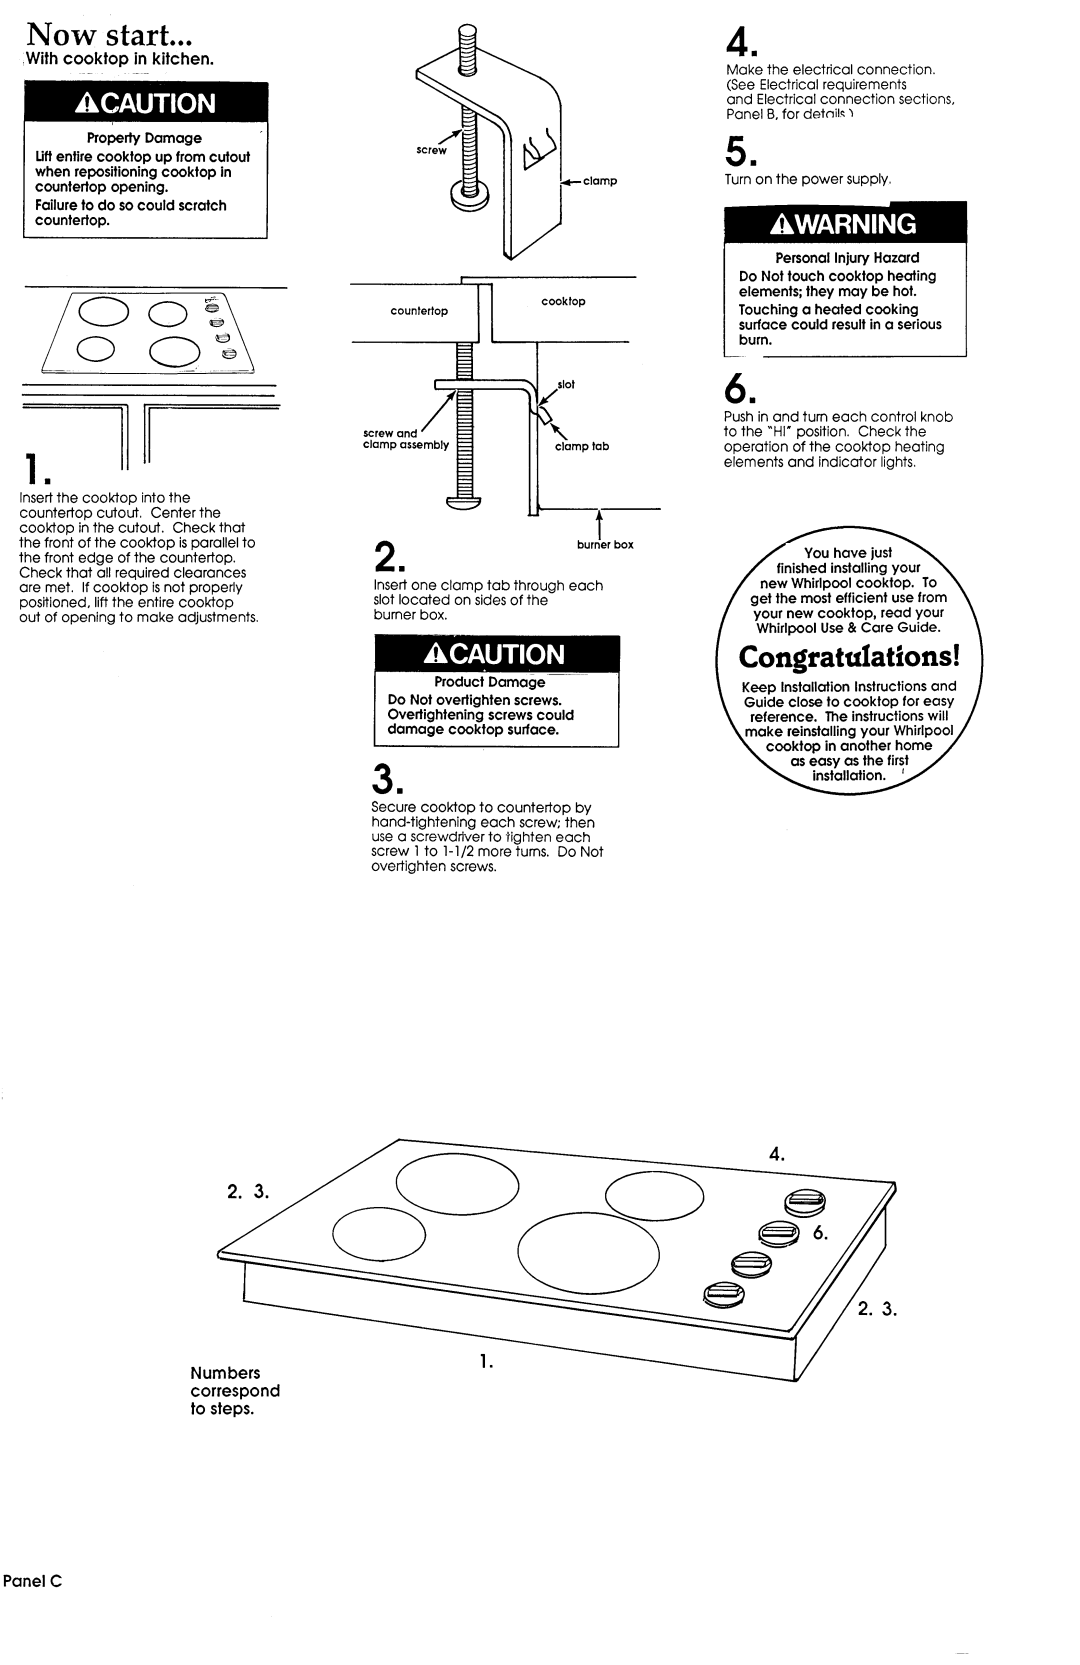
Cooktop specifications
Whirlpool cooktops are renowned for their innovative design, advanced technologies, and user-friendly features that cater to both novice and experienced home chefs. Designed for versatility, these cooktops are available in various configurations, including gas, electric, and induction options, allowing homeowners to choose the type of cooking that best suits their lifestyle and preferences.One standout feature of Whirlpool cooktops is their Power Preheat capability, which significantly reduces the time required to preheat the cooking surface. This is especially useful for busy households where time is of the essence. The cooktops also come with a FlexHeat element, allowing users to adjust the burner size to accommodate different pot and pan sizes, ensuring even cooking and minimizing energy waste.
Whirlpool’s induction cooktops enhance cooking precision with advanced technology. The induction heating method uses magnetic fields to directly heat pots and pans, leading to quicker cooking times and improved energy efficiency. The temperature can be adjusted instantly, allowing for precise control over cooking tasks, which is especially beneficial when working with delicate recipes.
Safety is also a priority with Whirlpool cooktops. Many models include features such as the Control Lock function, preventing accidental changes to cooking settings, particularly in households with children. Additionally, the cooktops are equipped with automatic shut-off features that engage after a certain period of inactivity, providing peace of mind to users.
The sleek and modern design of Whirlpool cooktops not only enhances the aesthetic of any kitchen but also simplifies cleaning. Smooth glass and stainless-steel surfaces are resistant to stains and easy to wipe down, making post-cooking cleanup a hassle-free task. Moreover, some models are designed with a color-change indicator that signals when the surface is hot, ensuring safety when cleaning.
Whirlpool cooktops are also backed by innovative technologies such as Smart Cook, which allows users to connect the cooktop to their smartphones for enhanced control and convenience. With the Smart appliance features, users can monitor cooking progress, adjust settings, and access recipes directly from their devices.
In summary, Whirlpool cooktops combine style, efficiency, and safety features, making them an excellent choice for those looking to elevate their cooking experience. With user-centric technologies and a commitment to quality, Whirlpool offers appliances that not only meet but exceed the expectations of modern cooking.

