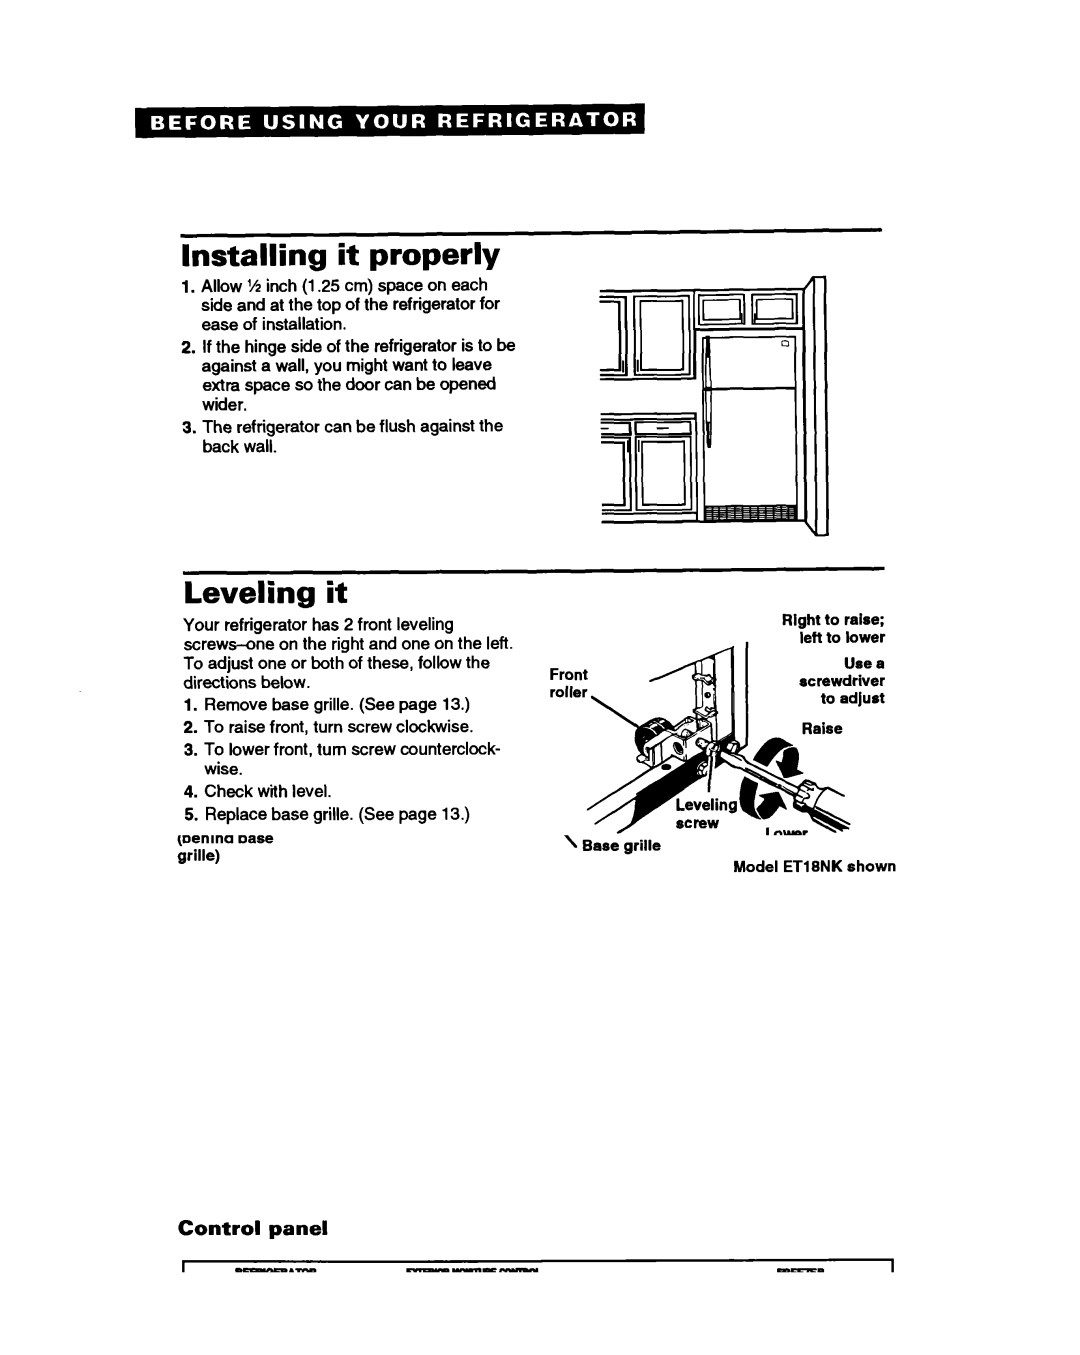
ET18HN specifications
The Whirlpool ET18HN is a classic refrigerator model that merges functionality with a timeless design, making it a popular choice among households seeking both style and reliability. This top-freezer refrigerator features a spacious interior with an arrangement that maximizes storage options while ensuring easy access to groceries and frozen foods.One of the standout features of the ET18HN is its generous capacity. With a total volume of approximately 18 cubic feet, it provides ample space for everything from fresh produce to frozen meals. The top-mounted freezer design allows for easy reach to frequently used items like ice and frozen bags, while the refrigerator section includes adjustable shelves that can accommodate various container sizes, enhancing versatile storage capabilities.
The ET18HN incorporates advanced cooling technologies aimed at preserving food freshness. The refrigerator is designed with a refrigeration system that actively maintains optimal temperatures, ensuring that perishable items remain fresh for extended periods. Additionally, the humidity-controlled crisper drawers help retain moisture levels for fruits and vegetables, preventing spoilage and keeping produce crisp.
Users will appreciate the energy efficiency of the ET18HN, as it is designed to meet or exceed ENERGY STAR standards. This feature not only helps households minimize their carbon footprint but also contributes to lower energy bills, making it a smart choice economically as well as environmentally.
Another important characteristic of the Whirlpool ET18HN is its straightforward control system. With mechanical temperature controls located at the back of the refrigerator, users can easily adjust settings to suit their preferences without the complications that digital interfaces often entail.
In terms of design, the ET18HN exudes a traditional aesthetic that fits seamlessly into various kitchen decors. Offered in multiple finishes, such as white, black, or stainless steel, it can complement both classic and modern kitchen styles.
In summary, the Whirlpool ET18HN combines a spacious interior, innovative cooling technologies, energy efficiency, and a user-friendly design, making it a reliable and stylish choice for everyday refrigeration needs. Whether stocking up on groceries or storing leftovers, this refrigerator provides a solid solution for family convenience.