Removing the crisper
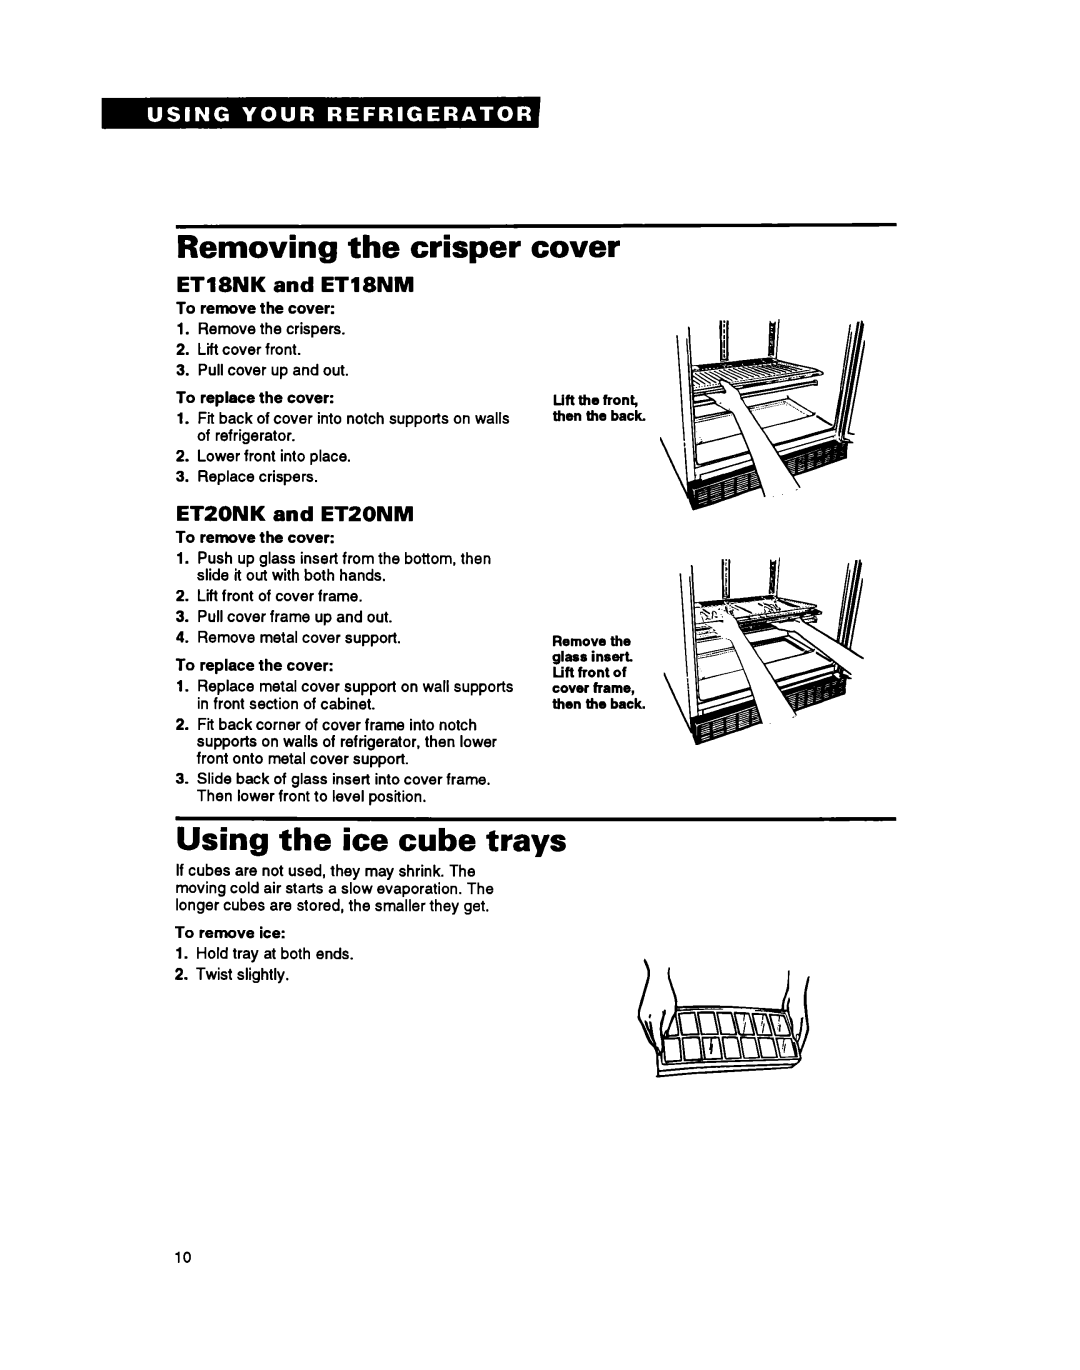
ET18NK and ET18NM
To remove the cover:
1.Remove the crispers.
2.Lift cover front.
3.Pull cover up and out.
To replace the cover:
1.Fit back of cover into notch supports on walls of refrigerator.
2.Lower front into place.
3.Replace crispers.
cover
Lifl the front then the back.
ETZONK and ETZONM
To rerrwe the cover:
1.Push up glass insert from the bottom, then slide it out with both hands.
2.Lift front of cover frame.
3.Pull cover frame up and out.
4.Remove metal cover support.
To replace the cover:
1.Replace metal cover support on wall supports in front section of cabinet.
2.Fit back corner of cover frame into notch supports on walls of refrigerator, then lower front onto metal cover support.
3.Slide back of glass insert into cover frame. Then lower front to level position.
Remove the glass insert. Lift front of cover frame, then the back.
Using the ice cube trays
If cubes are not used, they may shrink. The moving cold air starts a slow evaporation. The longer cubes are stored, the smaller they get.
To remove ice:
1.Hold tray at both ends.
2.Twist slightly.
10