When placing the food packages in your freezer, please remember:
■The cabinet shelves have the best freezing capability. The door shelves and the bottom of the cabinet have a slightly less cold temperature. Therefore, packages sensitive to temperature (meat, poultry, etc.) should not be placed on the door shelves or the freezer bottom.
■Leave some space between the food packages so that cold air can pass over and around them.
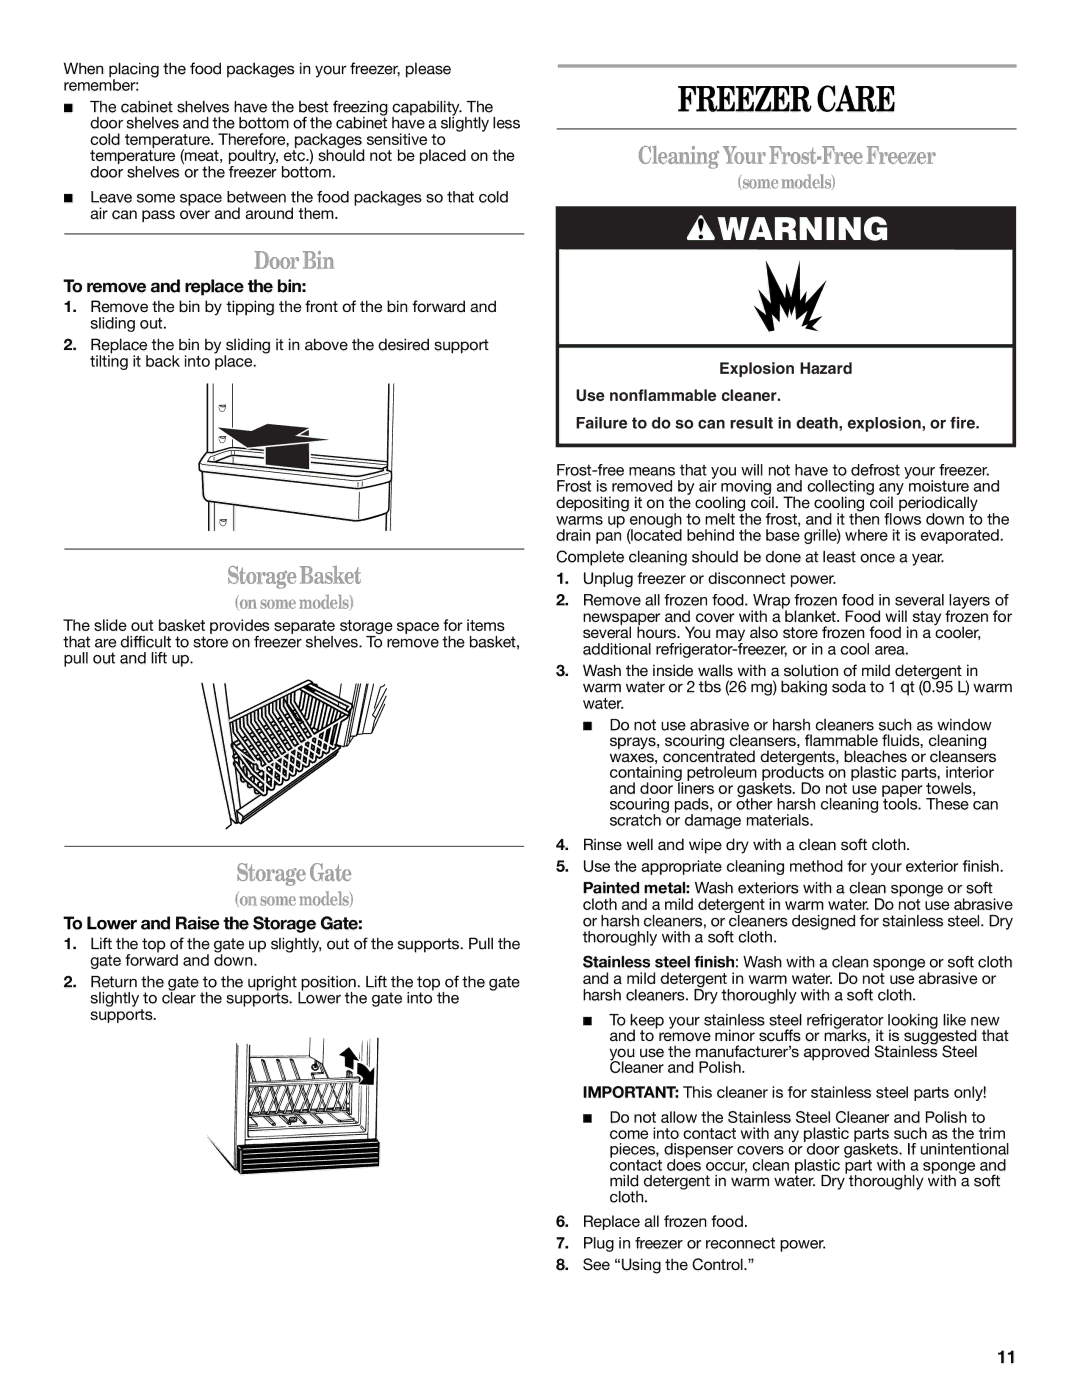
Door Bin
To remove and replace the bin:
1.Remove the bin by tipping the front of the bin forward and sliding out.
2.Replace the bin by sliding it in above the desired support tilting it back into place.
StorageBasket
(on somemodels)
The slide out basket provides separate storage space for items that are difficult to store on freezer shelves. To remove the basket, pull out and lift up.
StorageGate
(on somemodels)
To Lower and Raise the Storage Gate:
1.Lift the top of the gate up slightly, out of the supports. Pull the gate forward and down.
2.Return the gate to the upright position. Lift the top of the gate slightly to clear the supports. Lower the gate into the supports.
FREEZER CARE
Cleaning Your Frost-Free Freezer
(somemodels)
![]() WARNING
WARNING
Explosion Hazard
Use nonflammable cleaner.
Failure to do so can result in death, explosion, or fire.
Complete cleaning should be done at least once a year.
1.Unplug freezer or disconnect power.
2.Remove all frozen food. Wrap frozen food in several layers of newspaper and cover with a blanket. Food will stay frozen for several hours. You may also store frozen food in a cooler, additional
3.Wash the inside walls with a solution of mild detergent in warm water or 2 tbs (26 mg) baking soda to 1 qt (0.95 L) warm water.
■Do not use abrasive or harsh cleaners such as window sprays, scouring cleansers, flammable fluids, cleaning waxes, concentrated detergents, bleaches or cleansers containing petroleum products on plastic parts, interior and door liners or gaskets. Do not use paper towels, scouring pads, or other harsh cleaning tools. These can scratch or damage materials.
4.Rinse well and wipe dry with a clean soft cloth.
5.Use the appropriate cleaning method for your exterior finish.
Painted metal: Wash exteriors with a clean sponge or soft cloth and a mild detergent in warm water. Do not use abrasive or harsh cleaners, or cleaners designed for stainless steel. Dry thoroughly with a soft cloth.
Stainless steel finish: Wash with a clean sponge or soft cloth and a mild detergent in warm water. Do not use abrasive or harsh cleaners. Dry thoroughly with a soft cloth.
■To keep your stainless steel refrigerator looking like new and to remove minor scuffs or marks, it is suggested that you use the manufacturer’s approved Stainless Steel Cleaner and Polish.
IMPORTANT: This cleaner is for stainless steel parts only!
■Do not allow the Stainless Steel Cleaner and Polish to come into contact with any plastic parts such as the trim pieces, dispenser covers or door gaskets. If unintentional contact does occur, clean plastic part with a sponge and mild detergent in warm water. Dry thoroughly with a soft cloth.
6.Replace all frozen food.
7.Plug in freezer or reconnect power.
8.See “Using the Control.”
11
