
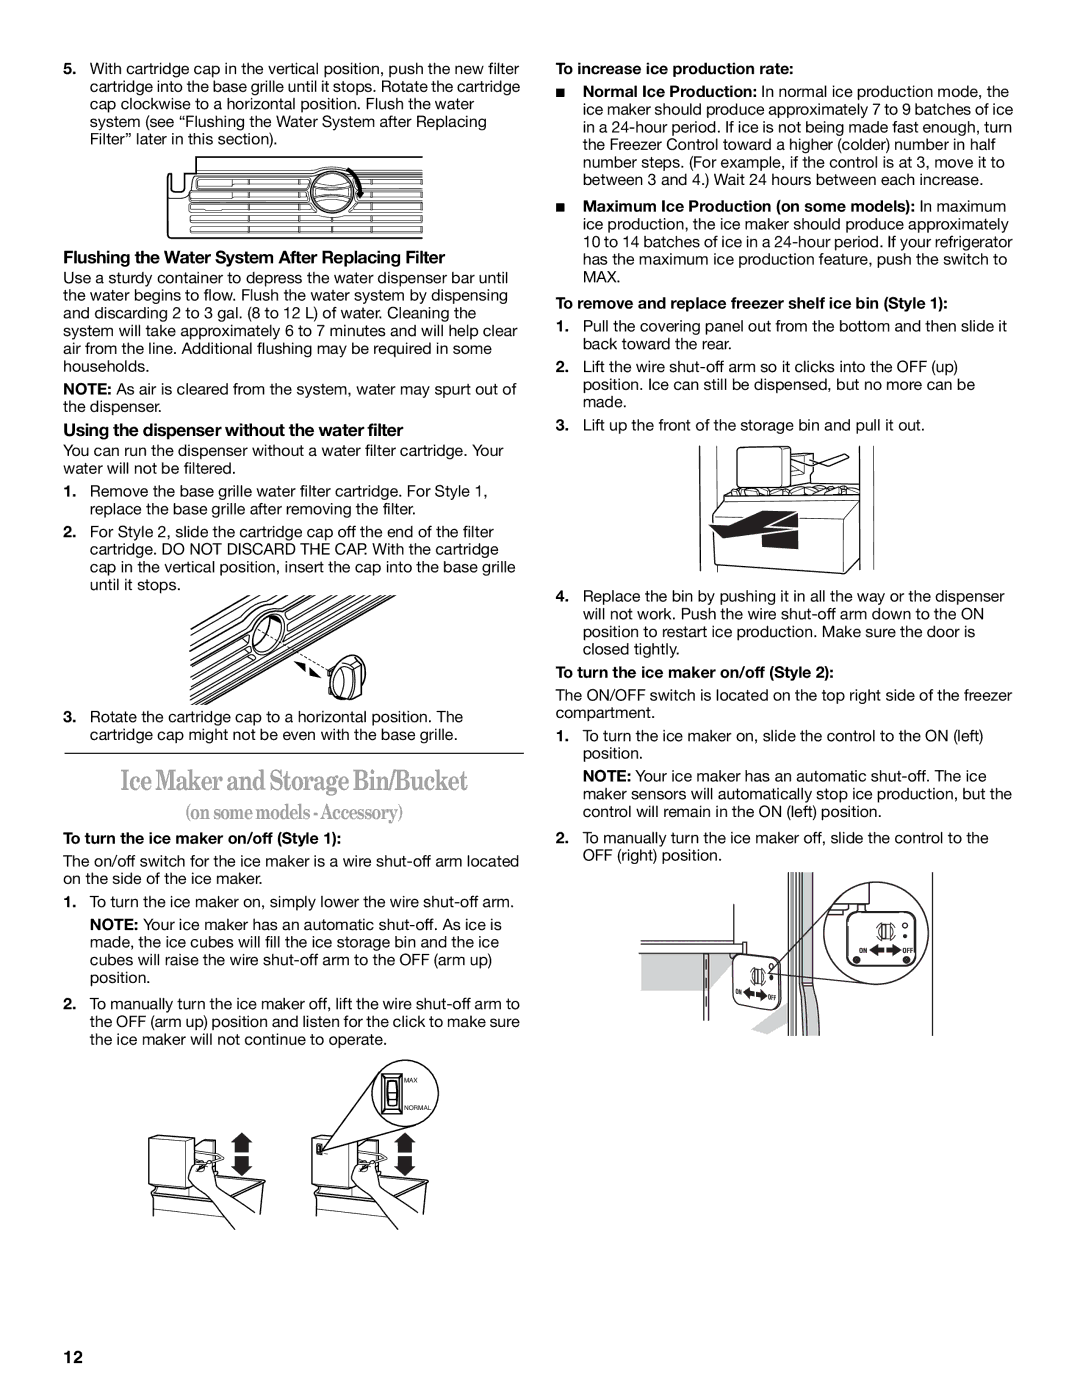
GS6SHANLB00 specifications
The Whirlpool GS6SHANLB00 is a well-engineered side-by-side refrigerator that combines style, functionality, and advanced technology. Designed to meet modern kitchen needs, this model boasts a sleek, stainless steel finish, making it an attractive addition to any home.One of the standout features of the GS6SHANLB00 is its spacious interior. With a total capacity of over 25 cubic feet, it offers ample room for storing groceries, leftovers, and beverages. The side-by-side configuration allows for easy access to both the refrigerator and freezer sections without sacrificing space.
This refrigerator is equipped with Smart Temperature Control that utilizes advanced sensors to maintain consistent temperatures. This ensures that your food stays fresh longer while enhancing energy efficiency. Additionally, the Adaptive Defrost technology is a significant innovation that saves energy by only running the defrost cycle when necessary, which can lead to lower electricity bills.
The GS6SHANLB00 also features the Accu-Chill Temperature Management System. This system uses a built-in sensor to monitor the internal temperatures and automatically adjust cooling settings based on how often the door is opened and the type of food stored. Users can also enjoy the Convenience Plus Ice and Water Dispenser, located on the front of the refrigerator, which provides filtered water and ice at the push of a button.
Moreover, the interior is designed with adjustable shelves and bins, allowing for customized storage solutions according to the user's needs. The humidity-controlled crisper drawers are perfect for extending the freshness of fruits and vegetables, while the gallon door bins can accommodate larger items such as milk and juice containers.
In terms of energy efficiency, the Whirlpool GS6SHANLB00 is Energy Star rated, meaning that it meets strict energy efficiency guidelines set by the U.S. Environmental Protection Agency. This feature not only helps the environment but also provides cost savings for homeowners.
Finally, the audible and visual alarms alert users when the refrigerator door has been left open, or if temperatures rise unexpectedly, ensuring that food safety is always a priority. Overall, the Whirlpool GS6SHANLB00 stands out for its user-friendly features, innovative technologies, and dependable performance. This makes it a popular choice among consumers looking for a reliable refrigerator that harmonizes with their lifestyle.