RM288PXV, RM988PXV specifications
The Whirlpool RM988PXV and RM288PXV represent modern advancements in microwave technology, designed to enhance your cooking experience in today’s fast-paced world. Both models are equipped with a plethora of features, making meal preparation easier and more efficient.The RM988PXV is a powerful built-in microwave with a user-friendly interface and a sleek design that complements any kitchen decor. Featuring a spacious interior, it accommodates various dish sizes, making it easy to prepare meals for individuals or larger gatherings. One of the standout features is its convection cooking capability, which allows for even heating and browning, creating perfectly cooked dishes. This model is also equipped with a multi-stage cooking option, enabling users to set different power levels for various cooking stages, ensuring optimal results without the need for manual adjustments.
On the other hand, the RM288PXV is versatile, combining microwave and grill functions. This dual functionality enables users to quickly cook, reheat, and grill their favorite dishes all in one appliance. It comes with pre-programmed cooking settings that cater to a variety of food types, simplifying meal prep. The model is built with sensor cooking technology, which detects moisture released from food and automatically adjusts cooking time, ensuring perfect results every time.
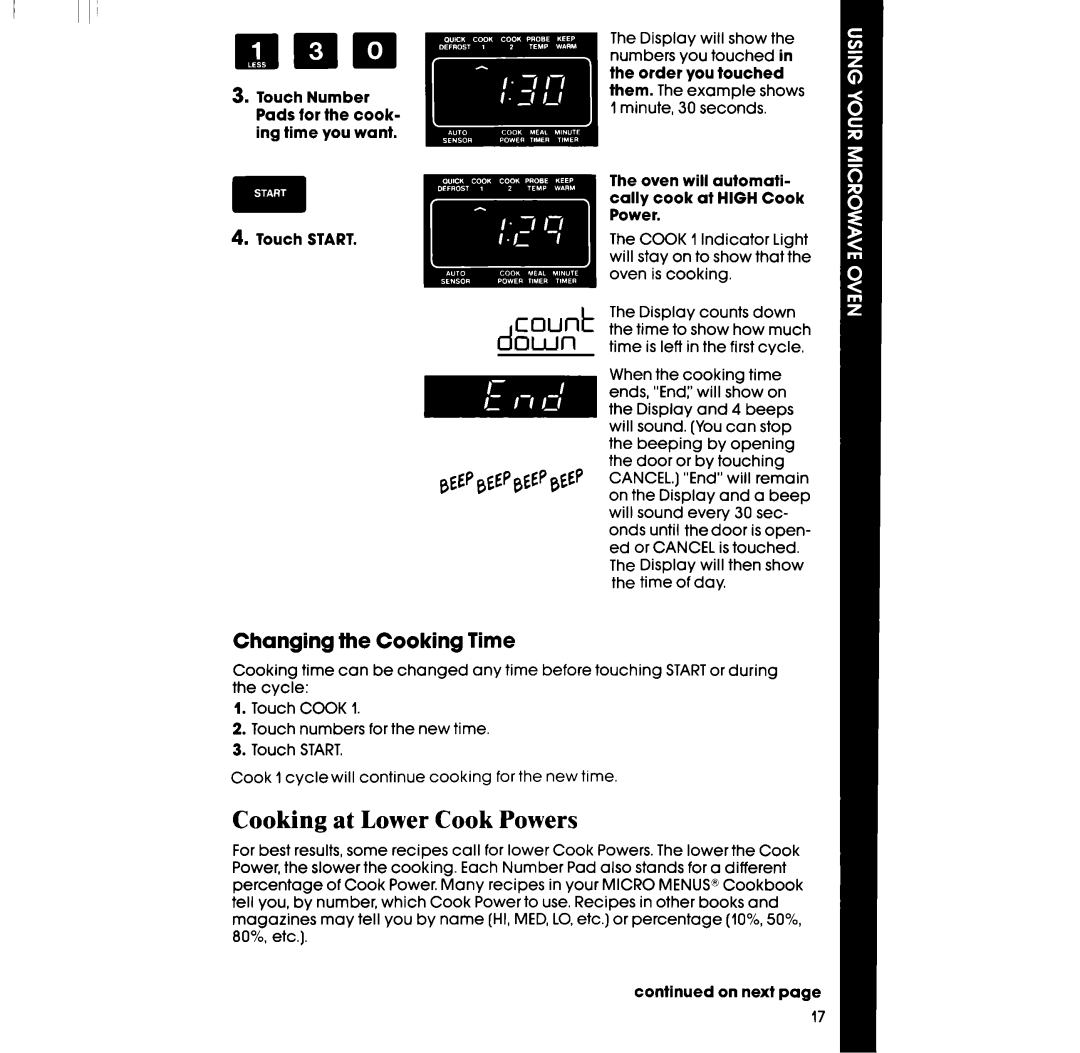
Both models feature a stylish stainless steel finish that gives them a modern and polished look. They are designed with user convenience in mind, boasting easy-to-use controls and displays. The RM988PXV incorporates a touch pad for precise adjustments, while the RM288PXV offers a convenient dial for quick and intuitive operation.
Energy efficiency is another significant advantage of these models. They have been engineered to consume less power while delivering outstanding performance. Additionally, their easy-to-clean interiors and removable turntables make maintenance a breeze.
In summary, the Whirlpool RM988PXV and RM288PXV are exemplary kitchen appliances that deliver innovation, versatility, and efficiency. With their cutting-edge features and stylish designs, they are well-suited for any modern kitchen, making cooking an enjoyable and hassle-free experience. Whether you need a convenient microwave or a multifunctional cooking solution, these models are designed to meet your culinary needs effortlessly.

