To Dispense Ice:
1.Press the button to select the desired type of ice.
2.Press a sturdy glass against the ice dispenser lever. Hold the glass close to the dispenser opening so ice does not fall outside of the glass.
IMPORTANT: You do not need to apply a lot of pressure to the lever in order to activate the ice dispenser. Pressing hard will not make the ice dispense faster or in greater quantities.
3.Remove the glass to stop dispensing.
The Dispenser Light
The dispenser area has a light. It can be turned on manually by pressing the ON button (touchpad or rocker switch).
On some models: Whenever you use the dispenser, the lever will automatically turn the light on.
LIGHT
OFF ON
NOTE: See the “Changing the Light Bulbs” section for information on changing the dispenser light bulb.
The Dispenser Lock (on some models)
Your dispenser can be turned off for easy cleaning or to prevent unintentional dispensing by small children and pets.
NOTE: The lock feature does not shut off power to the product, to the ice maker, or to the dispenser light. It simply deactivates the dispenser levers. The ice and water dispensers will not work.
■Press the LOCK button to lock the dispenser.
■Press and hold the LOCK OUT button a second time to unlock the dispenser.
Ice Maker and Storage Bin
Turning the Ice Maker On/Off
To turn ON the ice maker, simply lower the wire shutoff arm.
To manually turn off the ice maker, lift the wire shutoff arm to the OFF (arm up) position and listen for the click.
NOTE: Your ice maker has an automatic shutoff. As ice is made, the ice cubes will fill the ice storage bin, and the ice cubes will raise the wire shutoff arm to the OFF (arm up) position. Do not force the wire shutoff arm up or down.
REMEMBER:
■Allow 24 hours to produce the first batch of ice. Discard the first three batches of ice produced.
■The quality of your ice will be only as good as the quality of the water supplied to your ice maker. Avoid connecting the ice maker to a softened water supply. Water softener chemicals (such as salt) can damage parts of the ice maker and lead to poor quality ice. If a softened water supply cannot be avoided, make sure the water softener is operating properly and is well maintained.
■Do not use anything sharp to break up the ice in the storage bin. This can cause damage to the ice container and the dispenser mechanism.
■Do not store anything on top of or in the ice maker or storage bin.
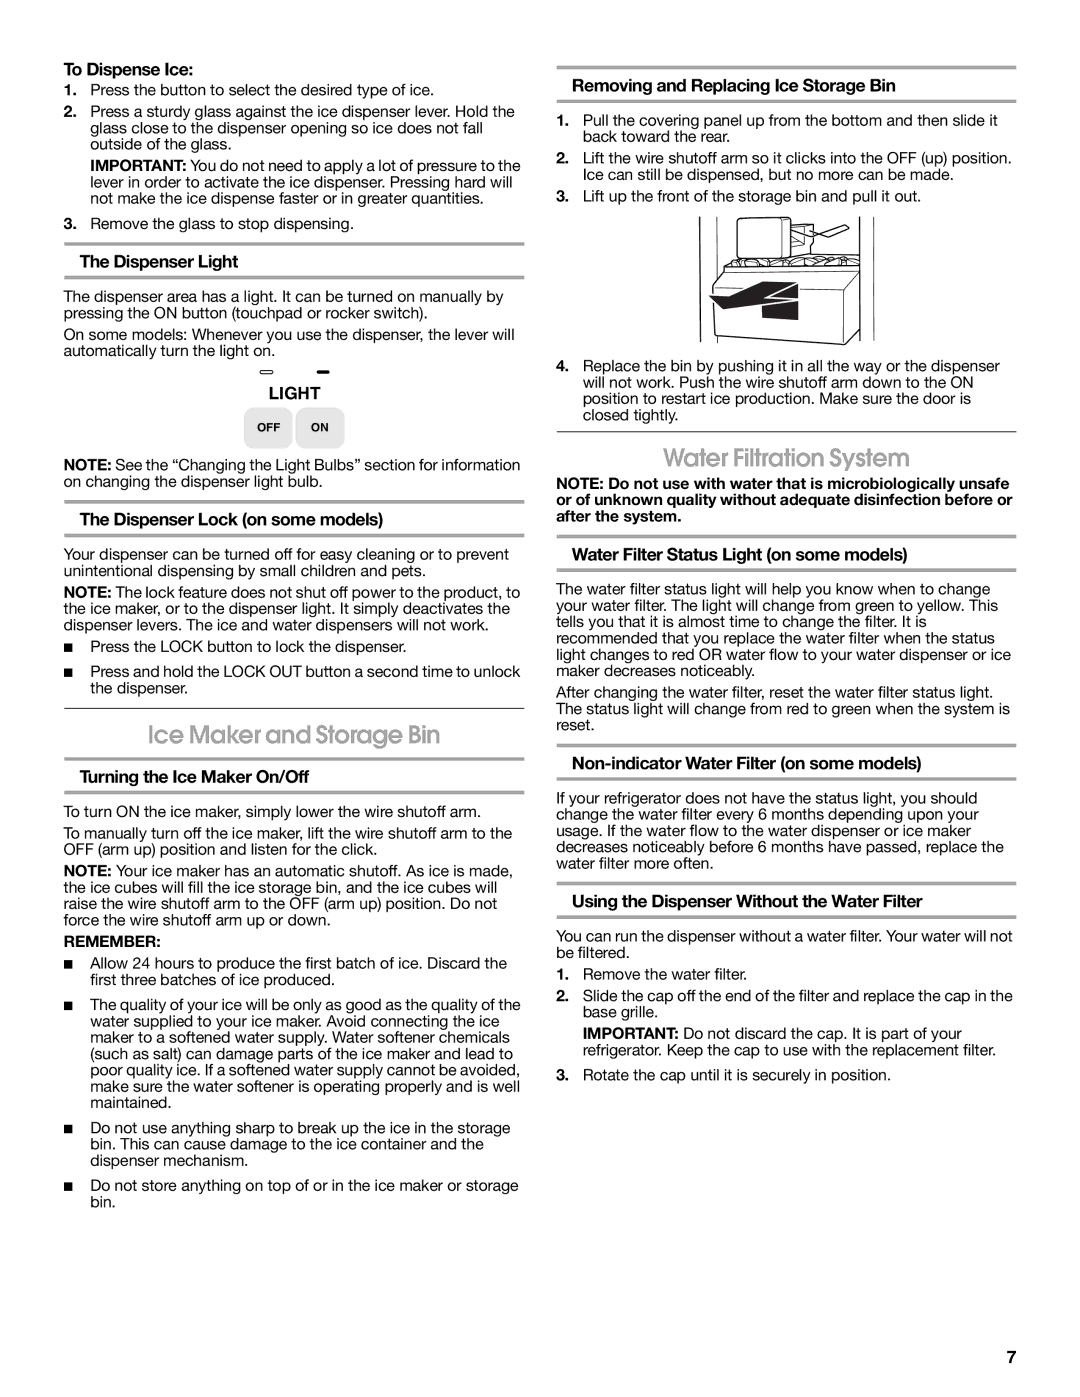
Removing and Replacing Ice Storage Bin
1.Pull the covering panel up from the bottom and then slide it back toward the rear.
2.Lift the wire shutoff arm so it clicks into the OFF (up) position. Ice can still be dispensed, but no more can be made.
3.Lift up the front of the storage bin and pull it out.
4.Replace the bin by pushing it in all the way or the dispenser will not work. Push the wire shutoff arm down to the ON position to restart ice production. Make sure the door is closed tightly.
Water Filtration System
NOTE: Do not use with water that is microbiologically unsafe or of unknown quality without adequate disinfection before or after the system.
Water Filter Status Light (on some models)
The water filter status light will help you know when to change your water filter. The light will change from green to yellow. This tells you that it is almost time to change the filter. It is recommended that you replace the water filter when the status light changes to red OR water flow to your water dispenser or ice maker decreases noticeably.
After changing the water filter, reset the water filter status light. The status light will change from red to green when the system is reset.
Non-indicator Water Filter (on some models)
If your refrigerator does not have the status light, you should change the water filter every 6 months depending upon your usage. If the water flow to the water dispenser or ice maker decreases noticeably before 6 months have passed, replace the water filter more often.
Using the Dispenser Without the Water Filter
You can run the dispenser without a water filter. Your water will not be filtered.
1.Remove the water filter.
2.Slide the cap off the end of the filter and replace the cap in the base grille.
IMPORTANT: Do not discard the cap. It is part of your refrigerator. Keep the cap to use with the replacement filter.
3.Rotate the cap until it is securely in position.
7