BROILER PAN AND GRID (on some models)

Do not clean in the Self-Cleaning cycle.

Cleaning Method:

Mildly abrasive cleanser: Scrub with wet scouring pad.

Solution of ¹₂ cup (125 mL) ammonia to 1 gal. (3.75 L) water:

Soak for 20 minutes, then scrub with scouring or steel-wool pad.

Oven cleaner:

Follow product label instructions.

Porcelain enamel only, not chrome

Dishwasher

STORAGE DRAWER (on some models)

Make sure drawer is cool and empty before cleaning. For more information, see “Storage Drawer” section. Cleaning Method:

Mild detergent

Drawer Liner (on some models)

Remove all stored items from drawer and lift out drawer liner.

Clean with mild detergent.

All-Purpose Appliance Cleaner Part Number 31662 (not included):

See “Assistance or Service” section to order.

WARMING DRAWER and TRAY (on some models)

Make sure drawer is cool and remove tray.

Cleaning Method:

Mild detergent (for both)

All-Purpose Appliance Cleaner Part Number 31662 (not included):

See “Assistance or Service” section to order.

Oven Light

(on some models)

The oven light is a standard 40-watt appliance bulb. It will come on when the oven door is open. The oven light will not work during the Self-Cleaning cycle. On some models, when the oven door is closed, press the manual oven light switch on the backguard to turn on and off.

Before replacing, make sure the oven and cooktop are cool and the control knobs are in the off position.

To Replace:

1.Unplug range or disconnect power.

2.Turn the glass bulb cover in the back of the oven counterclockwise to remove.

3.Turn bulb counterclockwise to remove from socket.

4.Replace bulb, then bulb cover by turning clockwise.

5.Plug in range or reconnect power.

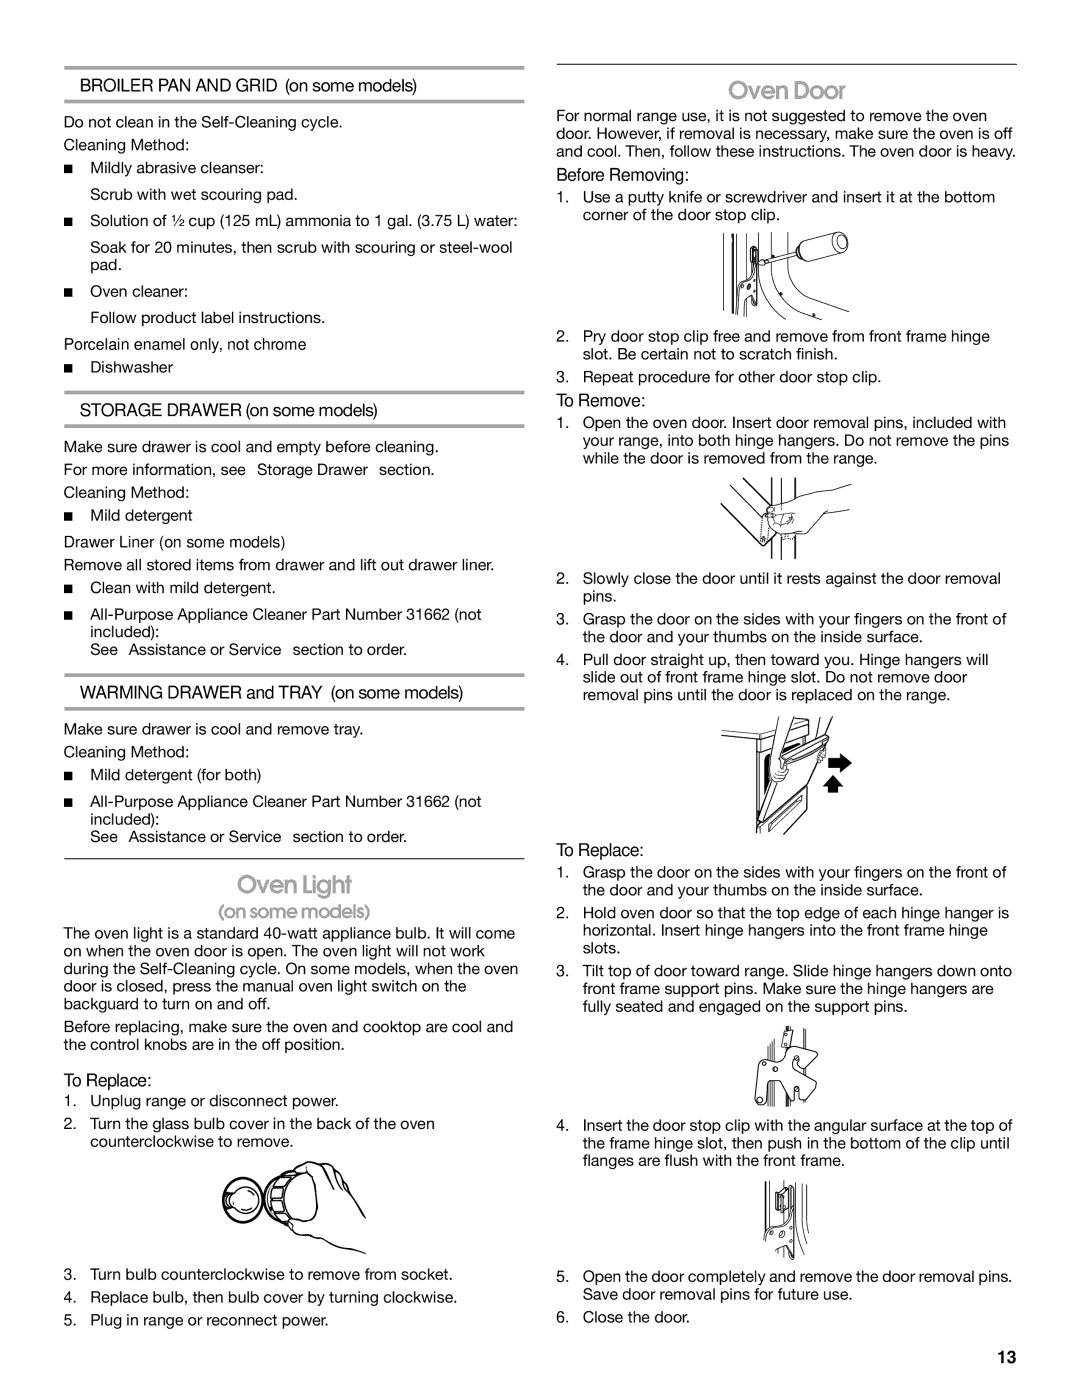
Oven Door

For normal range use, it is not suggested to remove the oven door. However, if removal is necessary, make sure the oven is off and cool. Then, follow these instructions. The oven door is heavy.

Before Removing:

1.Use a putty knife or screwdriver and insert it at the bottom corner of the door stop clip.

2.Pry door stop clip free and remove from front frame hinge slot. Be certain not to scratch finish.

3.Repeat procedure for other door stop clip.

To Remove:

1.Open the oven door. Insert door removal pins, included with your range, into both hinge hangers. Do not remove the pins while the door is removed from the range.

2.Slowly close the door until it rests against the door removal pins.

3.Grasp the door on the sides with your fingers on the front of the door and your thumbs on the inside surface.

4.Pull door straight up, then toward you. Hinge hangers will slide out of front frame hinge slot. Do not remove door removal pins until the door is replaced on the range.

To Replace:

1.Grasp the door on the sides with your fingers on the front of the door and your thumbs on the inside surface.

2.Hold oven door so that the top edge of each hinge hanger is horizontal. Insert hinge hangers into the front frame hinge slots.

3.Tilt top of door toward range. Slide hinge hangers down onto front frame support pins. Make sure the hinge hangers are fully seated and engaged on the support pins.

4.Insert the door stop clip with the angular surface at the top of the frame hinge slot, then push in the bottom of the clip until flanges are flush with the front frame.

5.Open the door completely and remove the door removal pins. Save door removal pins for future use.

6.Close the door.

13

Page 13
Image 13
Whirlpool TGS325MQ3 manual Oven Light, Oven Door

TGS325MQ3 specifications

The Whirlpool TGS325MQ3 is a remarkable side-by-side refrigerator that seamlessly blends innovative technology with stylish design, catering to modern homemakers' needs. This appliance stands out due to its exceptional storage capabilities and user-friendly features, making it an ideal choice for families and individuals alike.

One of the main features of the Whirlpool TGS325MQ3 is its impressive storage space. With a sizable capacity, it offers ample room for groceries, making organization a breeze. The refrigerator includes adjustable shelves that can be repositioned to accommodate taller items, as well as door bins that can hold larger bottles and jars. This flexibility ensures that users can optimize the interior to suit their specific storage needs.

In terms of technology, the TGS325MQ3 is equipped with advanced cooling systems that maintain consistent temperatures, promoting food freshness. The refrigerator uses a fresh flow air filter to minimize odors, while the humidity-controlled crispers are designed to keep fruits and vegetables fresher for longer. This feature significantly enhances the overall food preservation experience.

Energy efficiency is another important characteristic of the Whirlpool TGS325MQ3. It is ENERGY STAR certified, indicating that it meets strict energy efficiency guidelines set by the U.S. Environmental Protection Agency. This certification not only contributes to lower utility bills but also supports environmental sustainability efforts.

The design of the TGS325MQ3 is both functional and elegant. Featuring a sleek stainless steel finish, it effortlessly complements any kitchen décor. Its side-by-side configuration allows for easy access to both fresh and frozen items, enhancing convenience in meal preparation. Additionally, the appliance is designed with easy-to-use controls that enable users to monitor and adjust settings effortlessly.

Another noteworthy aspect of the Whirlpool TGS325MQ3 is its ice and water dispensing system, which provides chilled water and cubed or crushed ice on demand. This feature is particularly appealing for those who enjoy entertaining guests or prefer having cold beverages readily available.

Lastly, the TGS325MQ3 emphasizes durability and reliability, crafted from high-quality materials designed to withstand the test of time. With its suitable range of features, modern technology, ample storage options, and sophisticated design, the Whirlpool TGS325MQ3 redefines what a contemporary refrigerator should offer, making it an excellent investment for any home.