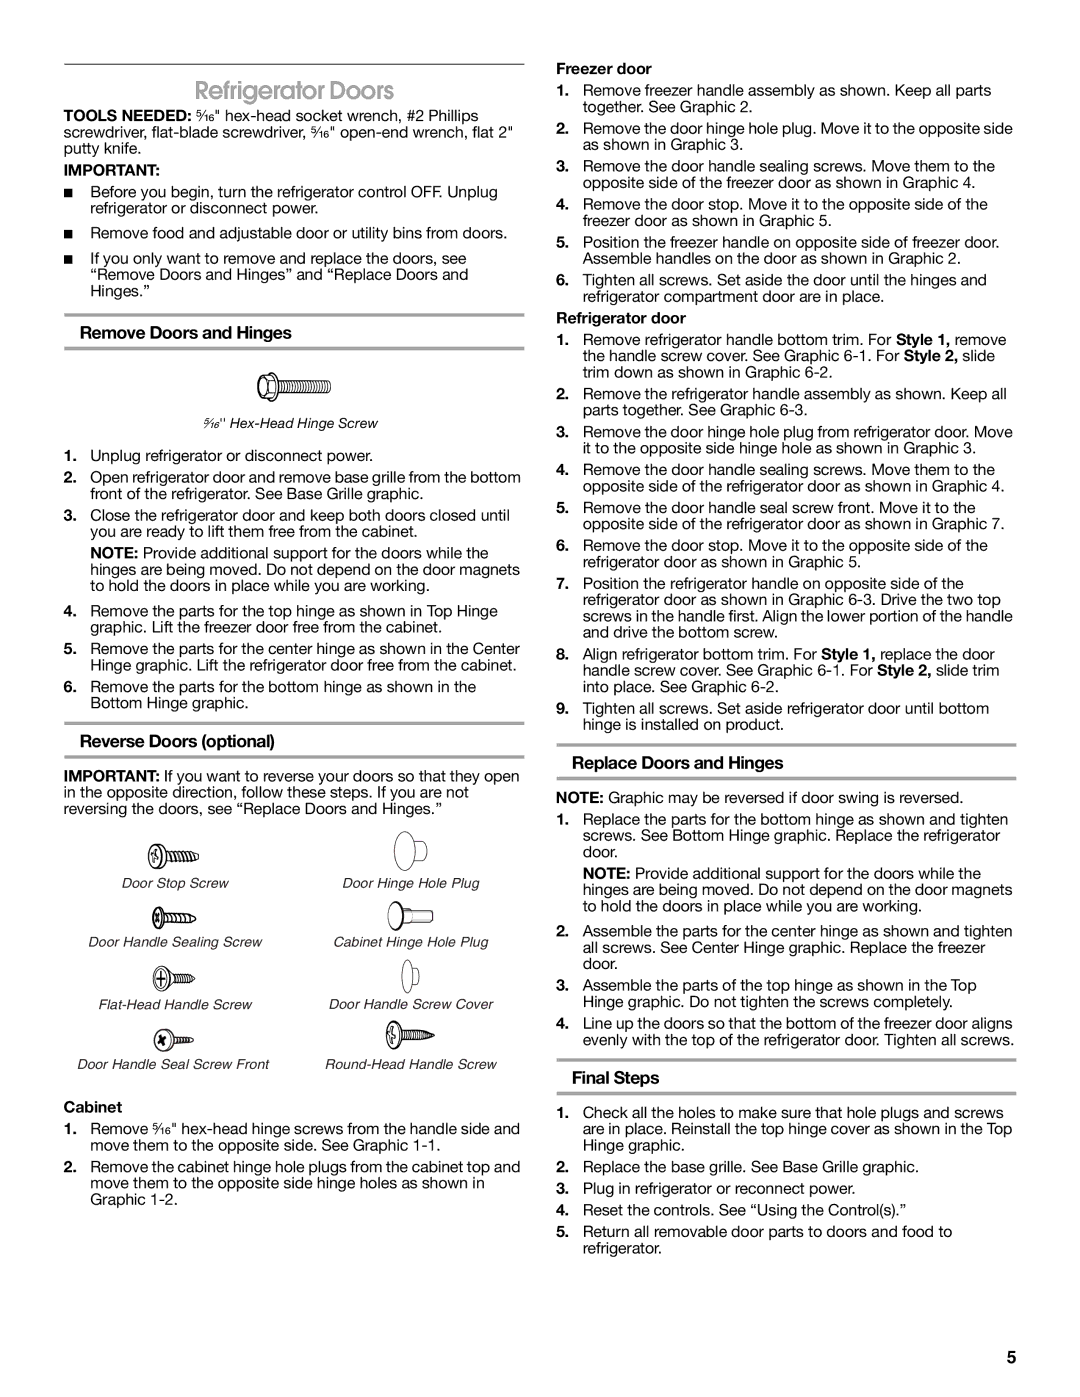
Refrigerator Doors

TOOLS NEEDED: ⁵⁄₁₆" hex-head socket wrench, #2 Phillips screwdriver, flat-blade screwdriver, ⁵⁄₁₆" open-end wrench, flat 2" putty knife.

IMPORTANT:

Before you begin, turn the refrigerator control OFF. Unplug refrigerator or disconnect power.

Remove food and adjustable door or utility bins from doors.

If you only want to remove and replace the doors, see “Remove Doors and Hinges” and “Replace Doors and Hinges.”

Remove Doors and Hinges

⁵⁄₁₆'' Hex-Head Hinge Screw

1.Unplug refrigerator or disconnect power.

2.Open refrigerator door and remove base grille from the bottom front of the refrigerator. See Base Grille graphic.

3.Close the refrigerator door and keep both doors closed until you are ready to lift them free from the cabinet.

NOTE: Provide additional support for the doors while the hinges are being moved. Do not depend on the door magnets to hold the doors in place while you are working.

4.Remove the parts for the top hinge as shown in Top Hinge graphic. Lift the freezer door free from the cabinet.

5.Remove the parts for the center hinge as shown in the Center Hinge graphic. Lift the refrigerator door free from the cabinet.

6.Remove the parts for the bottom hinge as shown in the Bottom Hinge graphic.

Reverse Doors (optional)

IMPORTANT: If you want to reverse your doors so that they open in the opposite direction, follow these steps. If you are not reversing the doors, see “Replace Doors and Hinges.”

Door Stop Screw

Door Hinge Hole Plug

Door Handle Sealing Screw

Cabinet Hinge Hole Plug

Flat-Head Handle Screw

Door Handle Screw Cover

Door Handle Seal Screw Front

Round-Head Handle Screw

Cabinet

1.Remove ⁵⁄₁₆" hex-head hinge screws from the handle side and move them to the opposite side. See Graphic 1-1.

2.Remove the cabinet hinge hole plugs from the cabinet top and move them to the opposite side hinge holes as shown in Graphic 1-2.

Freezer door

1.Remove freezer handle assembly as shown. Keep all parts together. See Graphic 2.

2.Remove the door hinge hole plug. Move it to the opposite side as shown in Graphic 3.

3.Remove the door handle sealing screws. Move them to the opposite side of the freezer door as shown in Graphic 4.

4.Remove the door stop. Move it to the opposite side of the freezer door as shown in Graphic 5.

5.Position the freezer handle on opposite side of freezer door. Assemble handles on the door as shown in Graphic 2.

6.Tighten all screws. Set aside the door until the hinges and refrigerator compartment door are in place.

Refrigerator door

1.Remove refrigerator handle bottom trim. For Style 1, remove the handle screw cover. See Graphic 6-1. For Style 2, slide trim down as shown in Graphic 6-2.

2.Remove the refrigerator handle assembly as shown. Keep all parts together. See Graphic 6-3.

3.Remove the door hinge hole plug from refrigerator door. Move it to the opposite side hinge hole as shown in Graphic 3.

4.Remove the door handle sealing screws. Move them to the opposite side of the refrigerator door as shown in Graphic 4.

5.Remove the door handle seal screw front. Move it to the opposite side of the refrigerator door as shown in Graphic 7.

6.Remove the door stop. Move it to the opposite side of the refrigerator door as shown in Graphic 5.

7.Position the refrigerator handle on opposite side of the refrigerator door as shown in Graphic 6-3. Drive the two top screws in the handle first. Align the lower portion of the handle and drive the bottom screw.

8.Align refrigerator bottom trim. For Style 1, replace the door handle screw cover. See Graphic 6-1. For Style 2, slide trim into place. See Graphic 6-2.

9.Tighten all screws. Set aside refrigerator door until bottom hinge is installed on product.

Replace Doors and Hinges

NOTE: Graphic may be reversed if door swing is reversed.

1.Replace the parts for the bottom hinge as shown and tighten screws. See Bottom Hinge graphic. Replace the refrigerator door.

NOTE: Provide additional support for the doors while the hinges are being moved. Do not depend on the door magnets to hold the doors in place while you are working.

2.Assemble the parts for the center hinge as shown and tighten all screws. See Center Hinge graphic. Replace the freezer door.

3.Assemble the parts of the top hinge as shown in the Top Hinge graphic. Do not tighten the screws completely.

4.Line up the doors so that the bottom of the freezer door aligns evenly with the top of the refrigerator door. Tighten all screws.

Final Steps

1.Check all the holes to make sure that hole plugs and screws are in place. Reinstall the top hinge cover as shown in the Top Hinge graphic.

2.Replace the base grille. See Base Grille graphic.

3.Plug in refrigerator or reconnect power.

4.Reset the controls. See “Using the Control(s).”

5.Return all removable door parts to doors and food to refrigerator.

5

Page 5
Image 5
Whirlpool TT21AKXKQ02 Refrigerator Doors, Remove Doors and Hinges, Reverse Doors optional, Replace Doors and Hinges

TT21AKXKQ02 specifications

The Whirlpool TT21AKXKQ02 is a notable addition to Whirlpool's lineup of high-efficiency refrigerators that cater to the needs of modern households. This model exemplifies a blend of innovative technology, spacious design, and energy efficiency, making it a perfect choice for both small and large kitchens.

One of the standout features of the Whirlpool TT21AKXKQ02 is its Smart Storage design, which maximizes interior space and enhances organization. With adjustable shelves and door bins, users can easily store a variety of items, from large bottles to small condiments. The refrigerator also includes specialized compartments, such as humidity-controlled crisper drawers that help preserve fresh fruits and vegetables, ensuring they stay crisp and nutritious for longer.

In terms of cooling technology, the TT21AKXKQ02 is equipped with Adaptive Intelligence, a system that monitors the internal environment and adjusts cooling settings to maintain optimal freshness. This technology not only helps in extending the shelf life of perishable items but also ensures consistent cooling performance, regardless of external temperature changes.

Furthermore, this refrigerator features a No Frost technology that eliminates the need for manual defrosting. The system works by circulating cool air throughout the unit, preventing ice buildup and ensuring that users enjoy the convenience of a maintenance-free appliance. Alongside this, the model boasts a quiet operation, making it suitable for open-concept living spaces.

Energy efficiency is a key characteristic of the Whirlpool TT21AKXKQ02. It is designed to operate with a lower energy consumption rate, earning it a commendable energy rating. This not only contributes to reduced electricity bills but also supports environmentally friendly practices.

Aesthetic-wise, the TT21AKXKQ02 combines a sleek exterior with an elegant finish that can seamlessly blend into any kitchen decor. The user-friendly controls and LED lighting inside the refrigerator enhance visibility and accessibility, making it easy to find items even in low light.

In summary, the Whirlpool TT21AKXKQ02 embodies the ideal combination of space efficiency, advanced cooling technology, and energy conservation. It reflects Whirlpool's commitment to providing practical and innovative solutions for everyday refrigeration needs, making it an excellent choice for any home.