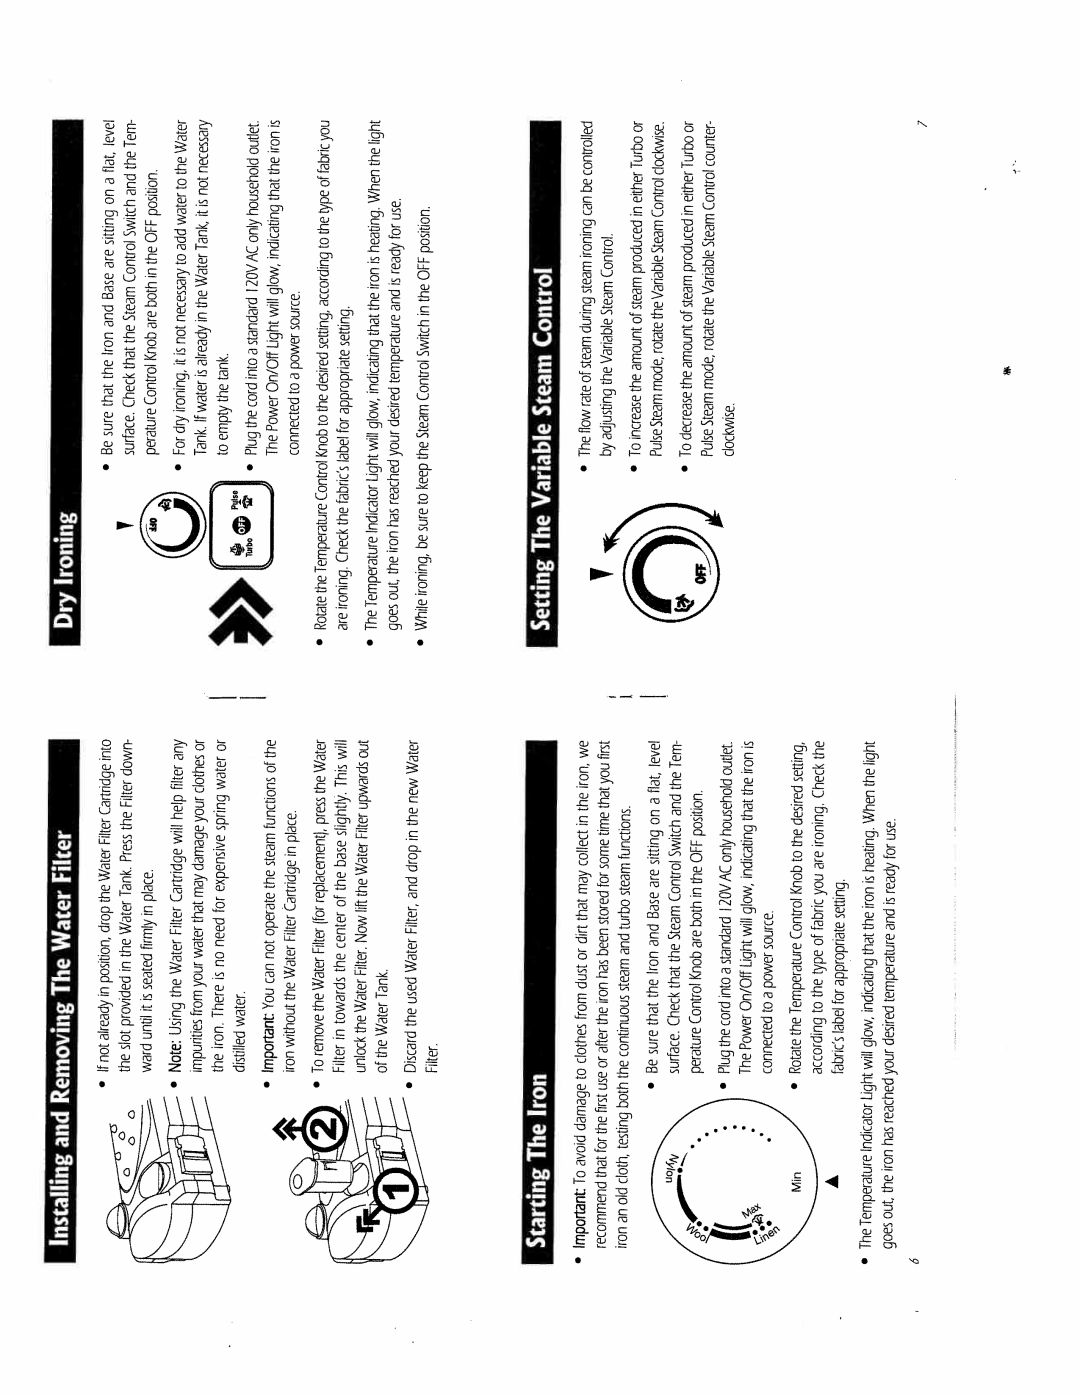
DryIroning
WaterFilter
RemovingThe
Installingand
flat,level | Tem |
| Water | necessary |
| outlet. | irontheis |
| fabric |
| light |
|
|
|
|
|
|
|
|
| |||||||
|
| the |
|
|
|
|
|
|
| ||||
|
|
|
|
|
|
|
|
| you |
|
|
|
|
| the |
|
|
|
| household |
|
|
|
| the |
|
|
| position. |
|
|
|
|
|
|
| When |
|
| ||
on | and |
| not |
|
|
| of |
|
|
| |||
a |
| to |
|
| that |
|
|
|
|
| |||
|
|
|
|
|
|
| type |
|
|
|
| ||
| Switch |
| water | it is |
|
|
|
|
| use. |
| ||
sitting |
|
|
| indicating |
|
| heating. | position. | |||||
OFF |
| only |
| the |
| ||||||||
| add | Tank, |
|
|
| for | |||||||
| Control | the |
|
|
|
|
|
|
|
| ready |
| |
are | to | Water |
|
|
|
| according |
|
|
| |||
|
|
|
|
|
|
|
| ||||||
|
|
|
|
|
|
|
|
| |||||
|
|
|
|
|
|
|
|
|
|
| |||
|
|
|
|
|
|
|
|
|
|
|
| ||
Base |
| in | necessary |
| AC20V | glow, |
| to |
| ironis | is | OFF | |
Steam | both | the |
| I | source. |
|
| the | and | the | |||
|
|
|
| ||||||||||
|
| are |
| in |
| standard | will |
| setting. | inSwitch | |||
Iron | the | not |
|
|
|
| |||||||
|
|
|
|
|
| ||||||||
|
|
|
| a |
|
|
|
|
| ||||
and |
| Knob |
| already |
|
| Light |
| setting, |
| that | temperature |
|
|
|
|
|
|
|
|
|
| |||||
the |
| it is | tank. | into | a |
|
|
|
| ||||
| that | Control |
|
|
| On/Off | power | desired | appropriate | indicating |
| Control | |
that | Check | ironing, | is | the | cord | to |
| ||||||
|
|
| the |
|
|
| |||||||
perature | water |
| Power | connected |
| glow, | desired | Steam | |||||
| surface. | Fordry |
|
| the |
|
| ||||||
Be |
| to | Plug |
|
| will | your | ||||||
| The |
|
| ||||||||||
sure |
|
|
| Tank.If | empty |
|
|
| to | fabric’slabelfor |
|
| |
|
|
|
|
|
|
|
| ControlKnob |
| reached | to | ||
|
|
|
|
|
|
|
|
|
|
| tight |
| the |
• |
|
| • |
|
| • |
|
|
|
|
| keep | |
|
|
|
|
|
|
|
|
|
|
| |||
| V |
|
|
|
|
|
|
| Temperature | the | Indicator | has | sure |
|
|
|
|
|
|
|
|
| Check | Temperature | iron | be | |
|
|
|
|
|
|
|
|
| the | ironing. | the | ironing, | |
|
|
|
|
|
|
|
|
|
|
| |||
|
|
|
|
|
|
|
|
|
|
|
| ||
|
|
|
|
|
|
|
|
|
|
| our, |
| |
|
|
|
|
|
|
|
|
| Rotate |
|
| While | |
|
|
|
|
|
|
|
|
| are | The | goes | ||
|
|
|
|
|
|
|
|
| • |
| • |
| • |
into | down |
| any | or | or |
| the |
| Water | will | out |
| Water |
| |
Cartridge |
|
| filter | clothes | water |
| of |
| This | upwards |
|
| |||
Filter |
|
| functions |
| the |
| new |
| |||||||
|
|
|
|
|
|
| |||||||||
|
|
|
|
|
|
|
| ||||||||
Filter | the |
| help | your | spring |
|
|
| press | slightly. | Filter |
|
|
| |
|
|
|
|
|
|
|
|
|
| ||||||
Press |
| will |
|
|
| in |
|
| in |
| |||||
|
|
|
| damage |
|
|
| place. | replacement), |
|
|
| the |
| |
|
|
| Cartridge | expensive |
| steam |
|
|
| drop |
| ||||
the | Tank. | place. |
|
| the | the |
|
| |||||||
may |
|
|
| and |
| ||||||||||
Water |
|
|
|
|
|
| the | Cartridge |
|
| Water |
|
|
| |
|
|
|
| for |
|
|
| lift |
|
|
| ||||
| Water |
|
|
|
|
|
|
|
|
| |||||
drop | firmlyin | Filter | that |
|
| operate |
| Filter)for | of |
|
| Filter, |
| ||
|
|
|
|
|
|
|
| ||||||||
| need |
|
| Filter | center | Now |
|
| |||||||
position, |
| water |
|
|
|
| |||||||||
the |
| Water |
|
| not | Water |
|
|
| Water |
| ||||
|
|
|
| the | Filter. |
|
| ||||||||
|
|
|
| can |
|
|
| ||||||||
| in |
|
| is |
|
|
|
| Tank. |
|
| ||||
|
|
|
|
|
| the |
|
|
|
| |||||
|
| seated |
| your | no |
|
|
| Water |
|
|
|
|
| |
| provided |
|
| water. |
|
|
|
|
|
|
| ||||
|
|
|
|
|
|
|
|
|
| the |
| ||||
inalready |
| until it is | the | from | There |
| You |
| the | towards | Water | Water | used |
| |
| Using |
| without |
|
|
| |||||||||
|
|
|
|
|
|
| |||||||||
|
|
|
|
|
|
|
| ||||||||
If | the | ward | Note; | impurities | the | distilled | Important: | To | inFilter | unlock | of | Discard | Filter. | ||
iron | |||||||||||||||
not | slot |
|
|
| iron. |
|
|
| remove |
| the | the |
|
| |
|
|
|
|
|
|
|
|
|
|
| |||||
|
|
|
|
|
|
|
|
|
|
|
|
| |||
• |
|
| • |
|
|
| • |
| • |
|
|
| • |
|
| controlled |
| or | clockwise. | or | counter |
| |
|
| Turbo | Turbo |
| ||||
| can |
| either | Control | either | Control |
| |
|
| in | in |
|
| |||
| be |
|
|
|
|
|
| |
| ironing | Control. | produced | VariableSteam | produced | Steam |
| |
| Variable |
| ||||||
Control | steam |
| ||||||
steam | steam |
| ||||||
Steam |
| |||||||
during | the | the |
| |||||
|
| |||||||
| of | of |
| |||||
|
| Variable | rotate | rotate |
| |||
VariableSteam | steam | amount | amount |
| ||||
|
| |||||||
the | mode, | mode, |
| |||||
of | the | the |
| |||||
|
|
|
|
| ||||
rate | adjusting | increase | PulseSteam | decrease | PulseSteam | cIocl’ise. | ||
The | ||||||||
by | To | To | ||||||
| flow |
|
|
|
|
|
| |
| • |
| • |
| • |
|
| |
The |
|
|
|
|
|
|
| |
Setting | V |
|
|
|
|
| ||
|
|
|
|
|
| |||
| we | first |
| flat,level | Tem |
| outlet. | iron is |
| setting, | the |
| light |
|
|
|
|
|
|
|
| ||||||||
| iron, | you |
| the |
|
| Check |
| the |
| ||||
|
|
|
|
|
| household | the |
| desired |
|
| |||
|
|
|
|
|
|
|
|
|
| |||||
|
|
|
|
| position. |
|
|
| When |
| ||||
| in | time |
| on |
|
|
|
|
| |||||
| the | that | functions. | a | and |
|
| that |
|
| ironing. |
|
|
|
|
|
|
| Switch |
|
|
|
|
|
| use. | |||
| collect | some | sitting | OFF | only | indicating |
| the |
| heating. | ||||
|
|
| to | are |
| for | ||||||||
|
| Control |
|
| ||||||||||
| may | for | steam |
| in | 2OVAC |
|
| Knob | you |
| ironis | ready | |
|
|
|
|
|
|
|
|
| is | |||||
|
| stored |
| are |
| the |
| glow, |
|
|
| setting. |
|
|
| that | turbo | Base | Steam | both | I | source. | Control | fabric | the | and | |||
|
|
| ||||||||||||
|
|
|
| |||||||||||
| dirt |
|
|
|
|
| ||||||||
|
| been | and | and |
| are | standard | will |
| of | appropriate | that | temperature | |
| or | has | steam | Iron | the | ControlKnob |
| Light | power | Temperature | type | indicating | ||
| dust | the | that | intoa | On/Off |
| the |
|
| |||||
| from | iron | continuous | Check |
| toconnecteda |
| fabricslabelfor |
|
| ||||
|
| the | that | perature | cord |
|
| toaccording |
| desired | ||||
|
|
| Be | surface. | Plug | The | Rotate | will | ||||||
| to |
| the | |||||||||||
|
| your | ||||||||||||
| clothes | after |
| sure |
|
| the | Power |
| the |
|
| glow, |
|
|
|
|
|
|
|
|
|
|
|
|
| |||
|
| or |
|
|
|
|
|
|
|
|
|
|
|
|
Iron | damage | use | both | • |
|
| • |
|
| • |
|
| tight | reached |
first |
|
|
|
|
|
|
|
|
| |||||
|
|
|
|
|
|
|
|
| Indicator | |||||
| for | testing |
|
|
|
|
|
|
|
|
| has | ||
|
|
|
|
|
|
|
|
|
|
| ||||
The | avoid | the |
|
|
|
|
|
|
|
|
|
|
|
|
that | cloth, |
|
|
|
|
|
|
|
|
| Temperature | iron | ||
To |
|
|
|
|
|
|
|
|
| |||||
Starting | Important: | iron |
|
|
|
|
|
|
|
| A | goes | ||
recommend |
|
|
|
|
|
|
|
| The | |||||
|
|
| old |
|
|
|
|
|
|
|
|
|
| the |
|
|
| an |
|
|
|
|
|
|
|
|
|
| out, |
|
|
|
|
|
|
|
|
|
|
|
|
|
| |
| • |
|
|
|
|
|
|
|
|
|
|
| • | 6 |