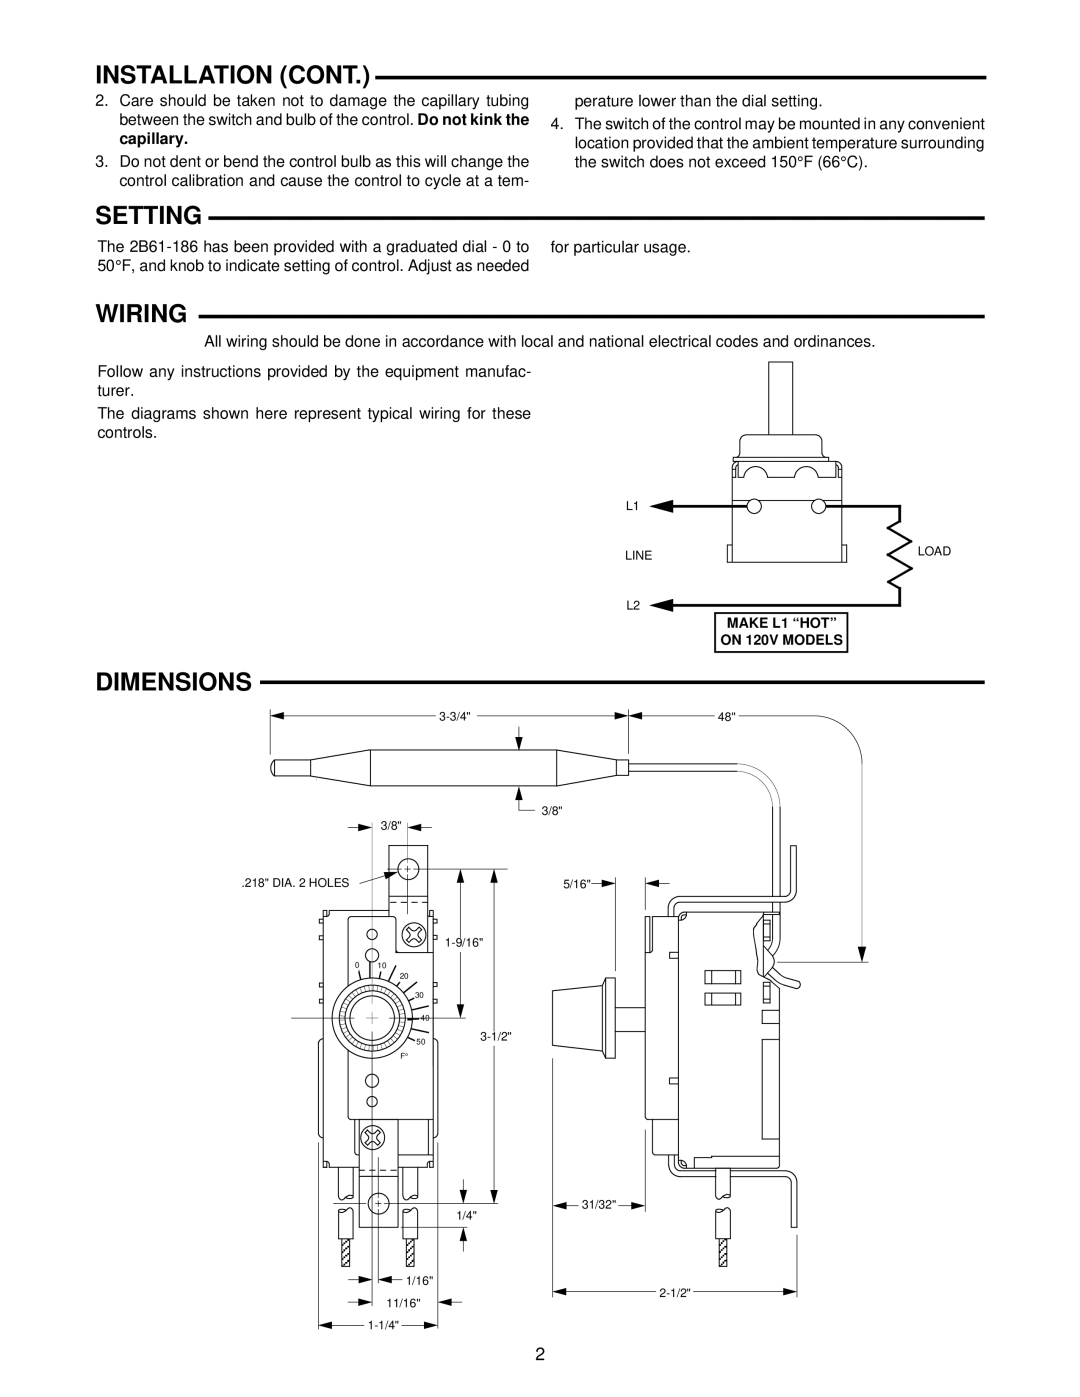
2B61-186 specifications
The White Rodgers 2B61-186 is a widely recognized thermostat that has made its mark in the world of temperature regulation for HVAC (Heating, Ventilation, and Air Conditioning) systems. Known for its reliability and user-friendly interface, this device is particularly favored in both residential and commercial applications.One of the main features of the 2B61-186 is its ability to provide precise temperature control. It supports a temperature range from 40°F to 90°F, ensuring that users can easily set their desired indoor climate. The digital display is intuitive, allowing for quick adjustments and clear readability, even from a distance. Additionally, the thermostat is equipped with an easy-to-use interface that simplifies the programming process, making it accessible for individuals unfamiliar with advanced technology.
In terms of technology, the 2B61-186 employs an advanced microprocessor-based control system. This technology allows for efficient energy management, helping to reduce heating and cooling costs significantly. The thermostat can also learn patterns of use and adjust settings accordingly, creating a comfortable environment without unnecessary energy consumption.
Another noteworthy feature is the compatibility of the White Rodgers 2B61-186 with various HVAC systems, including gas, electric, and oil systems. This versatility is crucial for homeowners and businesses looking for a one-size-fits-all solution for temperature control.
One of the standout characteristics of this thermostat is its reliability. Built with high-quality materials, the 2B61-186 is designed to withstand the test of time, ensuring that users do not need frequent replacements or repairs. The device also includes a low battery indicator, alerting users when it’s time to replace the batteries, thus preventing potential disruptions in operation.
Furthermore, the White Rodgers 2B61-186 includes convenient features such as a programmable schedule, allowing users to set different temperatures for different times of the day. This function enhances energy efficiency and comfort, catering to individual needs and lifestyles.
In conclusion, the White Rodgers 2B61-186 stands out as a robust and reliable thermostat that combines ease of use with advanced technology. Its precise temperature control, compatibility with various HVAC systems, and durable design make it a favorite choice for anyone looking to maintain a comfortable indoor climate while optimizing energy savings.

