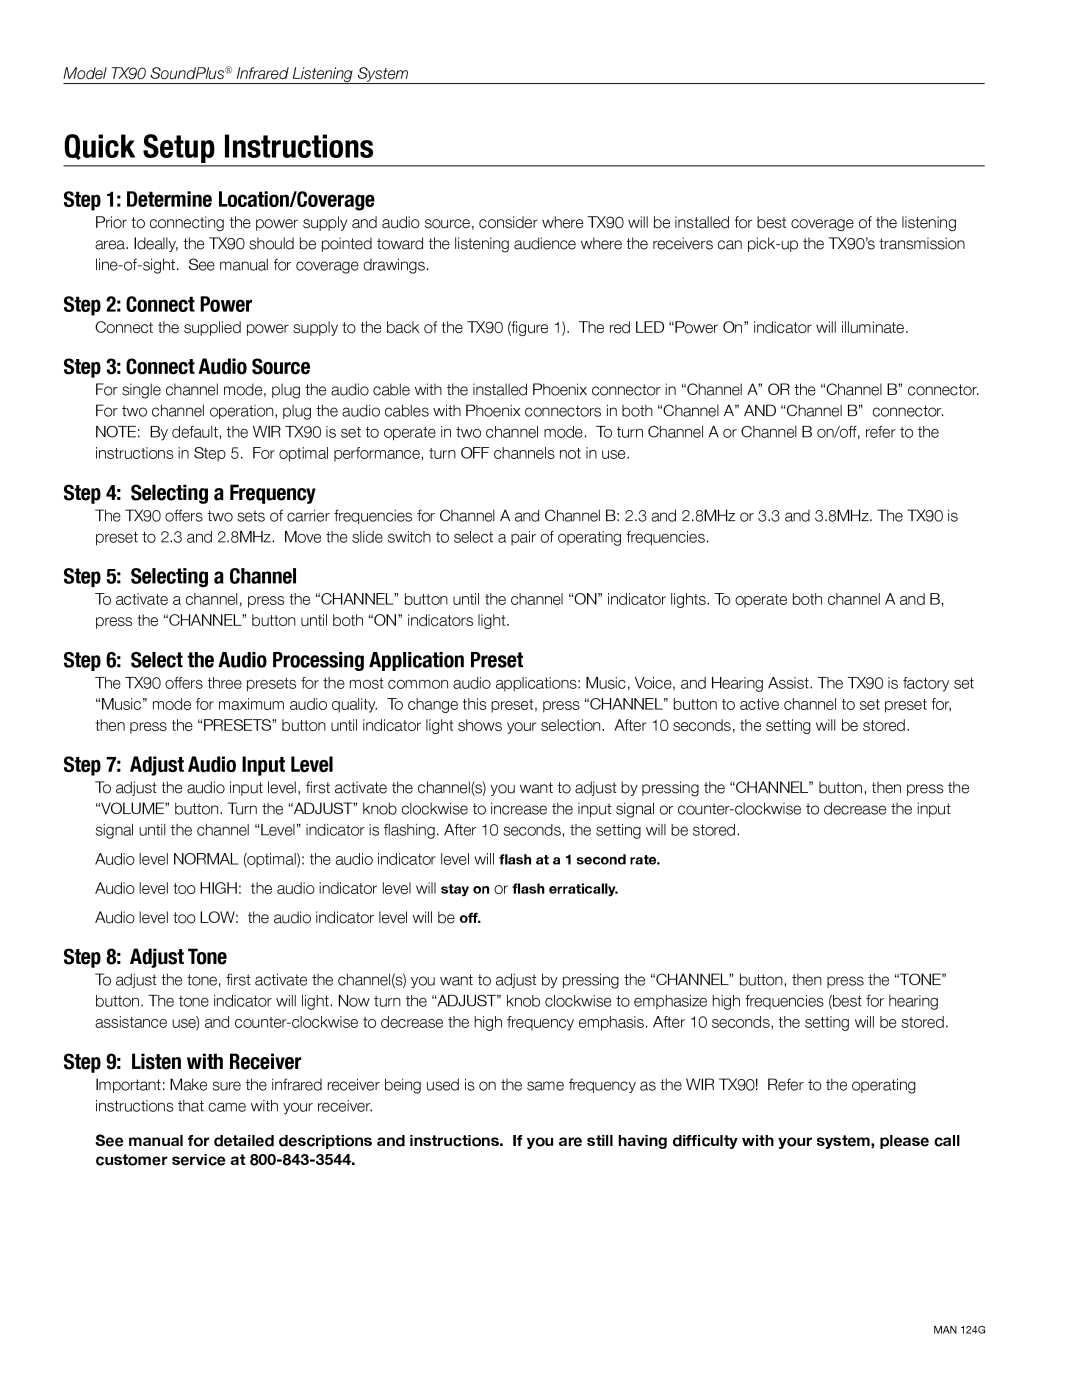
WIR TX90 specifications
The Williams Sound WIR TX90 is a robust and versatile wireless transmitter designed primarily for assistive listening applications in various environments. This innovative device offers an exceptional balance of performance, user-friendliness, and advanced technology, making it ideal for venues such as theaters, places of worship, schools, and conference centers.One of the standout features of the WIR TX90 is its ability to transmit audio signals over a wide frequency range, ensuring clear and intelligible sound for users. Operating on a 72 MHz frequency band, the transmitter effectively minimizes interference and allows multiple systems to be deployed in close proximity without compromising audio quality. This makes the WIR TX90 especially suited for settings that require multiple listening channels.
A significant technological aspect of the WIR TX90 is its compatibility with Williams Sound's extensive range of receivers, including the WIR RX15 and WIR RX20. This compatibility ensures that users can select the most suitable receiver for their specific needs, enhancing the overall listening experience. The transmitter also features a built-in microphone input, as well as aux inputs, allowing for direct connections to various audio sources such as sound systems and microphones. With a maximum output power of 100 mW, the WIR TX90 delivers exceptional range and coverage, making it effective even in larger spaces.
Built with user convenience in mind, the TX90 is designed for easy setup and operation. Its intuitive control panel provides straightforward access to essential functions, with LED indicators that visually display the unit's status, including power and audio input levels. Additionally, the transmitter boasts a durable construction, ensuring it stands up to the rigors of regular use in diverse environments.
The WIR TX90 also prioritizes power efficiency, equipped with options for both AC and battery operation, allowing for flexibility in deployment. Its extended battery life means users can rely on solid performance throughout events without frequent interruptions for recharging or replacement.
In summary, the Williams Sound WIR TX90 is a top-tier wireless transmitter that combines cutting-edge technology, user-friendly features, and robust performance. Its versatility, durability, and compatibility with a range of receivers make it an essential tool for enhancing the listening experience in various professional settings.

