Manuals
/
Wright Manufacturing
/
Lawn and Garden
/
Lawn Mower
Wright Manufacturing
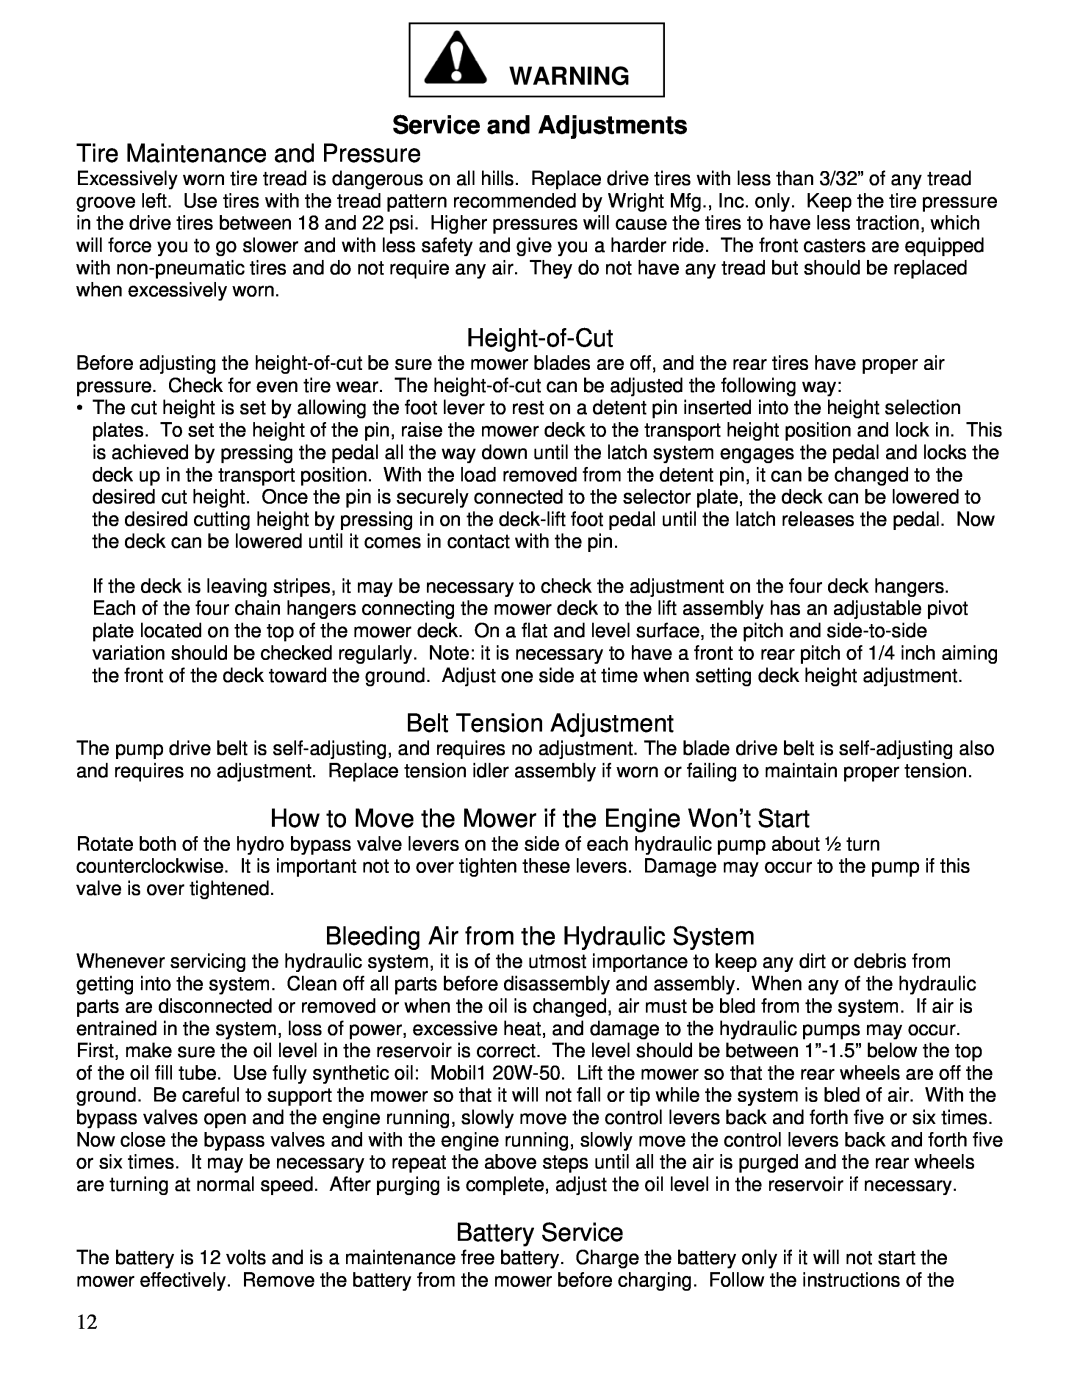
31897 Service and Adjustments, Tire Maintenance and Pressure, Height-of-Cut
Models:
31897
1
16
23
23
Download
23 pages
50.69 Kb
13
14
15
16
17
18
19
20
Maintenance Interval Chart
Maintenance
Cleaning the Mower
How to
Replacement Parts
Safety
Maintenance/Service Performed
Page 16
Image 16
Page 15
Page 17
Page 16
Image 16
Page 15
Page 17
Contents
WARNING READ THIS MANUAL BEFORE USING
SAFETY ALERT
Foreword
TABLE OF CONTENTS
This Page Intentionally Left Blank
Pre-DeliveryService of Mower by Dealer
Page
SAFETY INSTRUCTIONS
General Safety Instructions
Introduction
Owner/User Notice
Regular Mower Safety Maintenance
User Clothing
Inspect Mower Before Each Use
Work Area Conditions & Inspection
Initial Operating Safety Guidelines
Operation In Forward Direction
Zero-RadiusTurn Operation
Operation In Reverse
Operation on Slopes
Fuel Safety
Replacement Parts
Hydraulic Safety
REMEMBER - YOUR MOWER CAN BE ONLY
Page
How to start the mower
How to drive the mower
OPERATING INSTRUCTIONS
Before starting the engine
How to Stop and Park the Mower
Driving the Mower Over a Curb
Mowing on Varying Terrain
Initial Operating Safety Guidelines
How to Perform the Tracking Adjustment
How to Adjust Neutral
How to Test/Use the Blade Clutch/Brake Switch
Service and Adjustments
Tire Maintenance and Pressure
Belt Tension Adjustment
How to Move the Mower if the Engine Won’t Start
Cleaning the Mower
Page
Maintenance Interval Chart
MAINTENANCE ITEM
Page
Maintenance Record
Maintenance/Service Performed
Date
Unit Hours
Frederick, MD
Wright Manufacturing, Inc 4600-XWedgewood Blvd
Exclusions
4600X Wedgewood Blvd Frederick, MD
Top
Page
Image
Contents