140, 152 specifications
The Yard Machines 152,140 is a powerful and versatile lawn mower designed for homeowners seeking efficiency and ease of use. Known for its robust construction and reliable performance, this mower is ideal for tackling various lawn care tasks.One of the standout features of the Yard Machines 152,140 is its 150cc engine, which provides ample power to handle both flat and uneven terrains with ease. This gas-powered engine is designed for durability, ensuring that it can withstand the rigors of regular use. The mower's recoil start system allows for quick and hassle-free ignition, making it user-friendly for both novice and experienced operators.
The deck of the Yard Machines 152,140 is 21 inches wide, allowing for a wide cutting path that promotes efficient mowing. This feature is particularly beneficial for those with larger yards, as it reduces the time spent mowing without compromising the quality of the cut. The mower comes with a 3-in-1 cutting system, which enables users to choose between mulching, side discharge, or bagging clippings, adding flexibility to lawn care routines.
Another noteworthy characteristic of the Yard Machines 152,140 is its adjustable cutting height, which can be modified to suit different grass types and seasonal needs. With a range of cutting heights available at the push of a lever, users can easily achieve their desired lawn appearance.
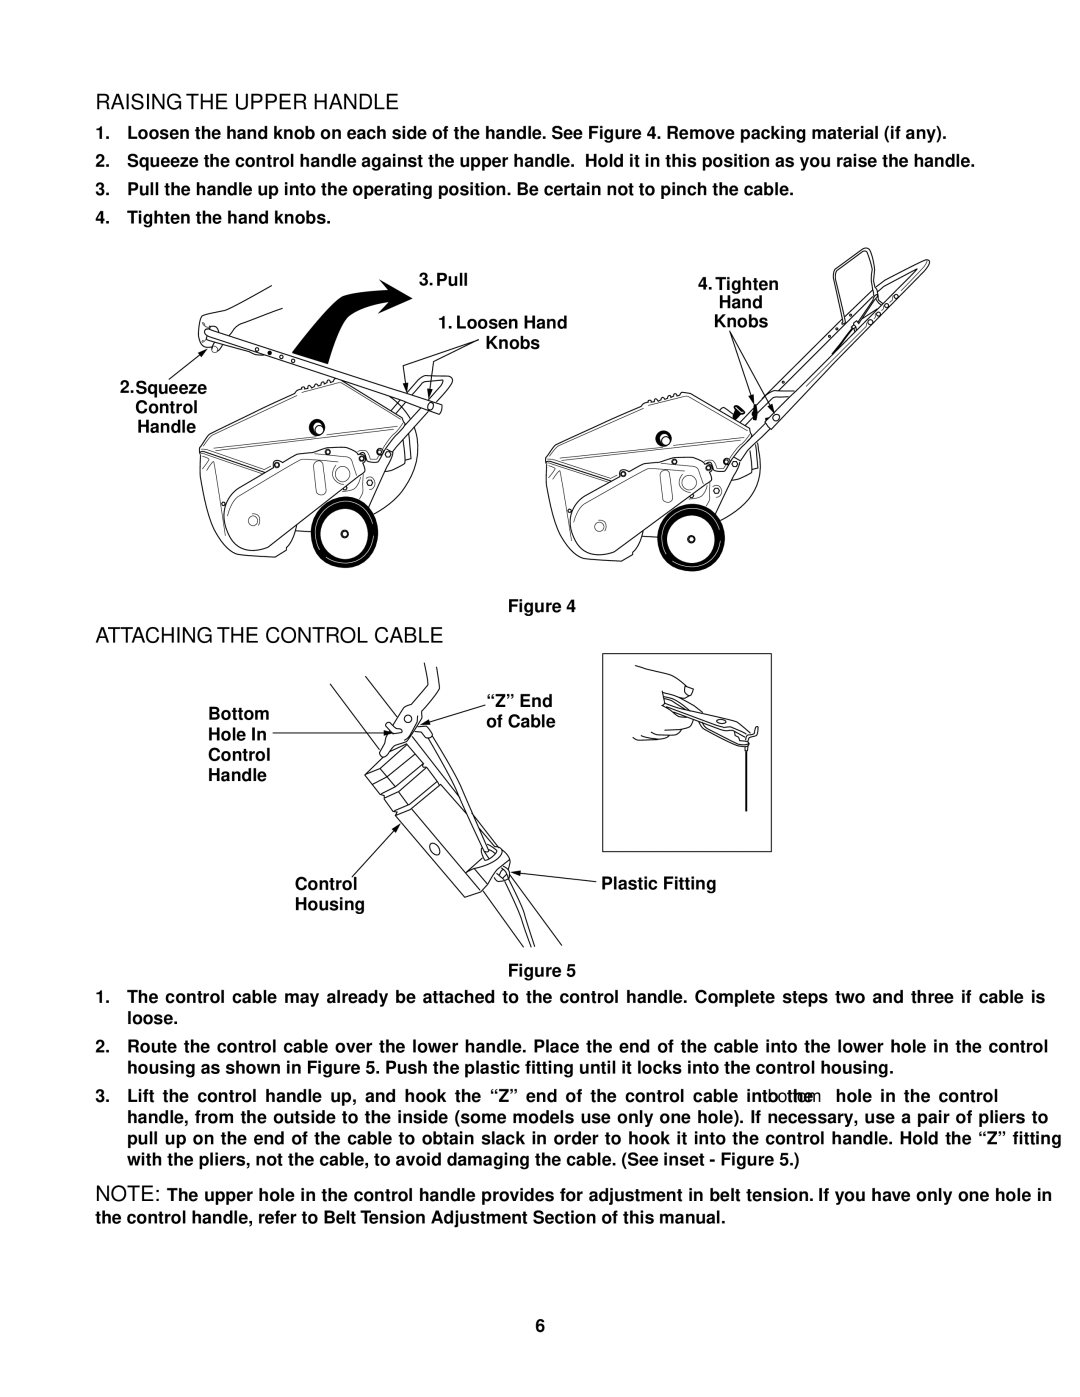
Comfort is also a priority in the design of the Yard Machines 152,140. It features ergonomic handles that reduce fatigue during extended use, along with larger wheels that improve maneuverability across various landscapes. The mower's compact design allows for easy storage and transport, making it a practical choice for homeowners with limited space.
Additionally, the Yard Machines 152,140 is engineered with safety features, including a blade brake that stops the blade when the handle is released, providing peace of mind while operating.
In conclusion, the Yard Machines 152,140 is a well-rounded lawn mower that combines power, efficiency, and user-friendly features. Its robust engine, versatile cutting options, and ergonomic design make it a valuable addition to any homeowner's lawn care arsenal. Whether maintaining a small garden or a larger yard, this mower delivers reliable performance and quality results, ensuring that your lawn remains healthy and well-groomed throughout the season.

