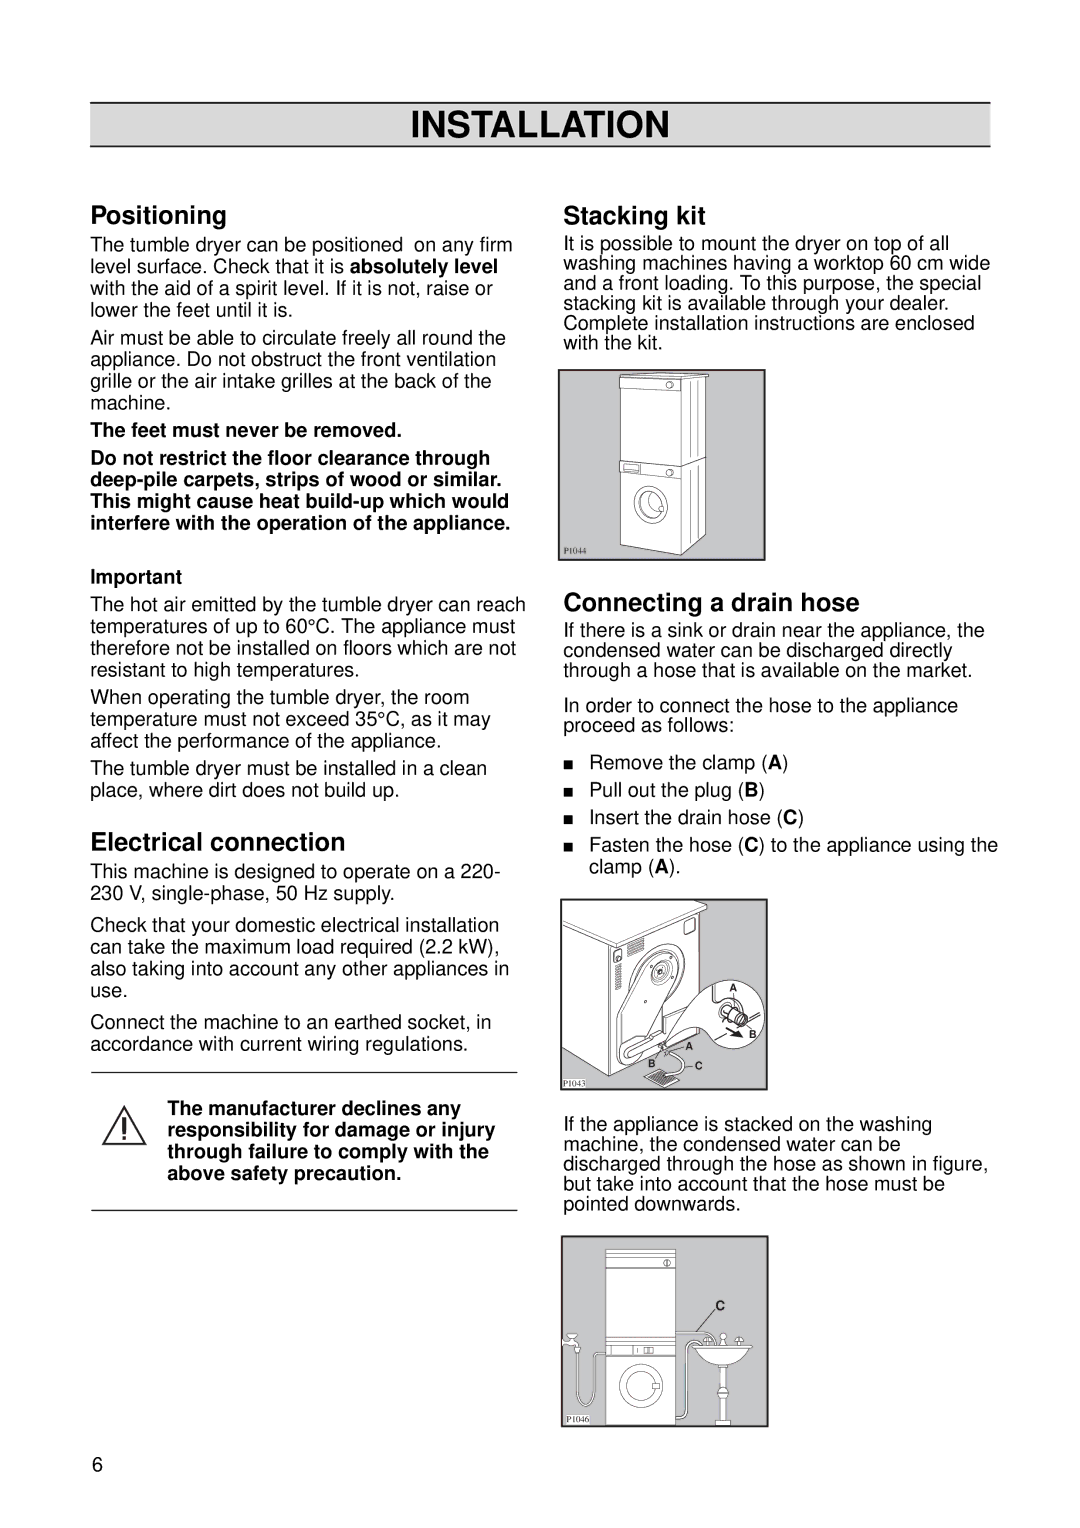
INSTALLATION
Positioning
The tumble dryer can be positioned on any firm level surface. Check that it is absolutely level with the aid of a spirit level. If it is not, raise or lower the feet until it is.
Air must be able to circulate freely all round the appliance. Do not obstruct the front ventilation grille or the air intake grilles at the back of the machine.
The feet must never be removed.
Do not restrict the floor clearance through
Important
The hot air emitted by the tumble dryer can reach temperatures of up to 60°C. The appliance must therefore not be installed on floors which are not resistant to high temperatures.
When operating the tumble dryer, the room temperature must not exceed 35°C, as it may affect the performance of the appliance.
The tumble dryer must be installed in a clean place, where dirt does not build up.
Electrical connection
This machine is designed to operate on a 220- 230 V,
Check that your domestic electrical installation can take the maximum load required (2.2 kW), also taking into account any other appliances in use.
Connect the machine to an earthed socket, in accordance with current wiring regulations.
The manufacturer declines any responsibility for damage or injury through failure to comply with the above safety precaution.
Stacking kit
It is possible to mount the dryer on top of all washing machines having a worktop 60 cm wide and a front loading. To this purpose, the special stacking kit is available through your dealer. Complete installation instructions are enclosed with the kit.
P1044
Connecting a drain hose
If there is a sink or drain near the appliance, the condensed water can be discharged directly through a hose that is available on the market.
In order to connect the hose to the appliance proceed as follows:
■Remove the clamp (A)
■Pull out the plug (B)
■Insert the drain hose (C)
■Fasten the hose (C) to the appliance using the
clamp (A). |
|
| A |
| B |
| A |
B | C |
P1043 |
|
If the appliance is stacked on the washing machine, the condensed water can be discharged through the hose as shown in figure, but take into account that the hose must be pointed downwards.
C |
P1046 |
6
