8.Slide the counterweight onto the counterweight shaft. Make sure the counterweight lock knob is adequately loosened to allow the counterweight shaft to pass through the hole in the counterweight.
9.Now, with the counterweight lock knob still loose, grip the counterweight with one hand and thread the shaft into the equatorial mount (at the base of the declination axis) with the other hand. When it is threaded as far in as it will go, position the counterweight about halfway up the shaft and tighten the counterweight lock knob. The retaining screw and washer on the bottom of the shaft prevent the counter- weight from falling off (and onto your foot!) if the counterweight lock knob becomes loose.
10.Attach the two
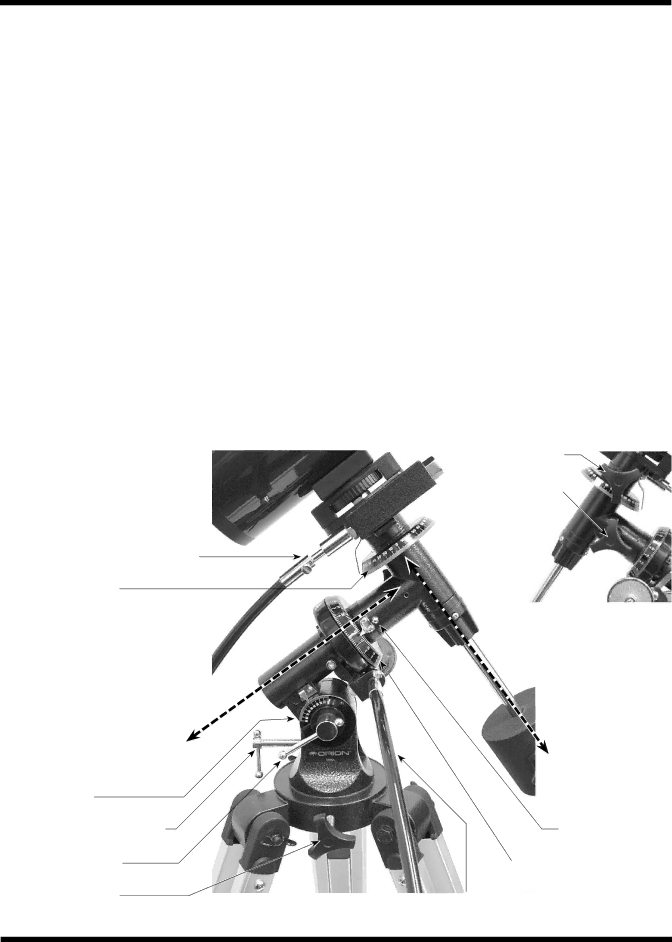
The equatorial mount is now fully assembled and should appear as shown in Figure 1.
Figure 2. The equatorial mount.
Dec.
Dec. setting circle
3. Attaching A Telescope
The
Orion carries a variety of differently sized tube rings and a
4. Balancing the Telescope
Once the telescope is attached to the equatorial mount, the next step is to balance the telescope. Proper balance is required to insure smooth movement of the telescope on both axes of the equatorial mount.
If you attach your telescope with a
Dec. lock knob
R.A. lock knob
nsion | axis |
| |
e |
|
asc |
|
t |
|
h |
|
ig |
|
R |
|
e
D clination
axis
Latitude scale
Latitude adjustment
R.A. setting circle lock thumbscrew
R.A. setting circle
R.A. slow- motion control cable
4