Paxar 7400 manual Pdt

Page 4

2.Squeeze both sides of the module and snap it into the slots beneath the terminal (below the keyboard).

PDT 3100

Squeeze here (and on other side).

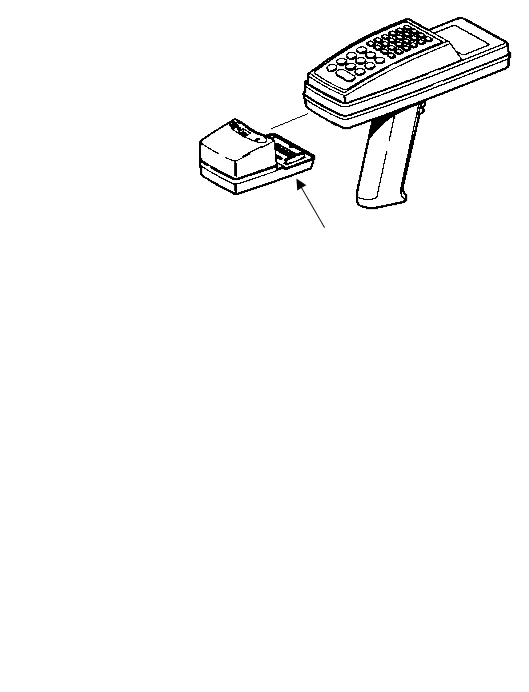
To install RF link onto the PDT 3100:

1.Insert a 9-volt (PP3) battery in the module. See “Inserting Batteries” for more information.

2.Hold the terminal in your hand so the keypad is facing down and the display is away from you.

3.Pull on the elastic hand strap and unlatch it from the slot just above the open connector.

4.Turn the terminal over so the keypad is facing up.

5.Hold the module in your other hand so the LEDs are facing up and the open connector is close to you.

4 RF link Operating Instructions

Image 4
Contents L I N K O P E R a T I N G S T R U C T I O N S P a c k i n g R F l i n kD u l e / U n i t D i a g r a m s Install i n g R F l i n k M o d u l e s LDT/LRT 3800 and PDTPDT RF link Operating Instructions Printers PrinterN k i n g R F l i n k U n i t s Inserting BatteriesSierra Sport 2 Printers Renegade 4 Printers with Internal Modules Renegade 4 Printers with External Modules E r a t i n g R F l i n k Rascal PrintersBattery Life Printer Power SourceW e r i n g R F l i n k M o v i n g R F l i n k M o d u l e sTroubleshooting Returning RF link to Monarch Page Canadian D.O.C. Warning