469-3486 specifications
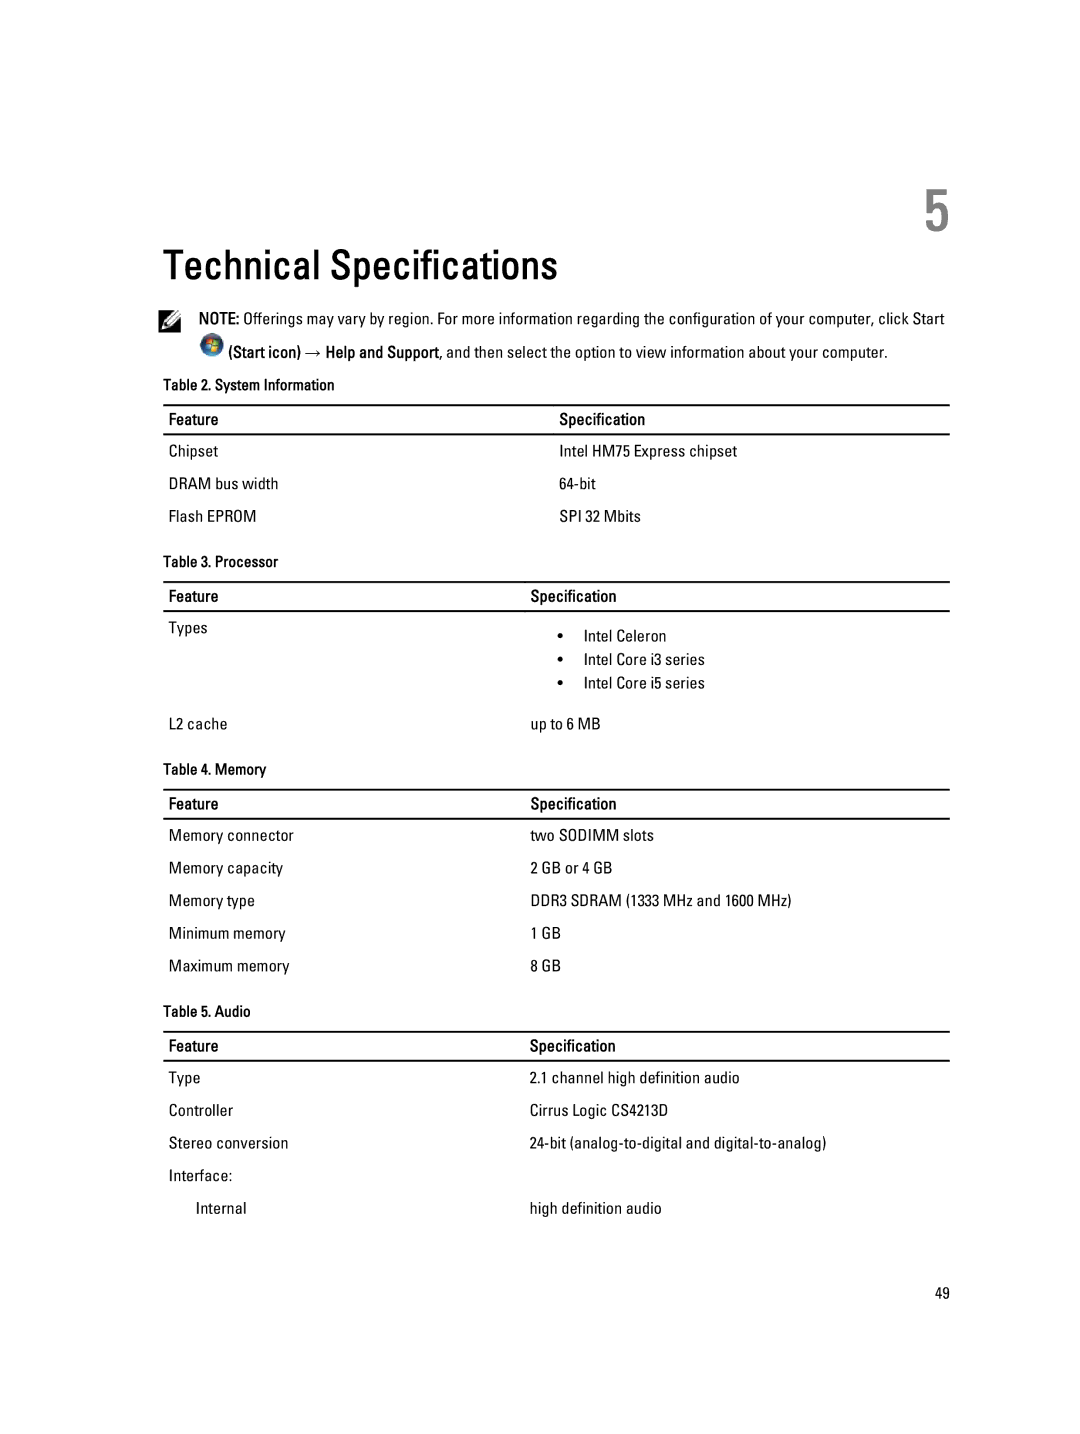
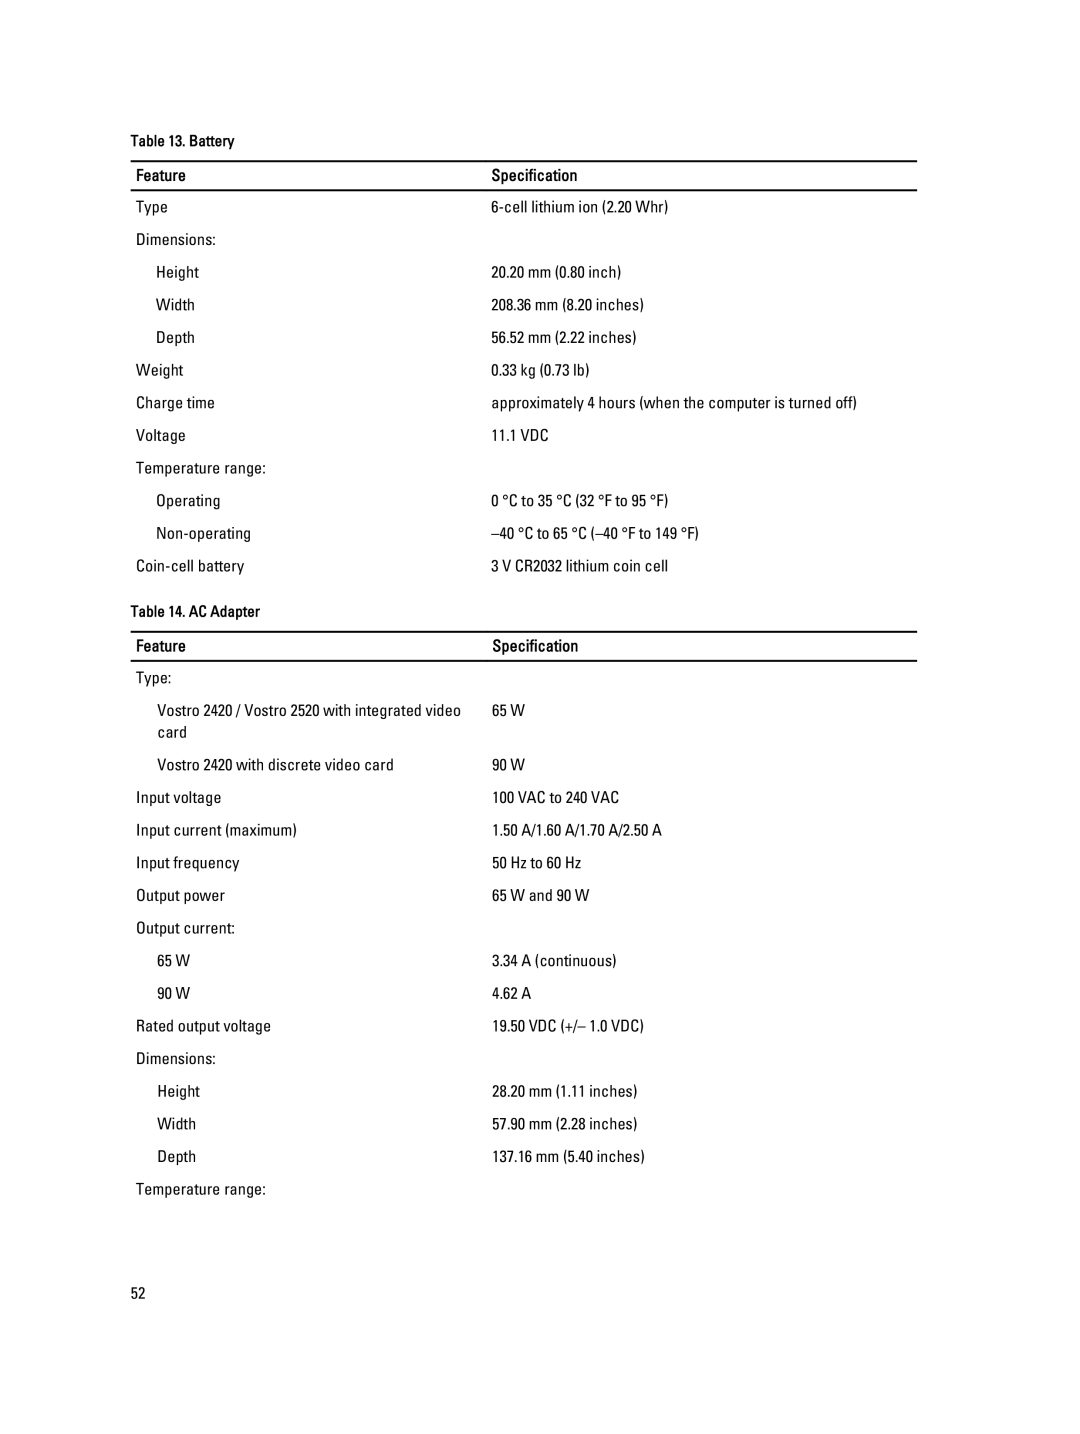
The Dell 469-3486 is a high-performance component designed to enhance the capabilities of Dell's line of desktops and workstations. This product primarily serves as a power supply unit (PSU) that supplies energy to the system while ensuring stability and reliability.One of the standout features of the Dell 469-3486 is its robust wattage rating, typically around 360 watts. This output is ideal for powering mid-range desktops and workstations that may employ multiple peripherals or components. Ensuring consistent performance, the power supply adheres to strict safety standards and delivers a steady current that minimizes the risk of component damage due to power surges or drops.
The design of the Dell 469-3486 emphasizes both efficiency and cooling. It is built using quality materials, which contribute to its durability and longevity. The PSU features an advanced thermal management system that includes strategically placed ventilation to dissipate heat effectively. This design prevents overheating, allowing the system to operate at optimal performance levels without unnecessary thermal throttling.
Additionally, the Dell 469-3486 incorporates several protective technologies, including over-voltage protection, under-voltage protection, short circuit protection, and over-power protection. These features safeguard the computer's internal components, ensuring they receive stable voltage and reducing the risk of damage due to electrical anomalies.
Another key characteristic of the Dell 469-3486 is its compatibility with various Dell desktop models, ensuring versatility and ease of installation. The unit comes with all necessary connectors, including those for motherboards, drives, and other expansions, making it a plug-and-play solution for upgrades or replacements.
The Dell 469-3486’s energy efficiency is another significant aspect, often aligned with 80 PLUS certification. This certification indicates that the power supply operates at high efficiency, reducing overall energy consumption and lowering electricity bills for users.
In conclusion, the Dell 469-3486 is an essential power supply unit that blends performance, safety features, and efficiency. It is a reliable choice for users looking to upgrade or replace their existing PSU in Dell systems, making it a crucial component in achieving a stable and high-performing computing experience.
