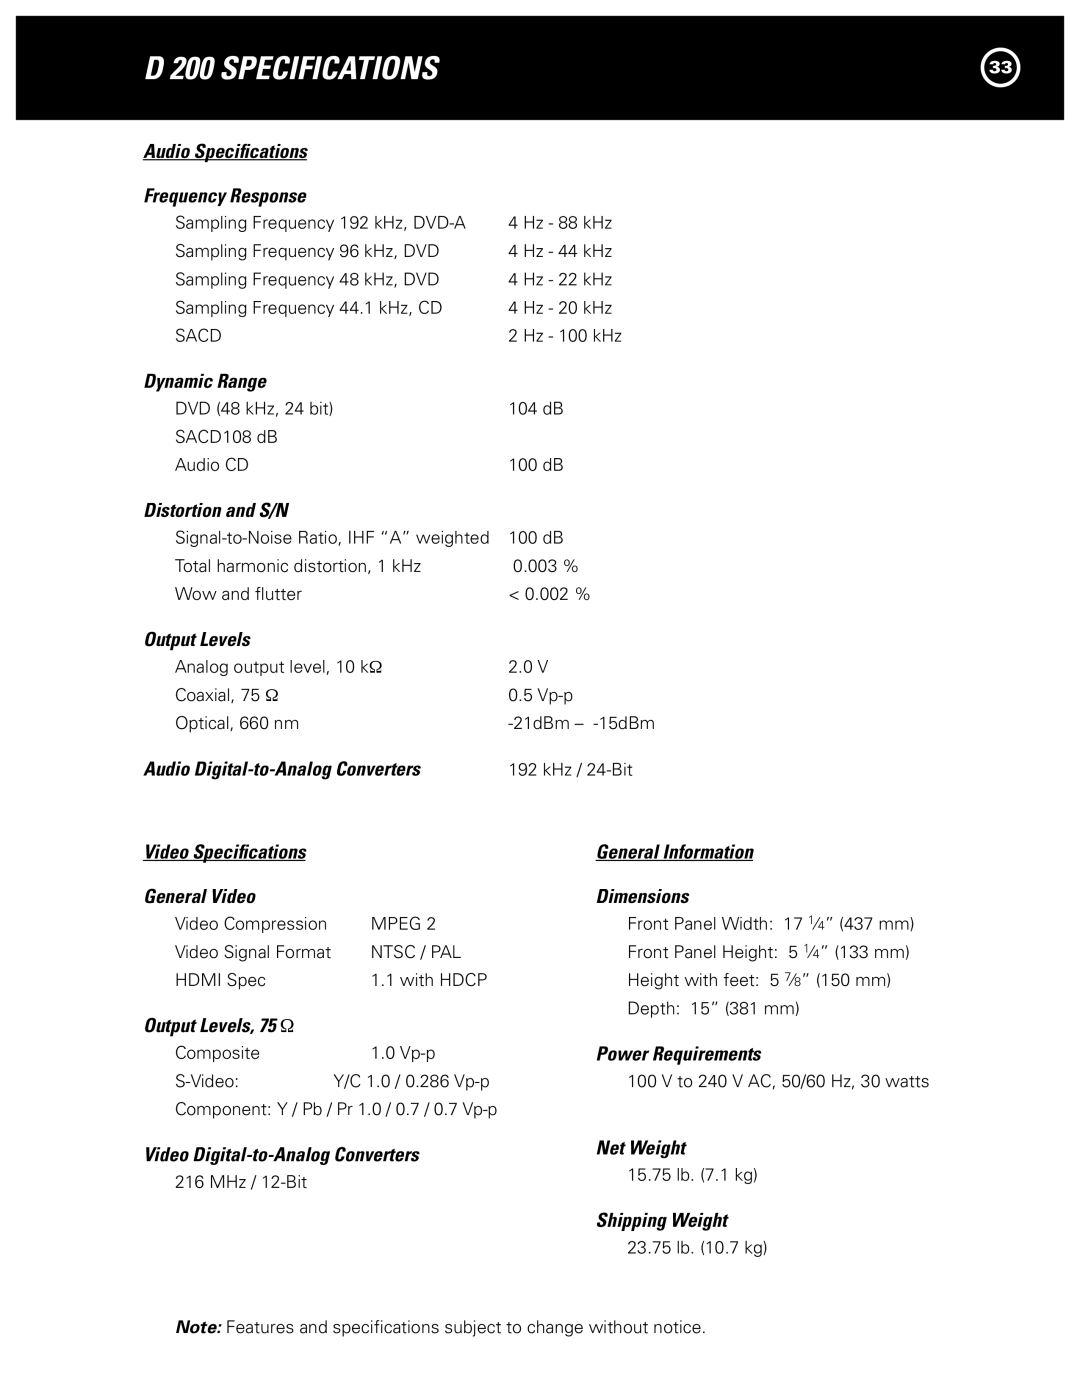
D 200 specifications
The Parasound D 200 is a state-of-the-art digital amplifier that embodies the brand’s commitment to high-fidelity audio performance and cutting-edge technology. With its sleek design and robust build quality, the D 200 is engineered to deliver an exceptional listening experience, making it a popular choice among audiophiles and home theater enthusiasts.One of the standout features of the Parasound D 200 is its powerful output. This amplifier is capable of delivering 200 watts per channel into 8 ohms and even more into lower impedance loads. This provides ample headroom for dynamic audio playback, ensuring that even the most demanding music tracks and soundtracks maintain clarity and impact without distortion. The amplifier’s Class AB topology contributes to its dynamic power, providing both warmth and detail in the sound reproduction.
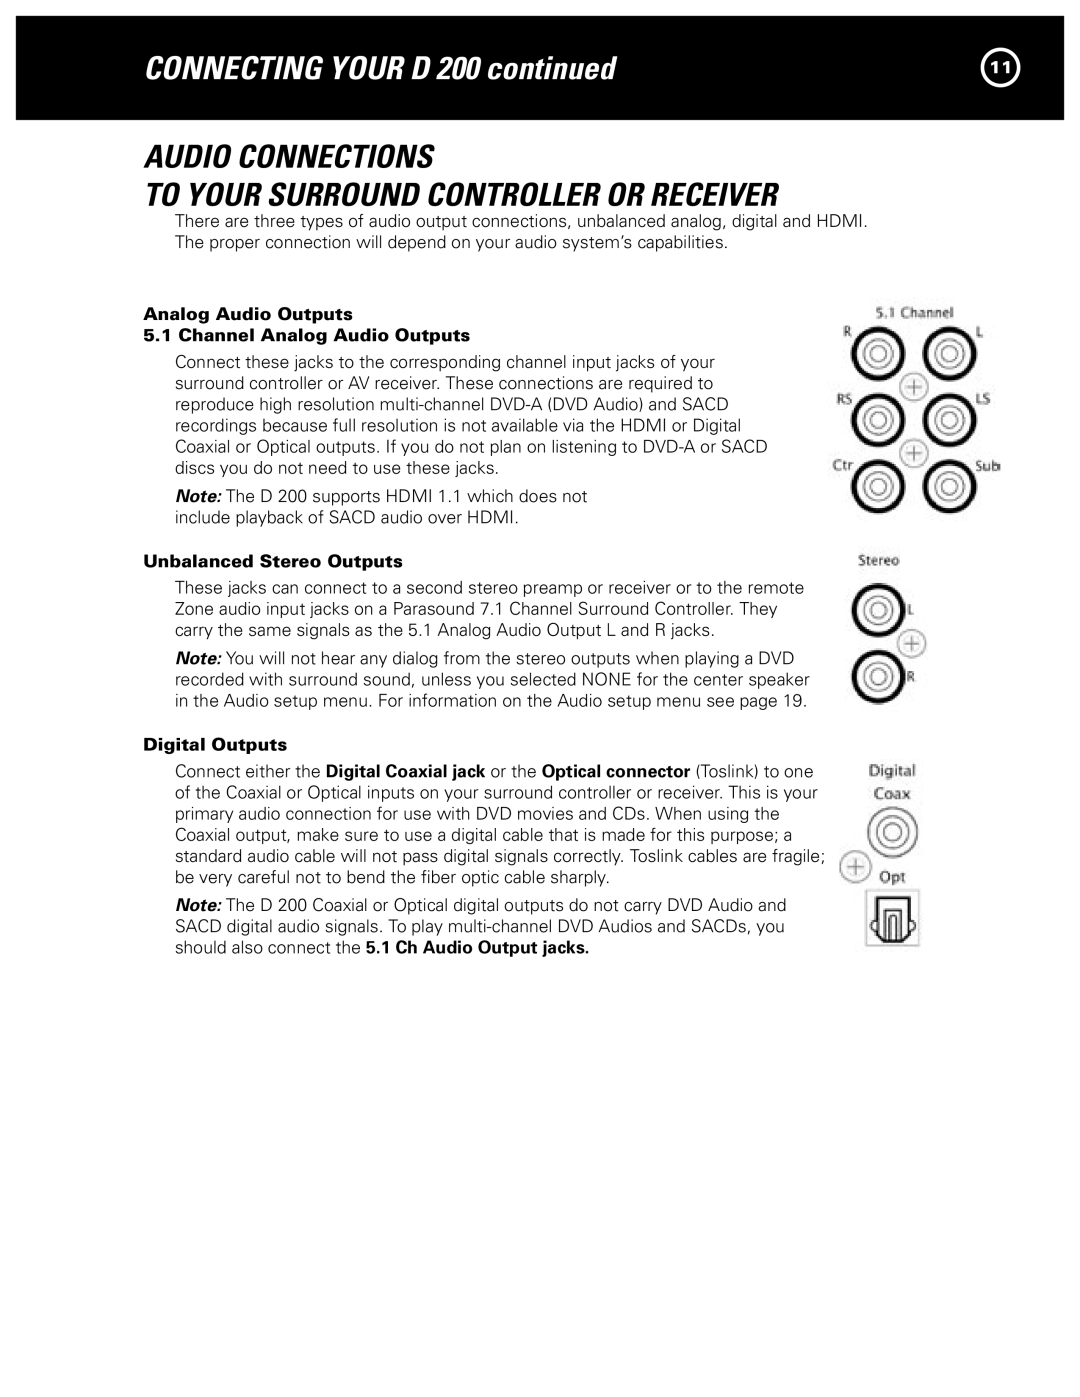
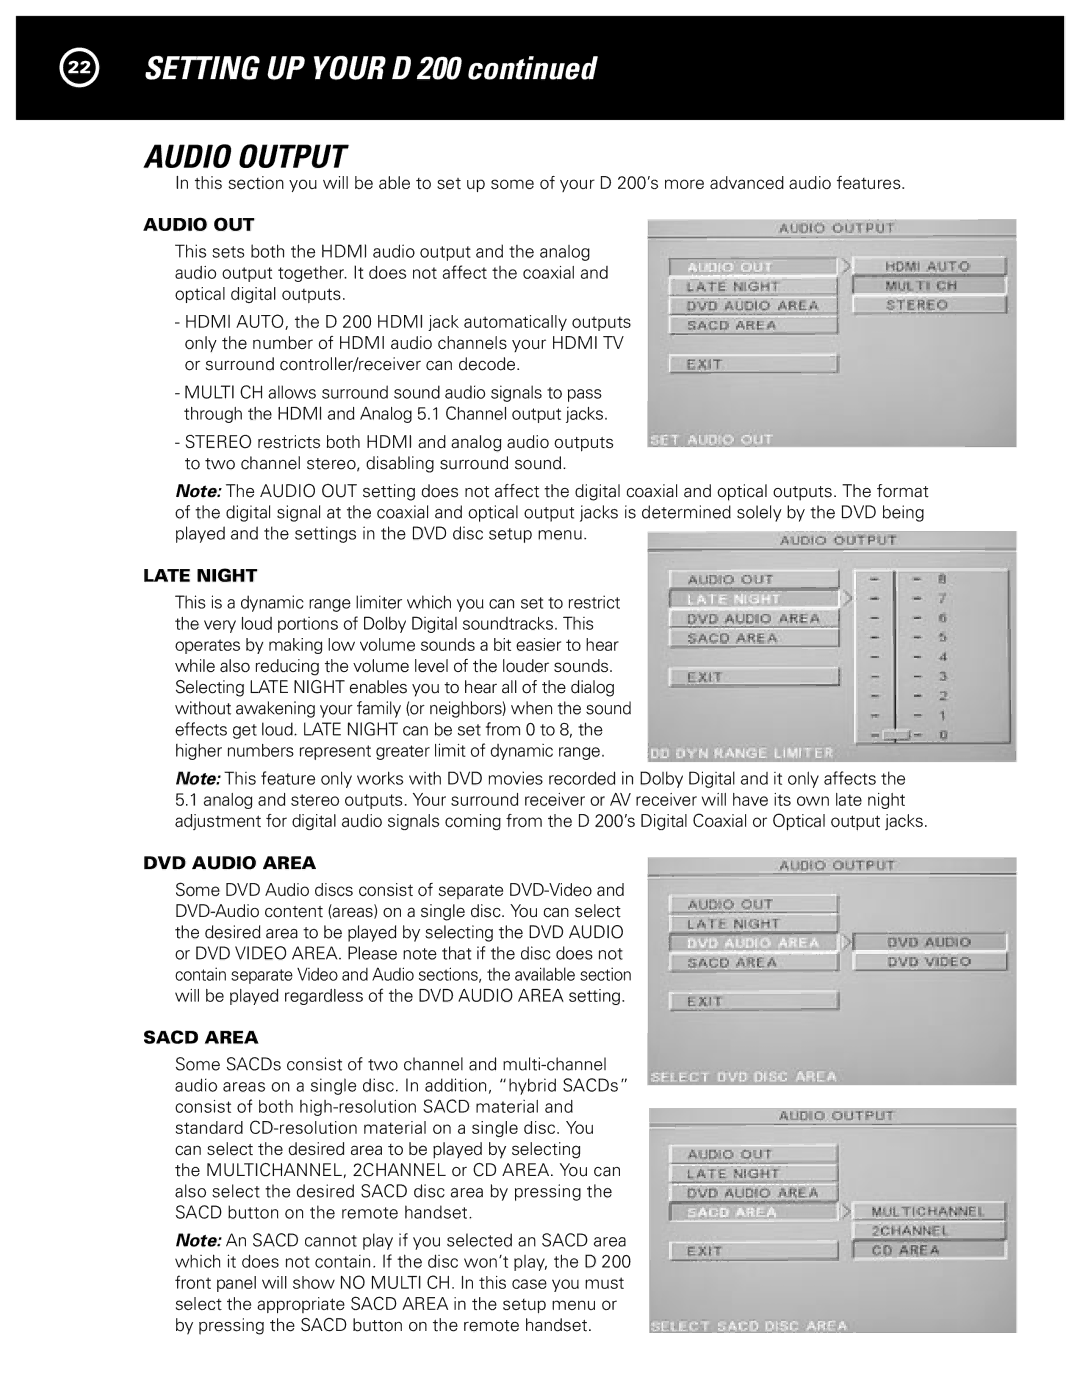
The D 200 incorporates advanced technologies such as the use of high-quality audio components, including premium capacitors and transformers, which are essential for achieving a clean and accurate sonic signature. Its DAC (Digital-to-Analog Converter) section is finely tuned to handle high-resolution audio formats, providing elevated clarity and detail for digital sources. This capability allows for seamless integration with various digital inputs, such as USB, optical, and coaxial connections.
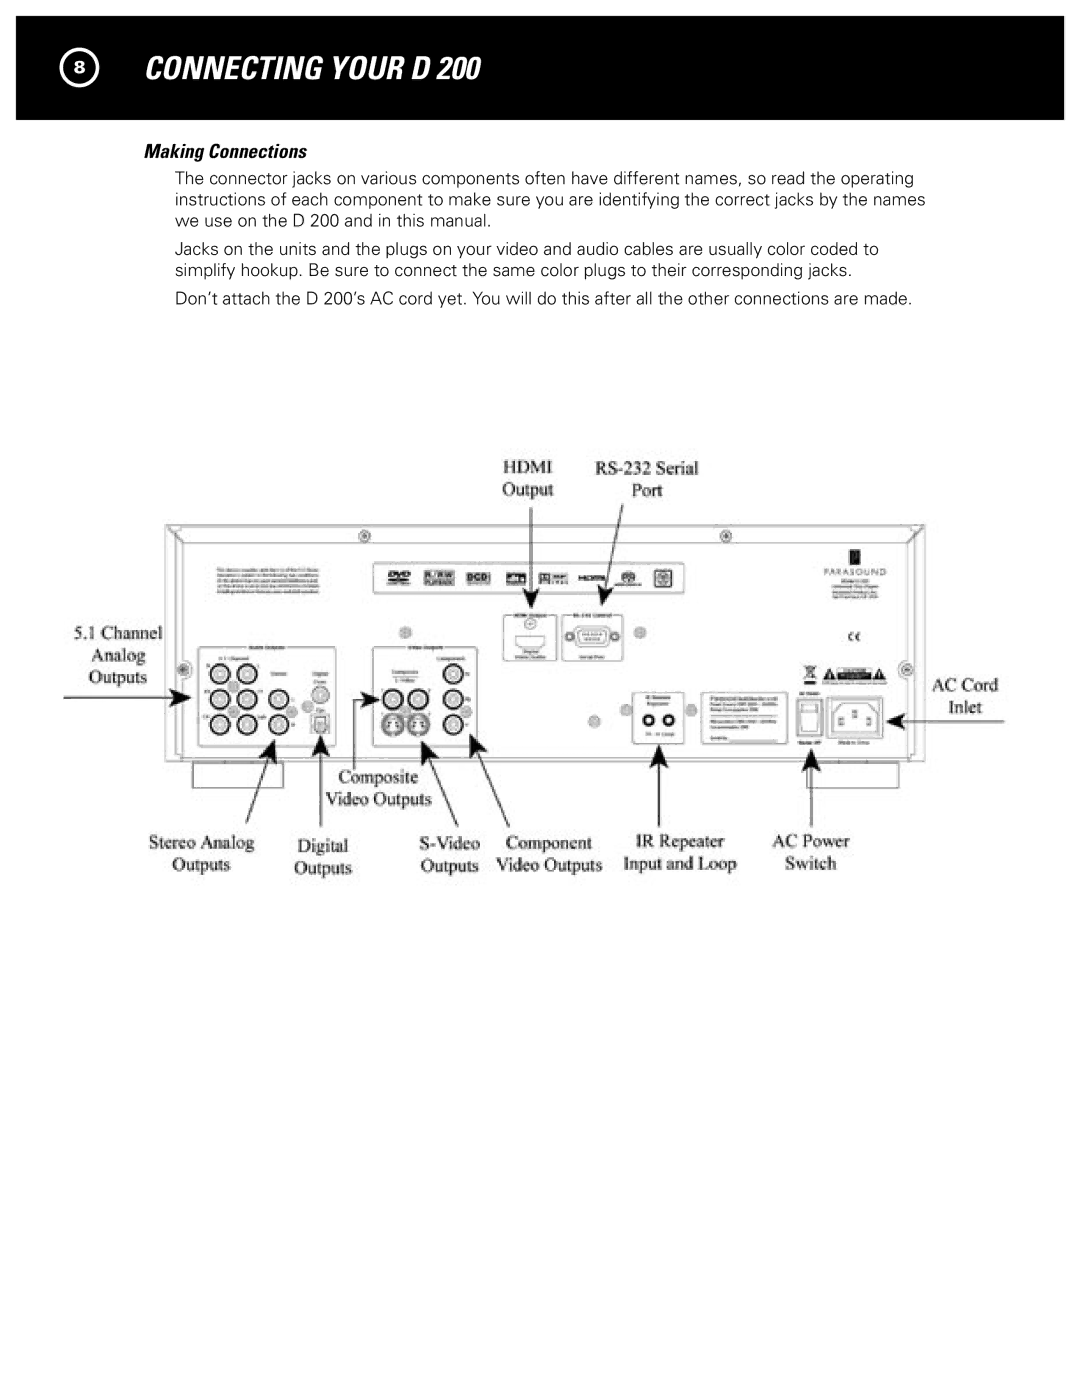
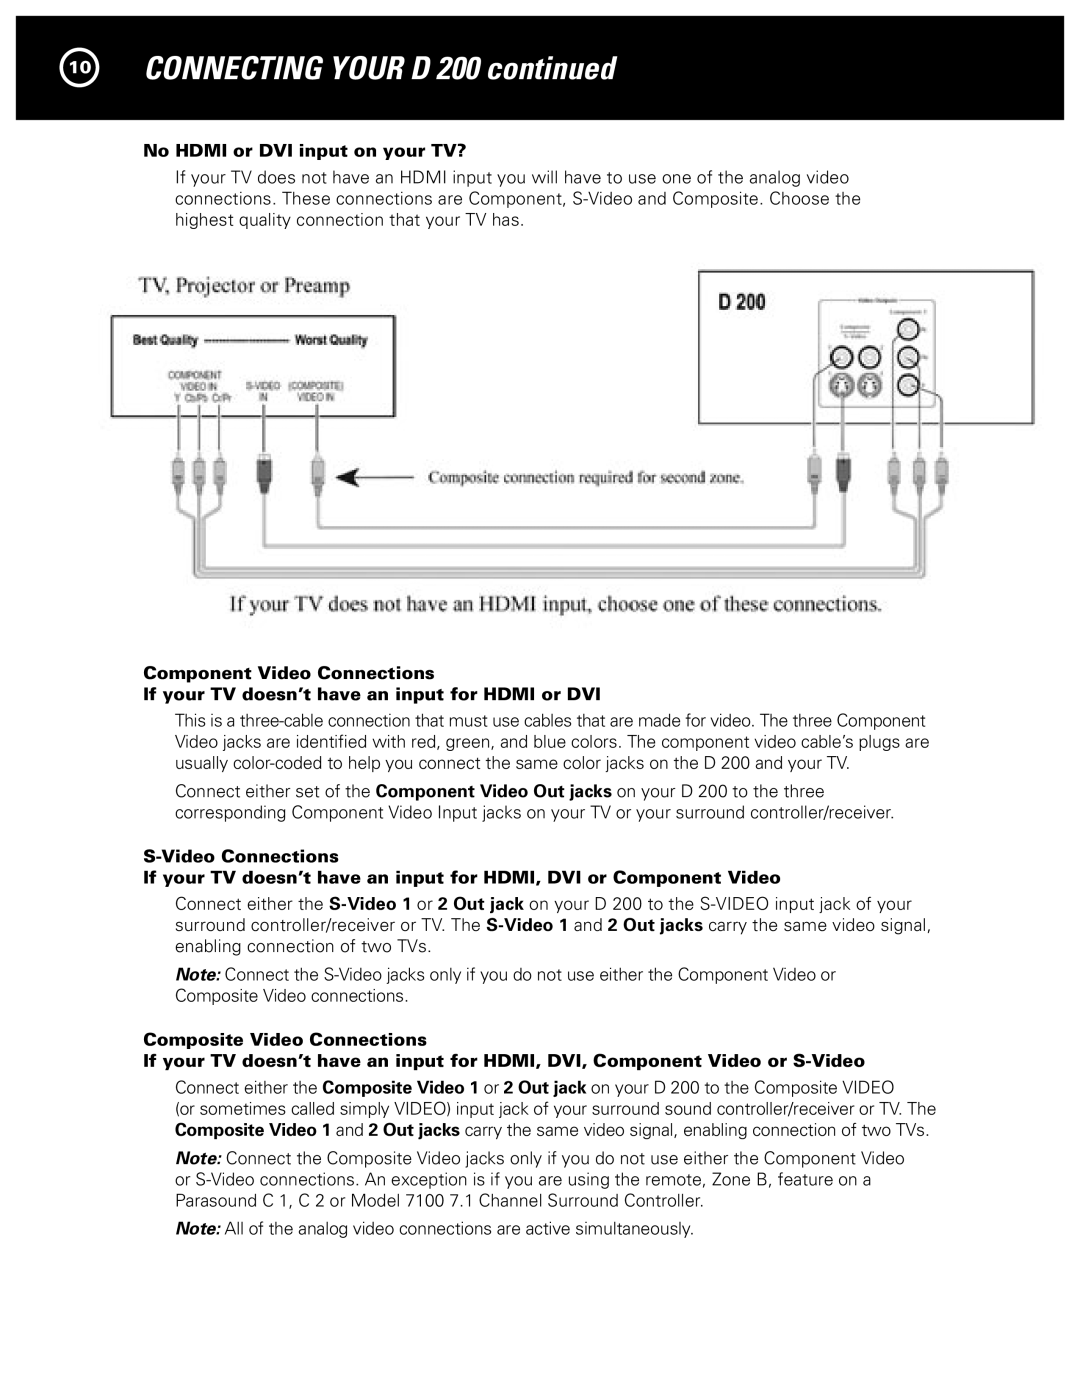
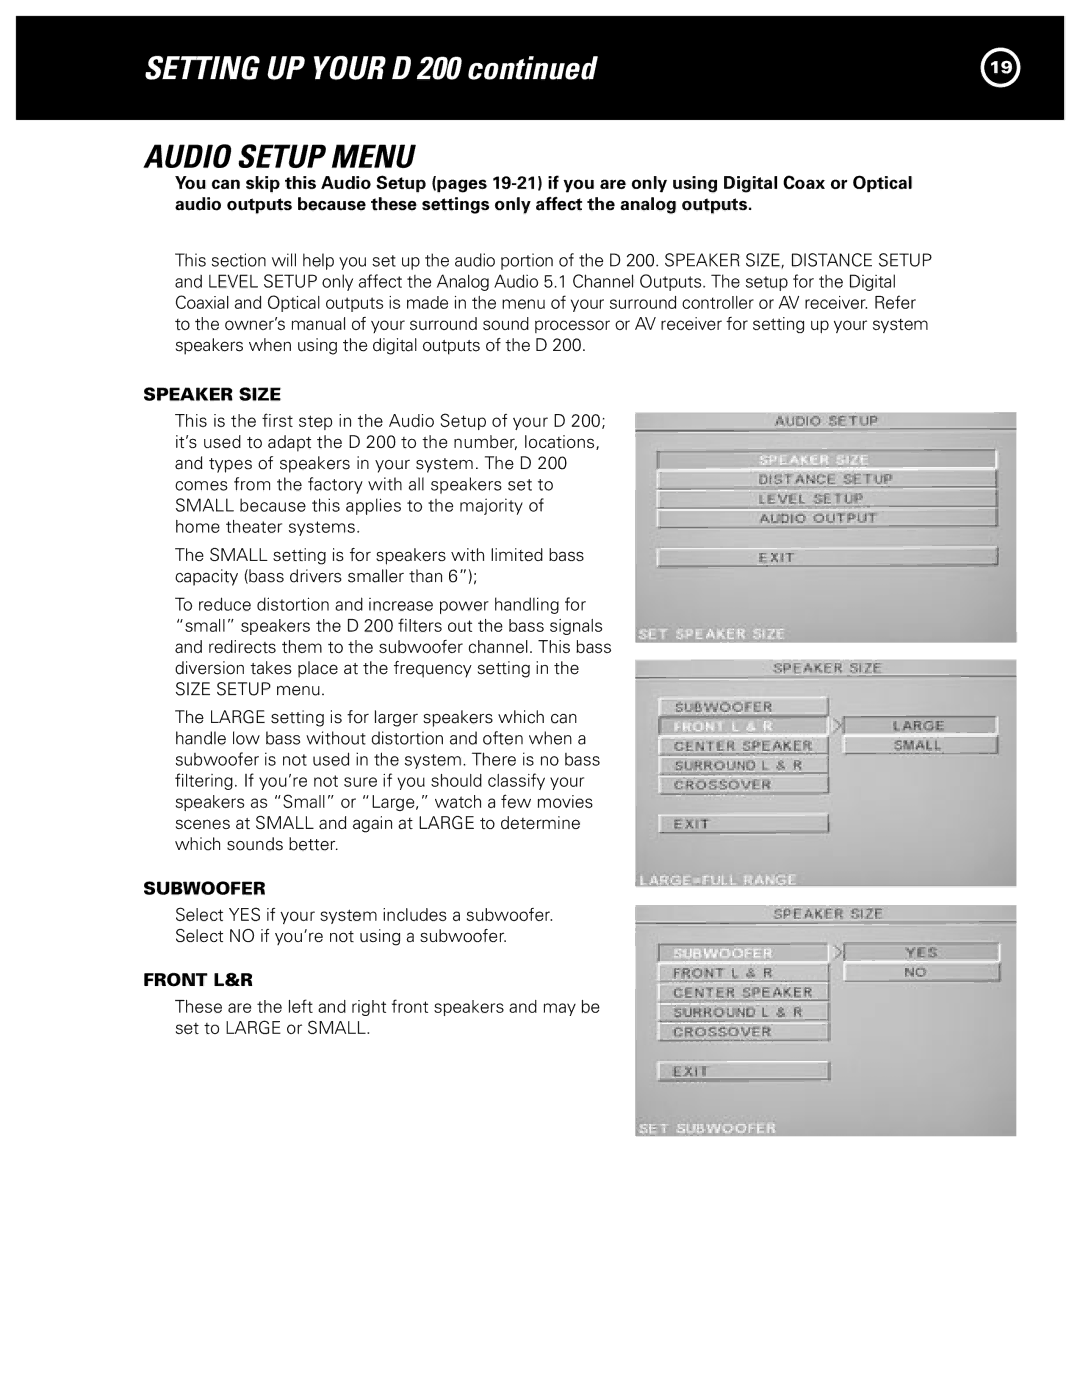
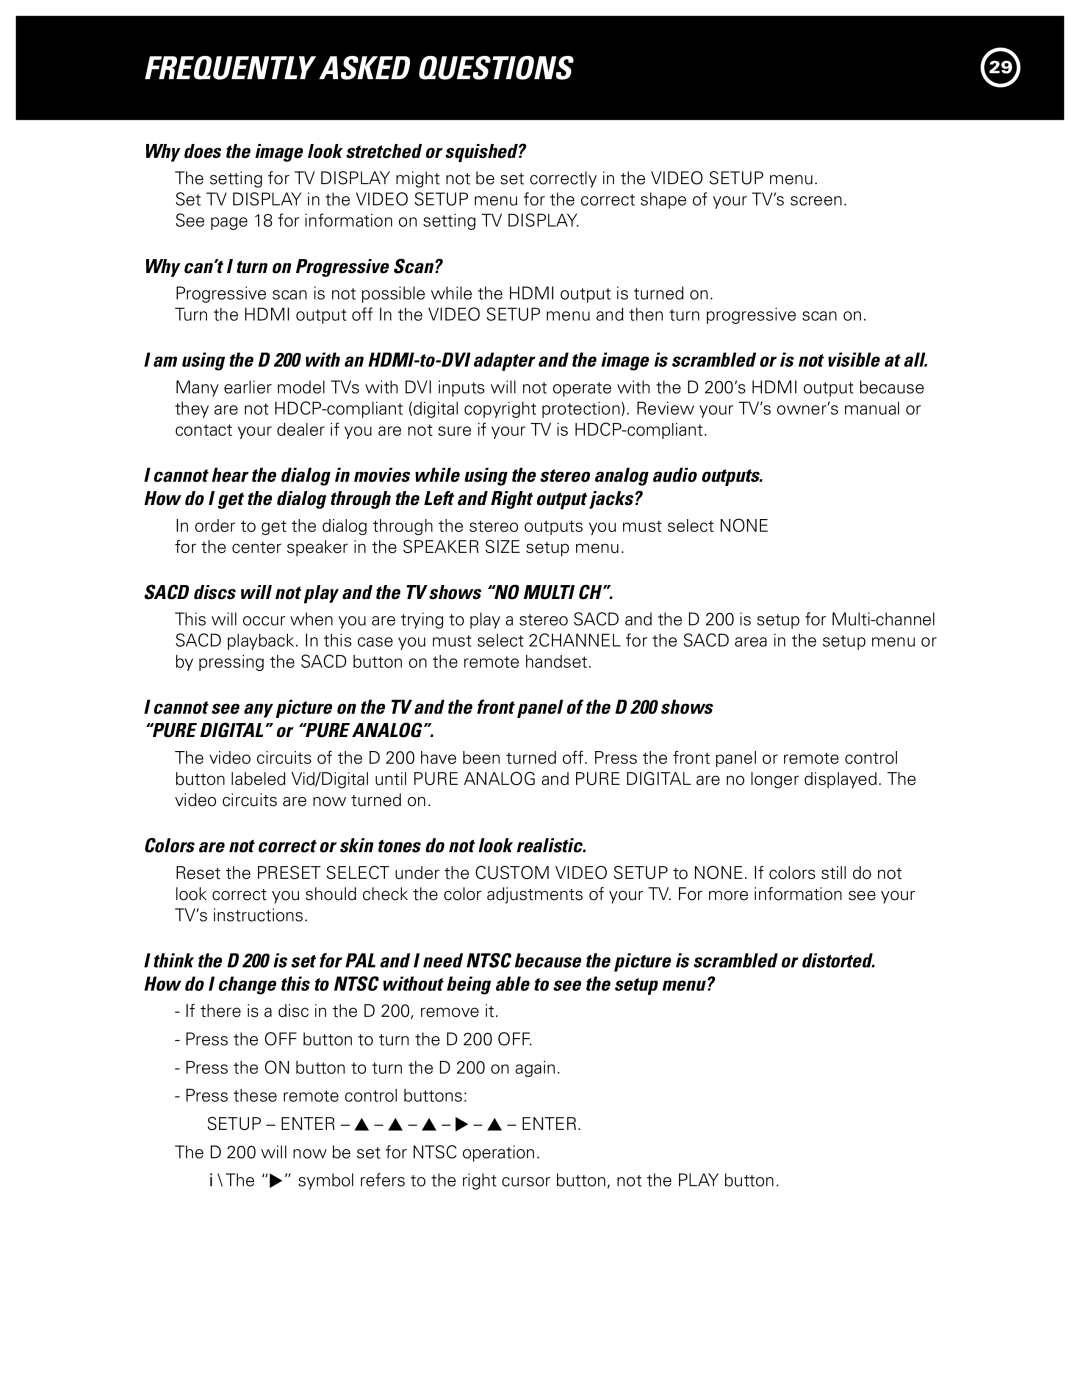
Another impressive characteristic of the D 200 is its extensive connectivity options, making it versatile for different setups. The amplifier features both balanced (XLR) and unbalanced (RCA) inputs, allowing users to connect various audio sources effortlessly. This flexibility is particularly beneficial for those who wish to integrate the D 200 into existing home audio or theater systems.
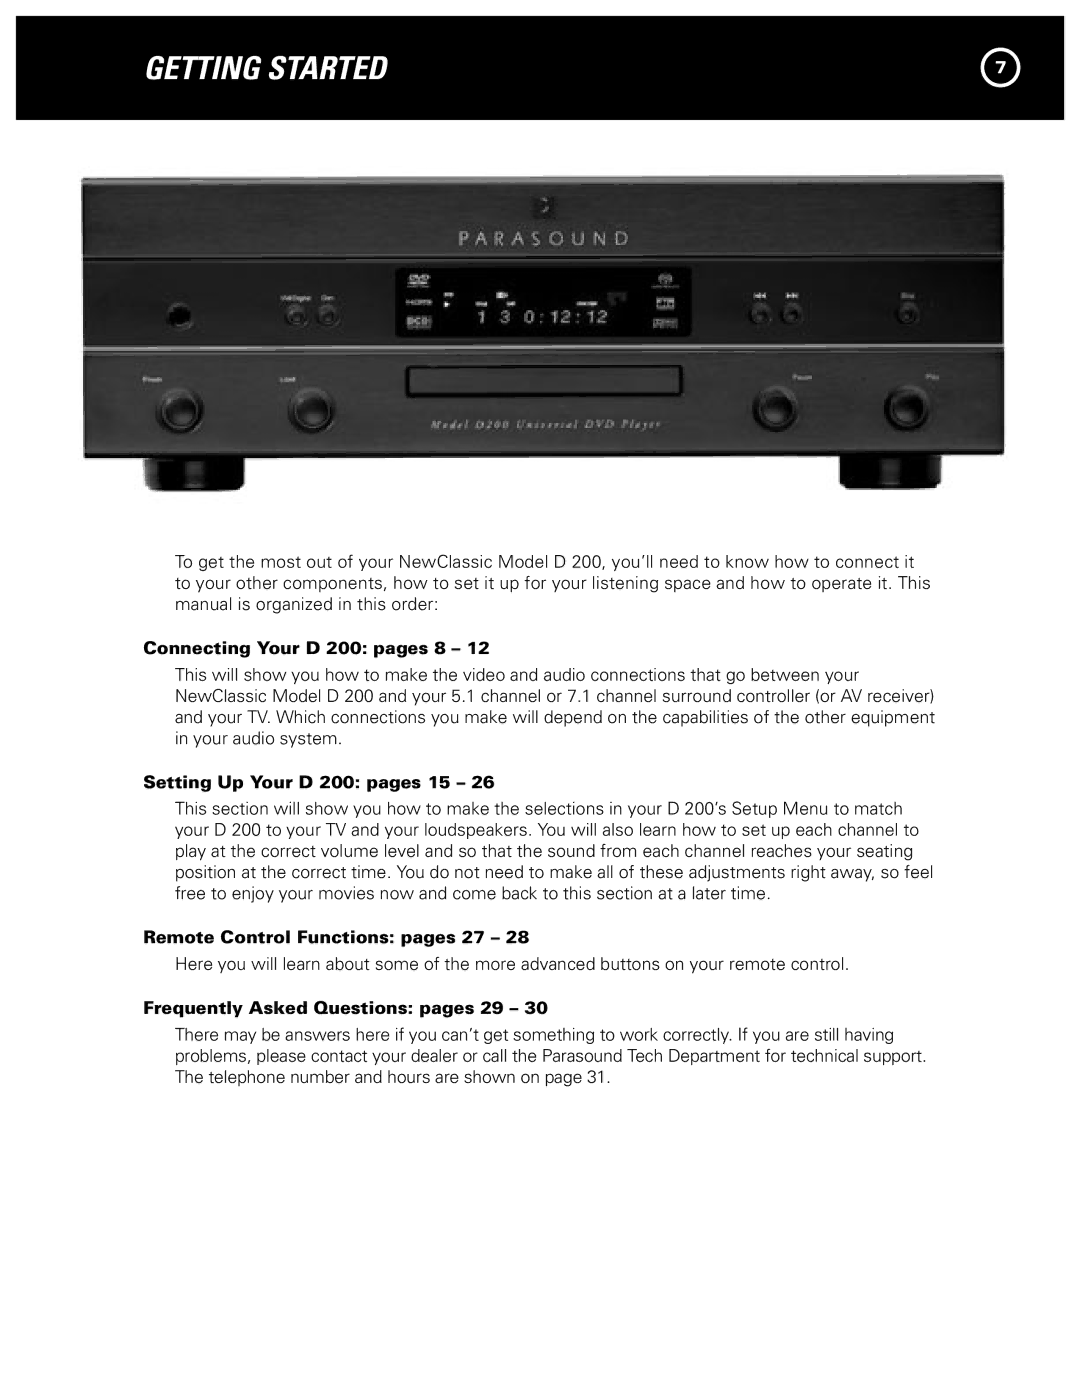
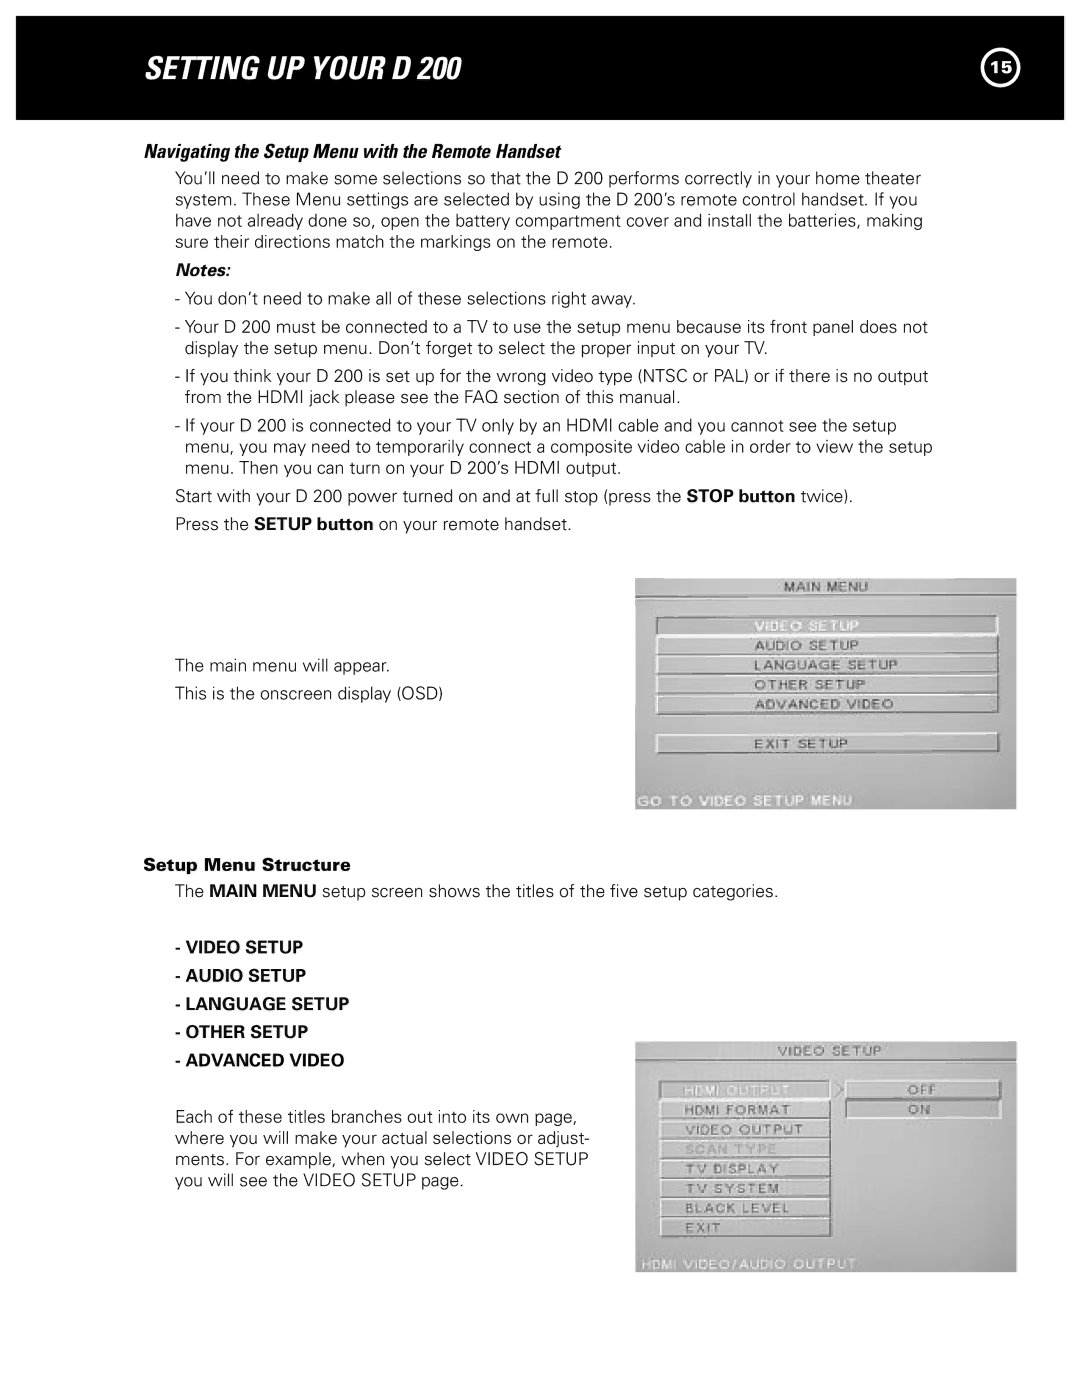
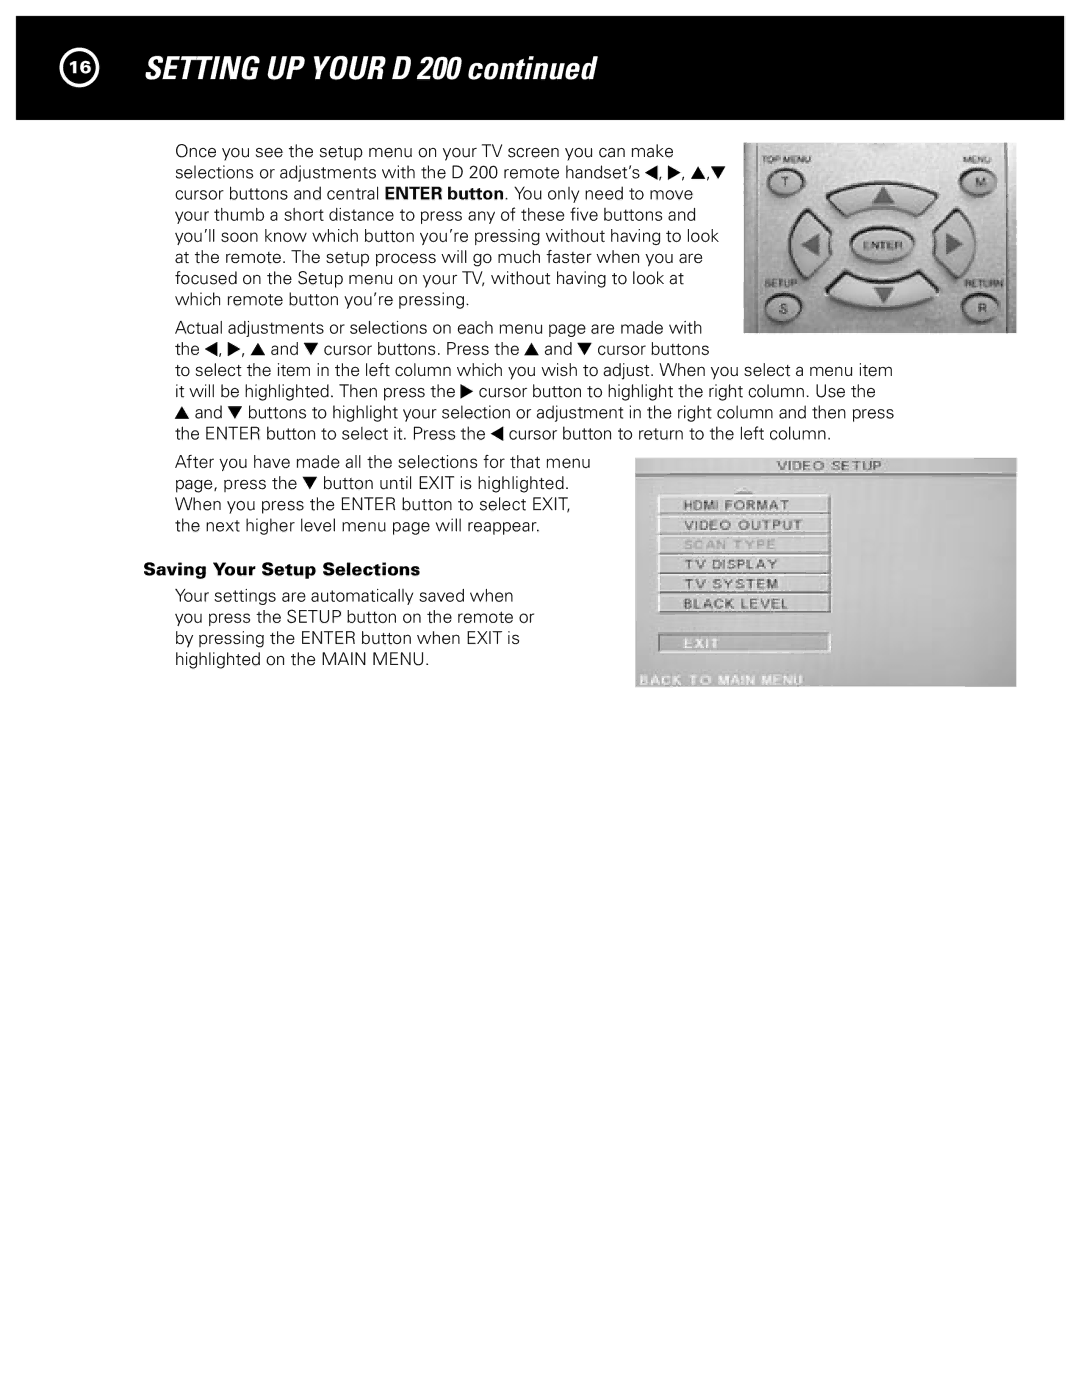
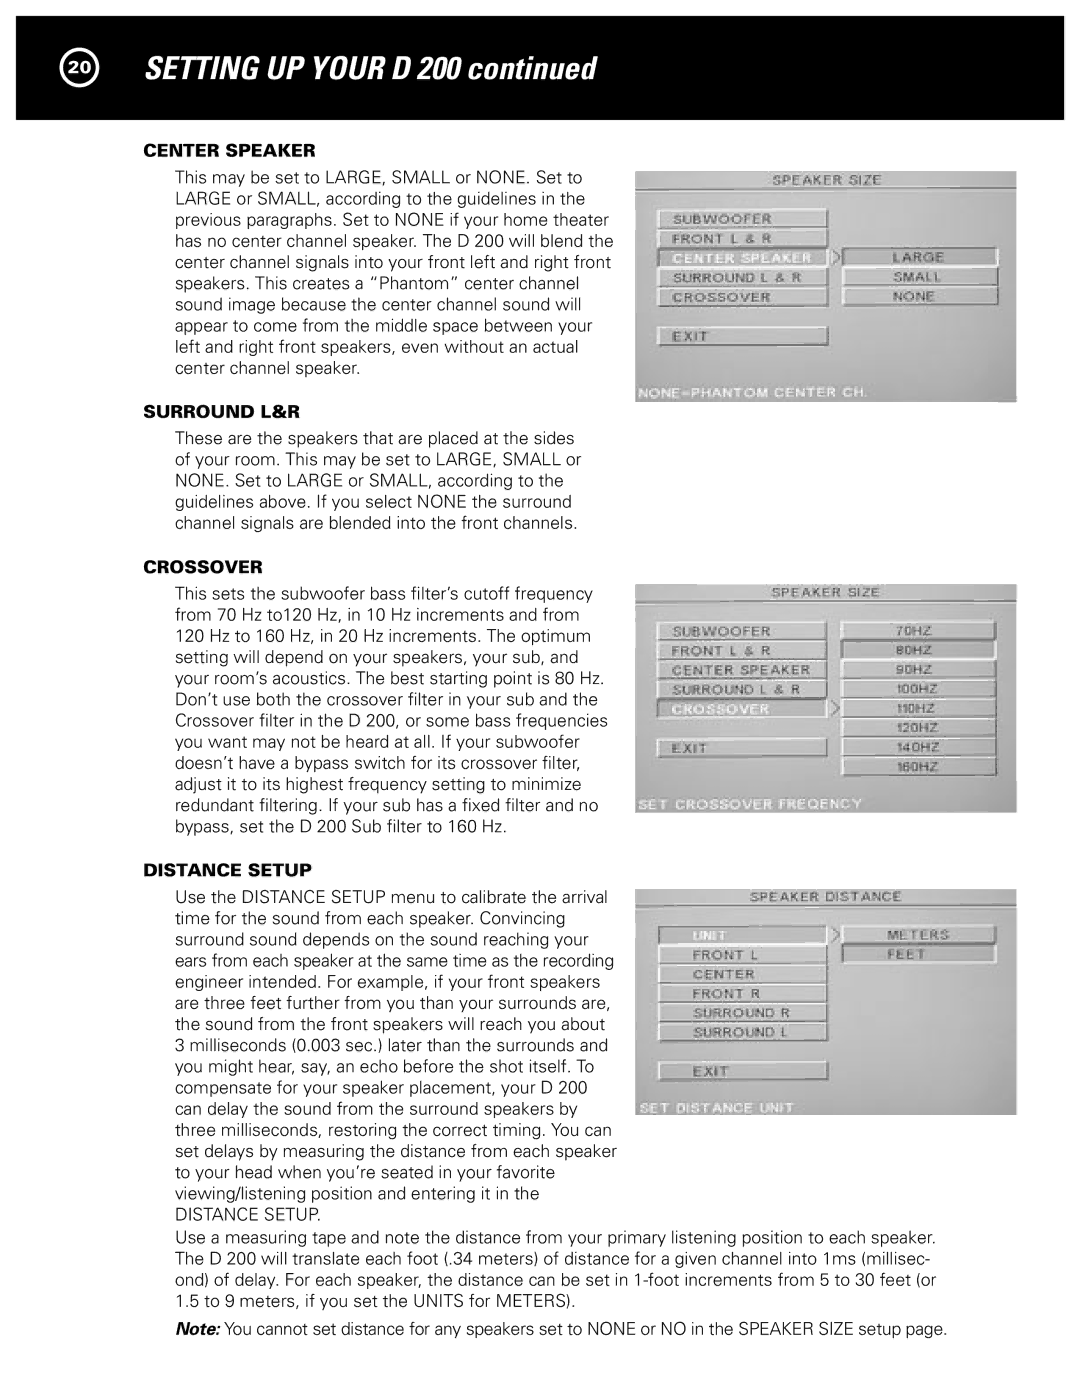
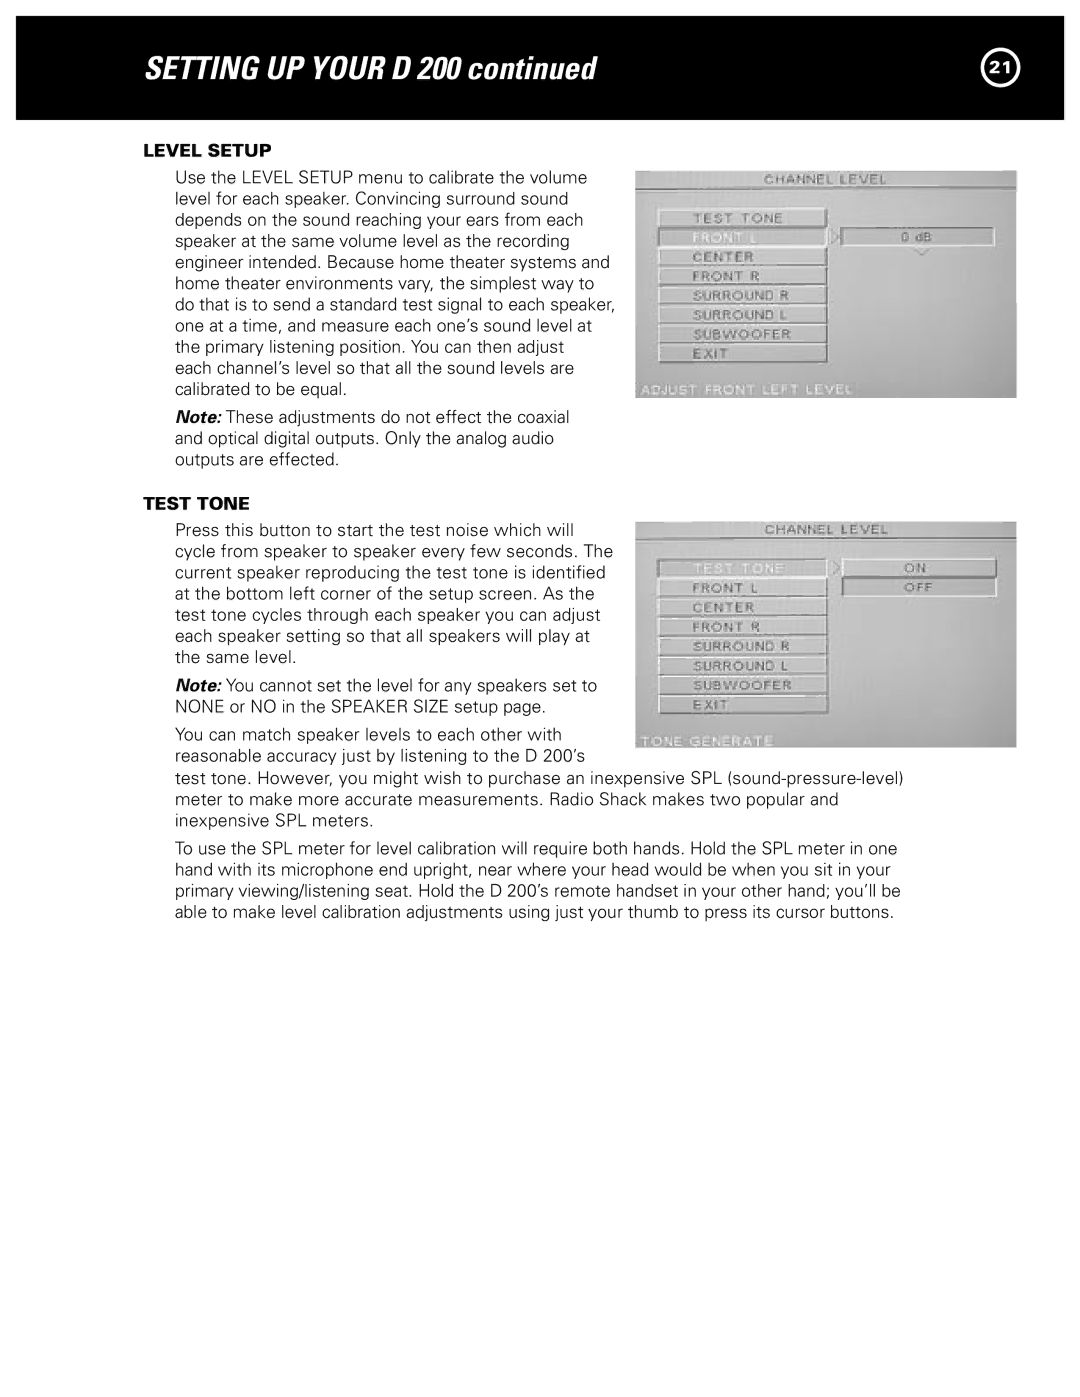
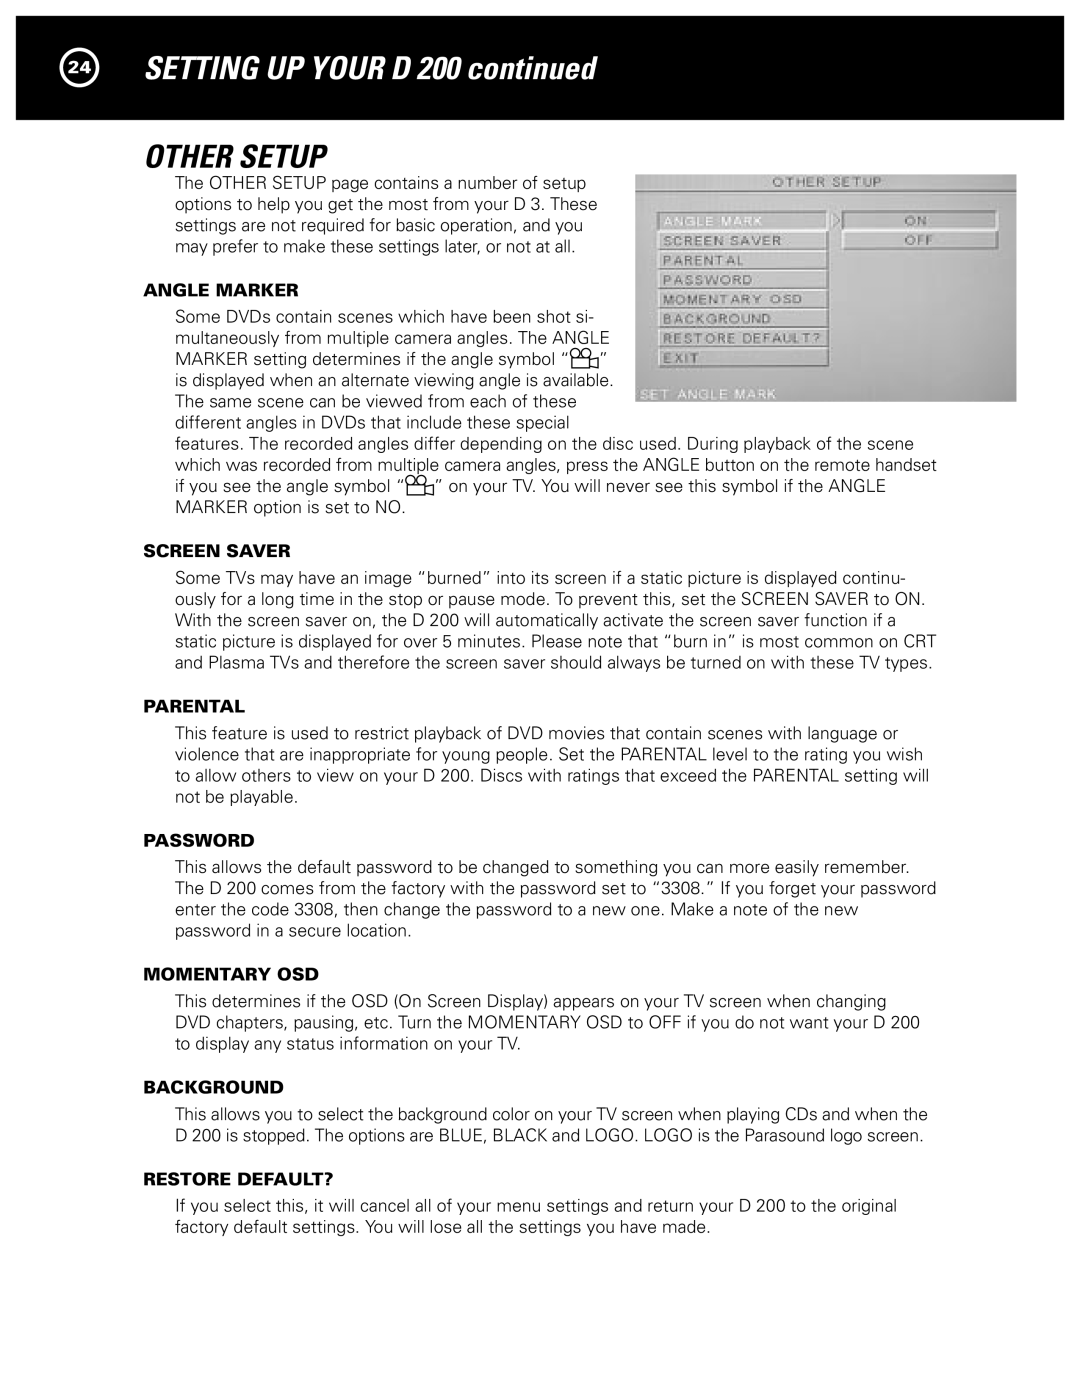
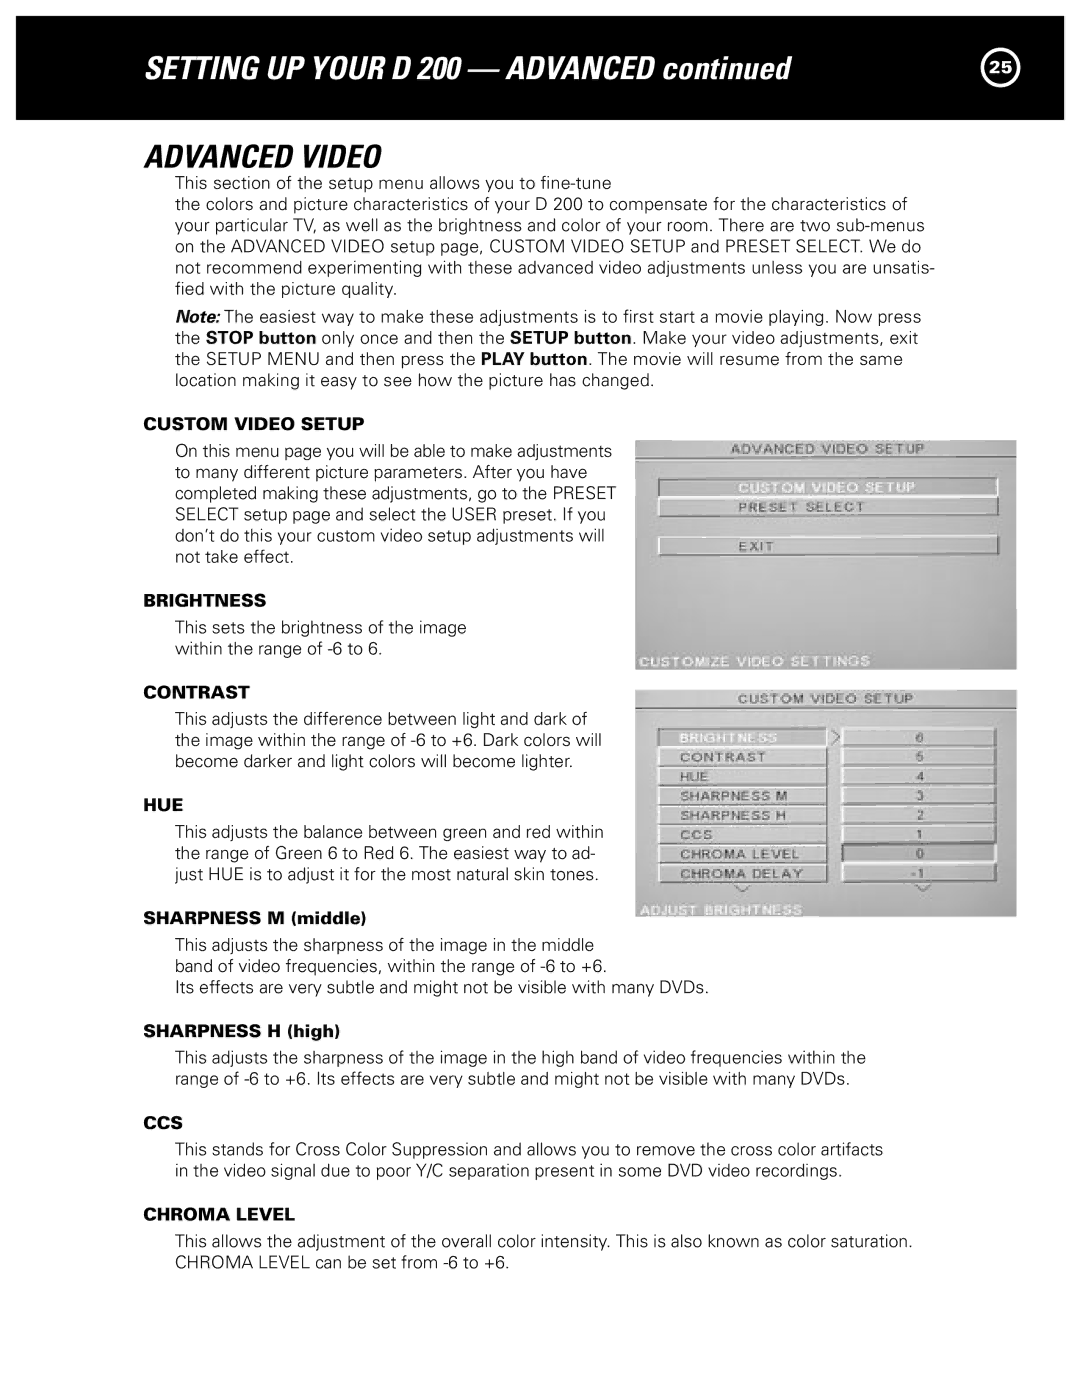
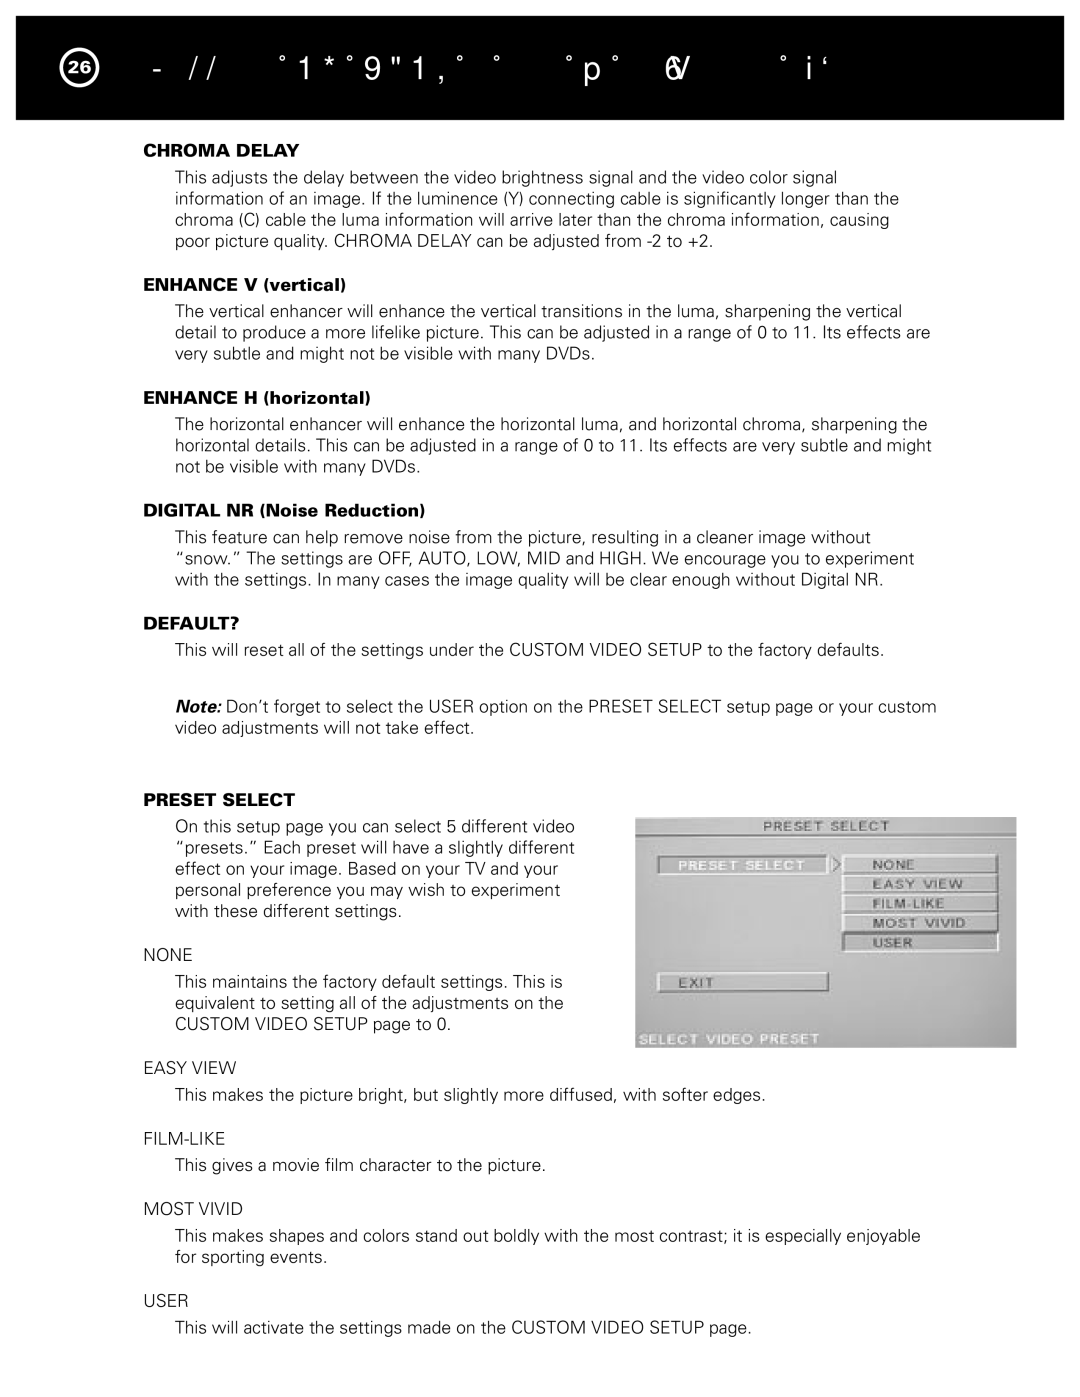
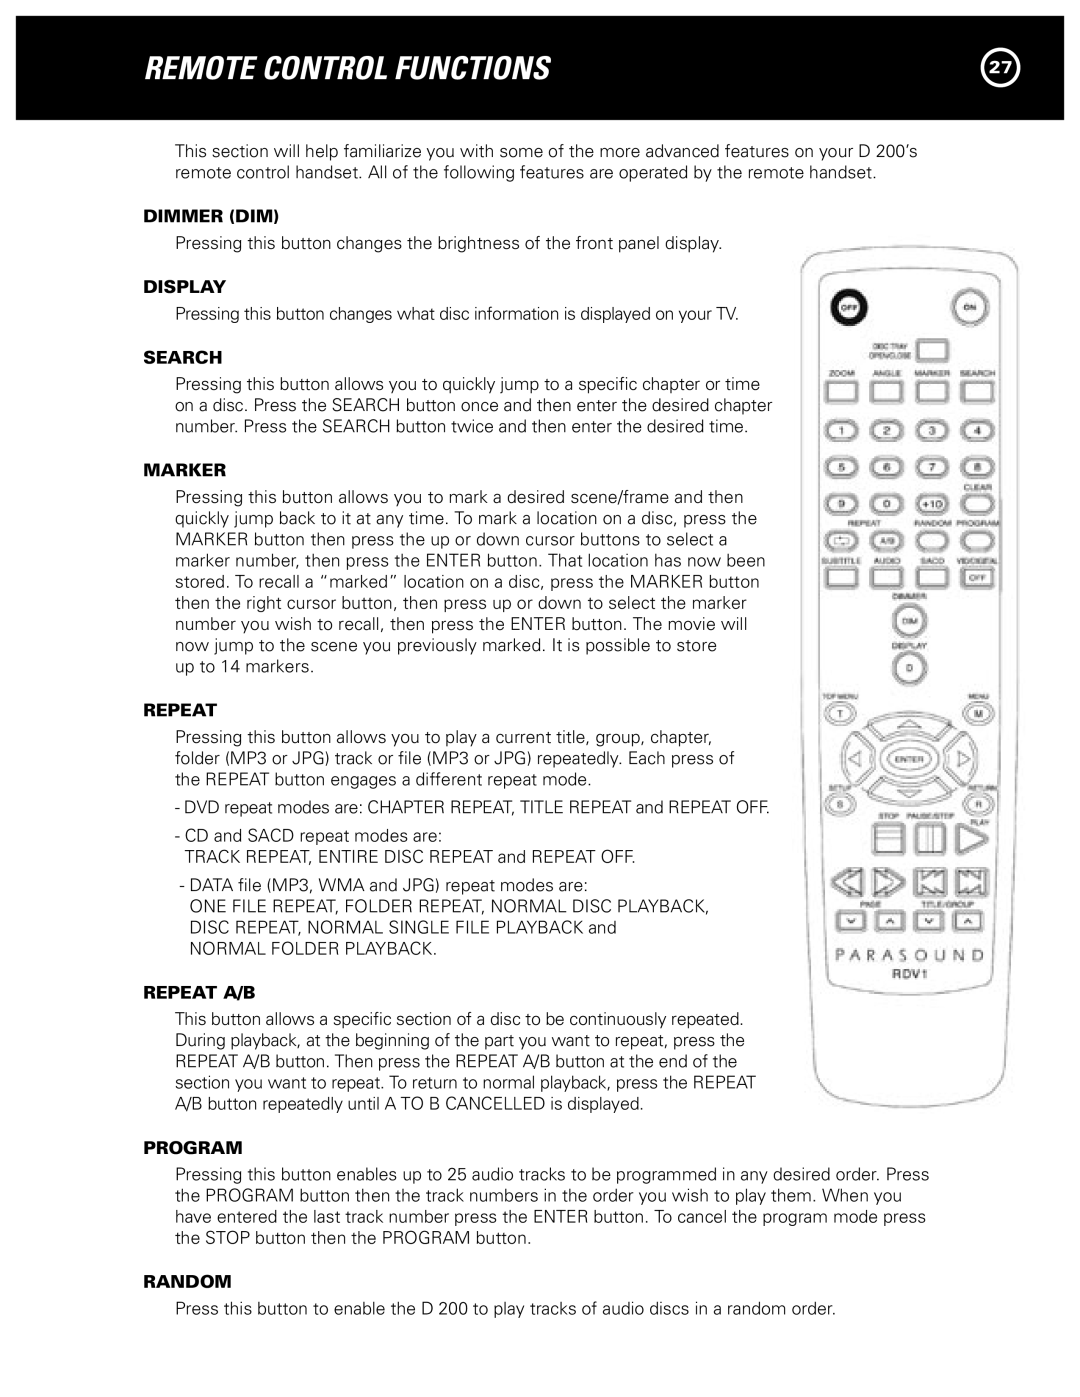
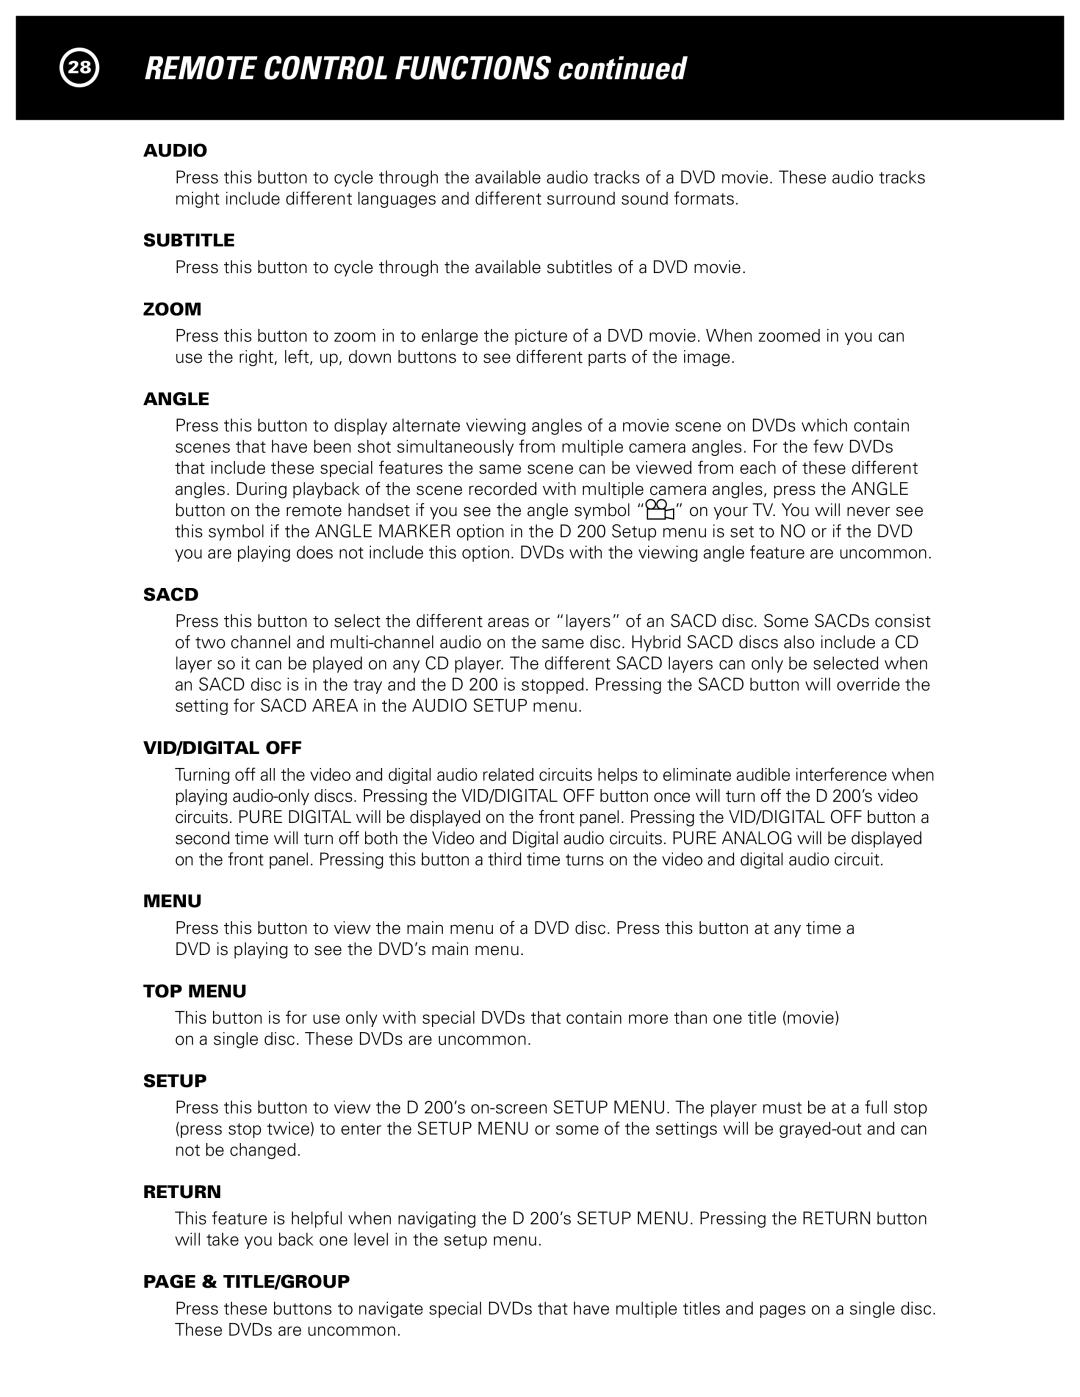
Parasound also emphasizes user-friendly operation in the D 200’s design. The amplifier comes equipped with a comprehensive front-panel display that provides vital information such as audio source selection, volume level, and input status. Additionally, a remote control is included for convenient operation from a distance, simplifying the listening experience.
In conclusion, the Parasound D 200 amplifier delivers impressive audio performance and comprehensive features, making it a worthy addition for anyone looking to enhance their audio setup. With its powerful output, advanced technology, and user-friendly design, the D 200 stands out as a reliable choice for both casual listeners and dedicated audiophiles seeking a superior sound experience. Whether used in a stereo system or a home theater setup, the D 200 promises to elevate the overall enjoyment of music and movies alike.

