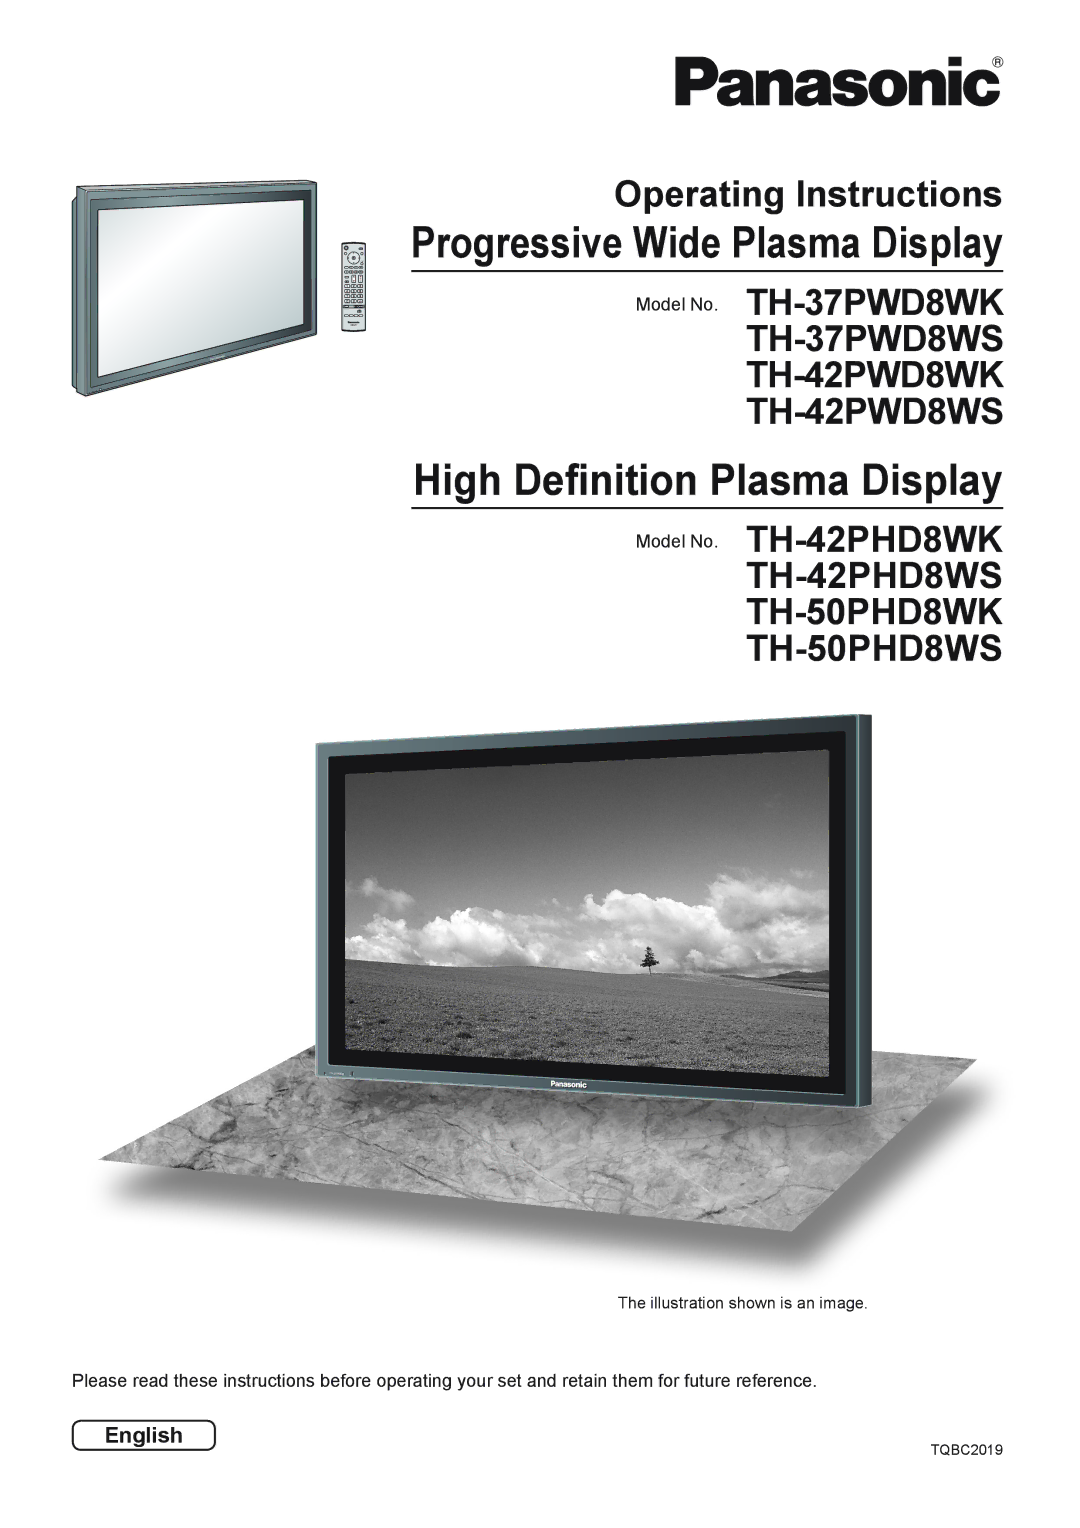
TH-42PHD8WK, TH-42PWD8WS, TH-50PHD8WS, TH-37PWD8WS, TH-42PWD8WK specifications
The Panasonic TH-42PHD8WS, TH-37PWD8WK, TH-50PHD8WK, TH-42PWD8WK, and TH-37PWD8WS are part of Panasonic's renowned line of plasma display panels renowned for their superior image quality and robust build. Ideal for both professional and home use, these models have been engineered to deliver high-definition visuals with remarkable color accuracy and depth.The TH-42PHD8WS stands out with its 42-inch screen that emphasizes clarity and vivid colors. With a resolution of 1024 x 768 pixels, it uses advanced phosphor technology to enhance brightness, contrast, and overall image quality. This model is designed for easy integration into various environments, making it a popular choice for presentation and digital signage applications.
Similarly, the TH-37PWD8WK and TH-37PWD8WS offer a slightly smaller 37-inch display size, ideal for tighter spaces without compromising image quality. Both models utilize the same powerful technologies found in their larger counterparts, ensuring vibrant performance with a contrast ratio that brings out deeper blacks and brighter whites.
The TH-50PHD8WK offers an expansive 50-inch screen, providing an immersive viewing experience, making it perfect for home theaters and entertainment setups. This model combines full HD capability with a high refresh rate, resulting in smoother motion and an overall enhanced viewing experience, whether for movies, sports, or gaming.
All these models are built with Panasonic's pioneering NeoPDP technology, which delivers improved energy efficiency and a longer lifespan compared to earlier plasma displays. The panels boast exceptional color reproduction, ensuring that every detail is captured with precision. Furthermore, their wide viewing angles make them suitable for group viewings without loss of image quality.
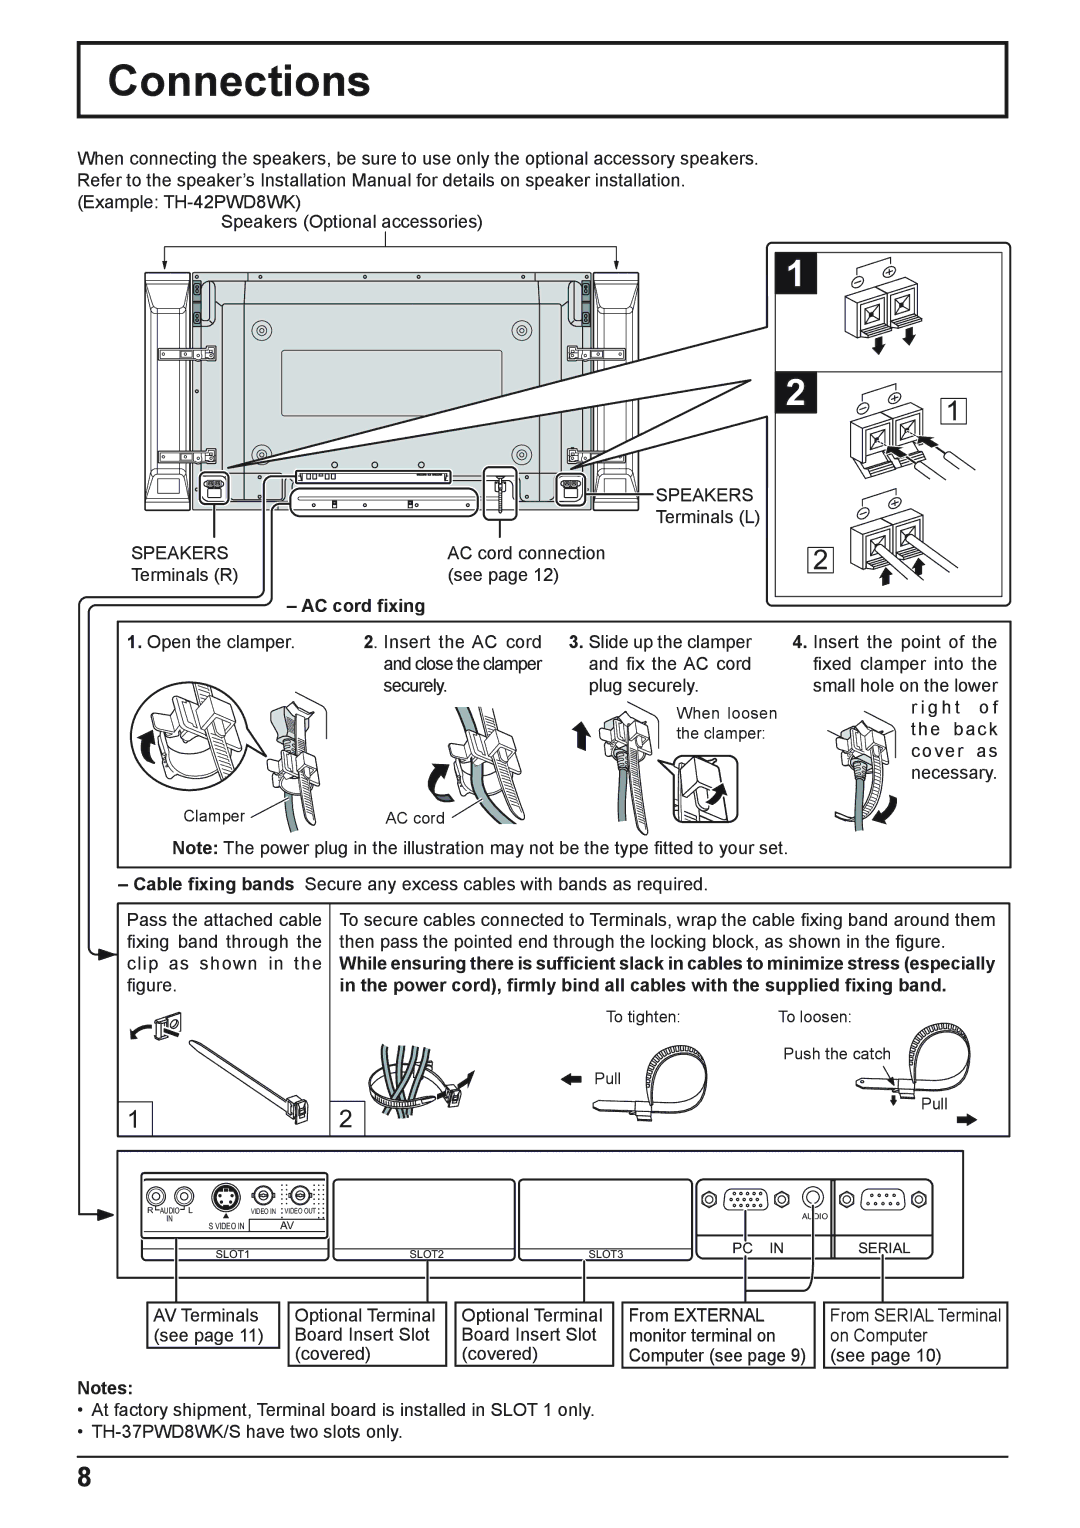
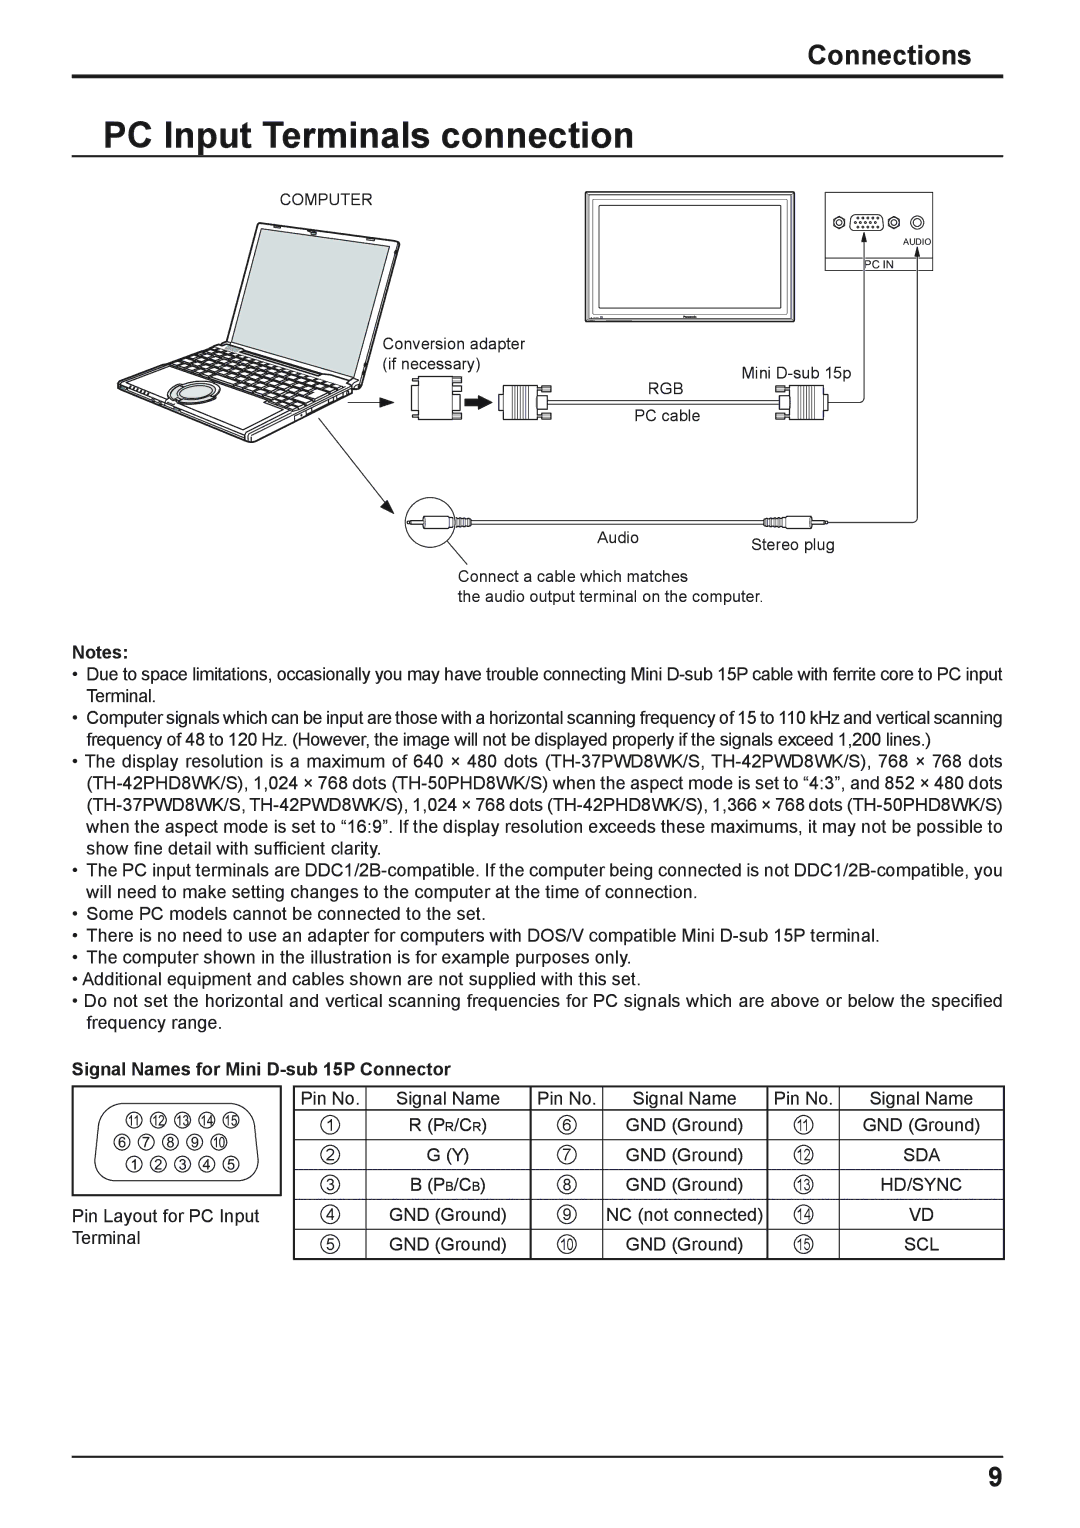
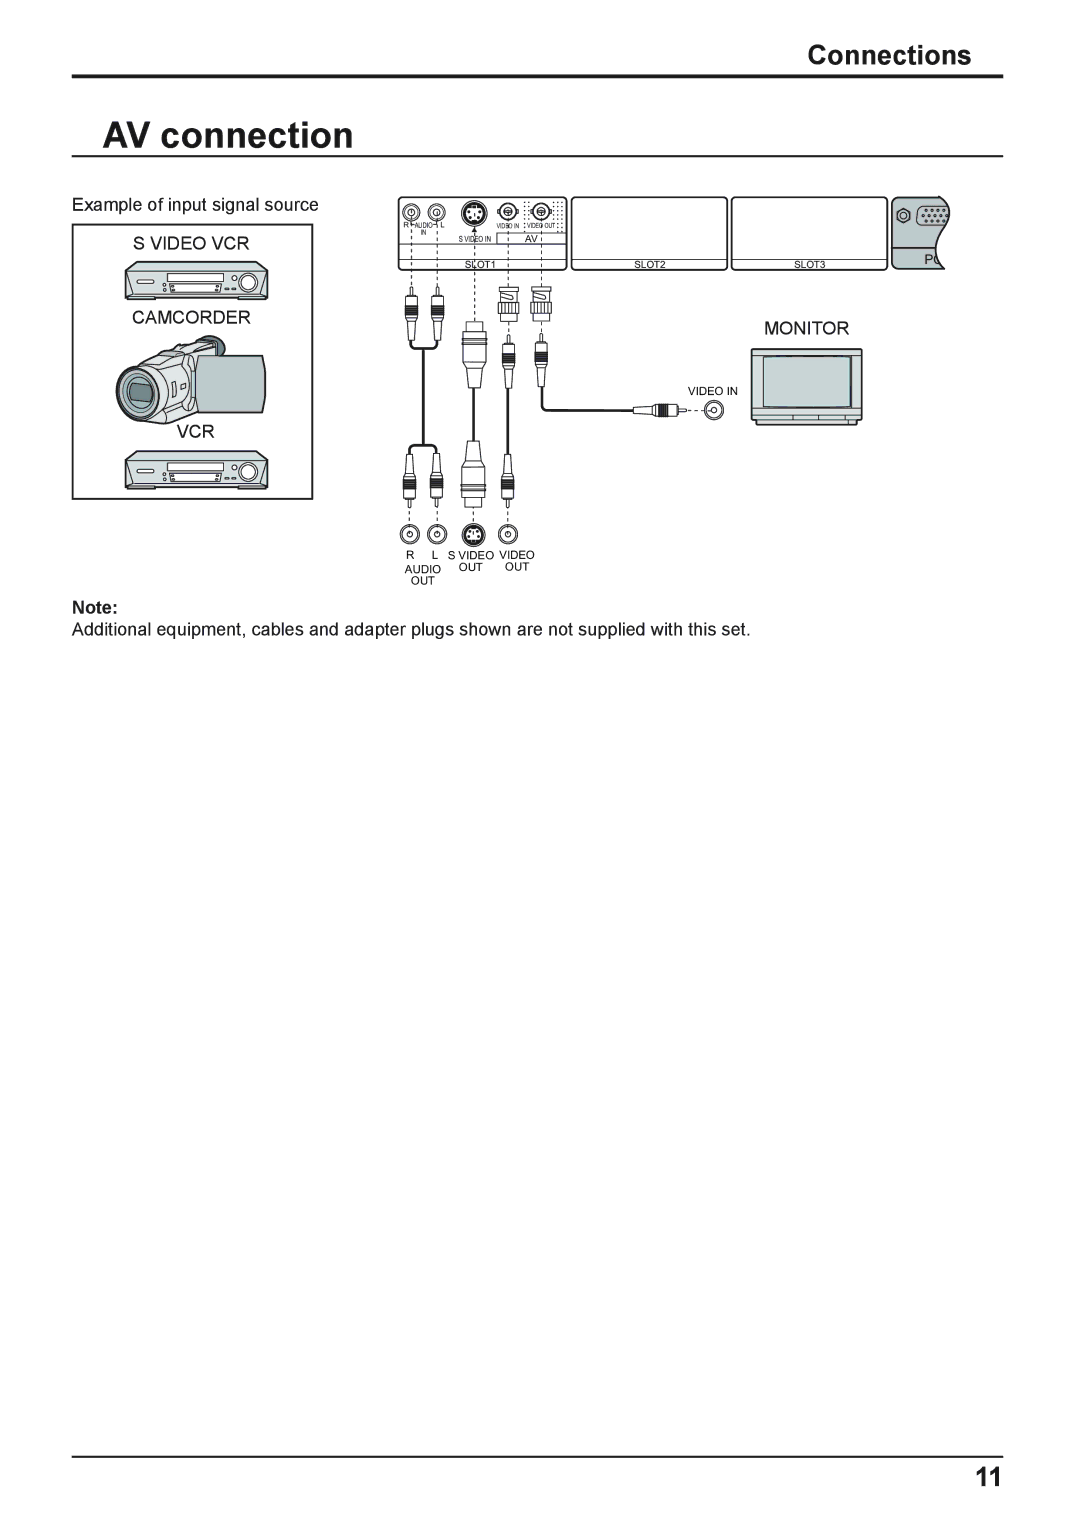
Another notable feature across these models is their versatility in connectivity options, including HDMI and VGA inputs, which facilitate seamless integration with various devices. This adaptability, combined with their robust design and stunning visual performance, makes Panasonic's plasma displays a solid choice for anyone seeking unparalleled viewing experiences in diverse settings. Whether for professional presentations or cinematic adventures at home, the TH-42PHD8WS, TH-37PWD8WK, TH-50PHD8WK, TH-42PWD8WK, and TH-37PWD8WS deliver unmatched quality and performance in the realm of plasma technology.
