Contents
HDD/DVD Recorder
Disposal of your old appliance
Serial Number
Contents
Symbol Used in this Manual
About the Symbol Display
Cleaning Discs
Handling Discs
Recordable and Playable Discs
Recommendable recordable DVD discs
Playable Discs
Remote Control Operation
Remote Control Battery Installation
About the internal hard disk drive
Disc-related terms
Front Panel
Remote Control
Numerical buttons Selects numbered options in a menu
OPEN/CLOSE Z Opens and closes the disc tray
Scan m / M Search backward or forward
RF coaxial connection
Connecting to the Aerial
Rear Panel
Connections to Your TV
About Hdmi
Hdmi connection
Type a
Amplifier Receiver
Connecting to an Amplifier
Digital Multi-channel sound
Accessory Audio/Video A/V Connections
Connecting a PAY-TV/Canal Plus Decoder
Connecting to the Euro AV2 Decoder jack
VCR, Cable Box, or Satellite Tuner, etc
Connecting to the Input 3 or Input 4 Jacks
Connecting a Digital Camcorder
Rear Front Recorder
Front of the recorder
Using the Home Menu
Initial Settings
General Settings
Auto Programming
Program Edit
Program Edit
AV1 Decoder
Display Mode
Auto Clock Set
Manual Clock Set
TV Aspect
Language Settings
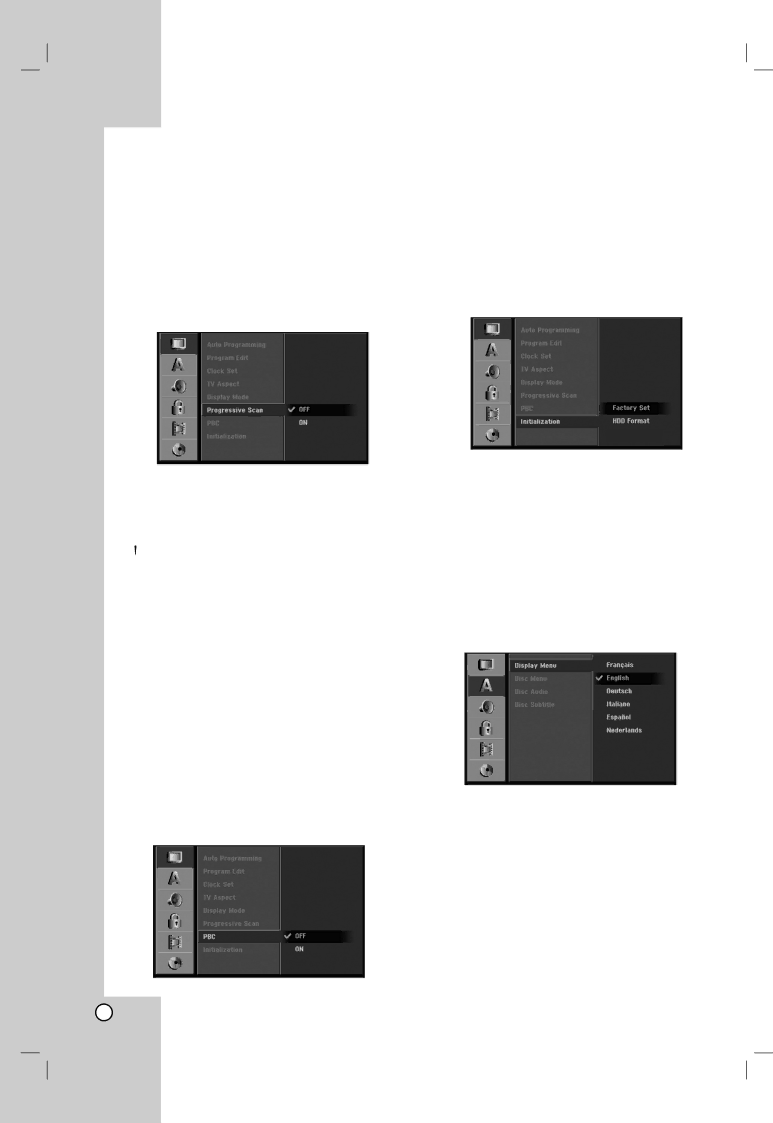
Progressive Scan
Initialization
Display Menu
Audio Settings
Lock Parental Control Settings
Set Password
Rating
Area Code
Recording Settings
Record Mode Set
Record Aspect
DivX Registration Code DivX
Disc Settings
DV Recording Audio
TV Recording Audio
Auto Chapter
Disc Protect
Finalize
Disc Label
Displaying Disc Information on-screen
General Explanation On-Screen Display
Displaying Information While Watching TV
Playing a HDD, DVD, DivX file or Video CD
Moving to another Title HDD -RWVR
Moving to another CHAPTER/TRACK
Still Picture and Frame-by-Frame Playback
Slow Motion HDD -RWVR-RWVideo+RW
Random Karaoke DVD VCD
Repeat HDD -RWVR-RWVideo+RW -R
Repeat A-BHDD -RWVR-RWVideo+RW
Checking the Contents of DVD Video Discs Menus
3D Surround -RWVR-RWVideo+RW -R
Subtitles DVD DivX
Instant Skip HDD -RWVR-RWVideo+RW
Finding Locations on a Disc VCD
Playing a DivX Movie File
Movie menu options
Playable Audio format
About DivX movie files
Playable Codec format
Playing an Audio CD or MP3/WMA file
Audio CD and Music menu options
Pause
Moving to Another Track
Repeat
Random
3D Surround
Search Audio CD only
Program Playback with Audio CD and MP3/WMA file
Program List menu options
Viewing a Jpeg File
Photo menu options
Skip Images
Rotate Images
View Slide Shows
About Jpeg image files
To Pause the Slide Show
To listen to music while slide show simultaneously
Naming a file on the HDD
Editing a MP3/WMA, JPEG, DivX file
Erasing a files/folders from the HDD
Copying a files to another media or folder
Moving a files
Disc types and recording formats, modes, and settings
About DVD recording
About HDD recording
Recording time and picture quality
Timeshift HDD
Instant Timer Recording
Basic Recording from a TV
Timer Recording
Simultaneous recording and playback
Checking Timer Recording Details
Timer Recording Troubleshooting
Recording from an External Input
Recording from External Components
Troubleshooting
Recording from DV Input
Before DV dubbing
Recording from a Digital Camcorder
Title List and Chapter List Menu Overview
HDD, VR Mode Original and Playlist Editing
Adding Chapter Markers
Changing Title Thumbnails
Titles, Chapters and Parts
Making a New Playlist -RWVR
Adding Additional Title/Chapters to the Playlist -RWVR
Deleting an Original or Playlist Title/Chapter
Deleting a Part HDD -RWVR
Remote control buttons for entering a name
Naming a Title
Sort HDD
Undoing/Redoing the Last Deletion -RWVR
Combining Two Titles Into One
Divide One Titles Into Two
Combining Two Chapters Into
One -RWVR+RW +R
+RW +R -RW
Moving a Playlist Chapter -RWVR
Hide a Chapter/Title +RW +R
What is ‘CPRM’?
Before Dubbing
Restrictions on copying
Fast copying
Dubbing from HDD to DVD
Dubbing from DVD to HDD
One Touch Copy HDD to DVD
One Touch Copy DVD to HDD
Additional Information
Overwriting Recording +RW
+RW +R
To finalize a disc, refer to Finalize on
Language Codes
Area Codes
Controlling other TVs with the remote
Code numbers of controllable TVs
TV Control Buttons By pressing You can
Manufacturer Code Number
Troubleshooting
Symptom Cause Solution
If you observe any of the following symptoms
Resetting the recorder
You can reset the recorder as follows
Specifications
No 3834RD0083Q