


SPECIAL FUNCTIONS
TELETEXT
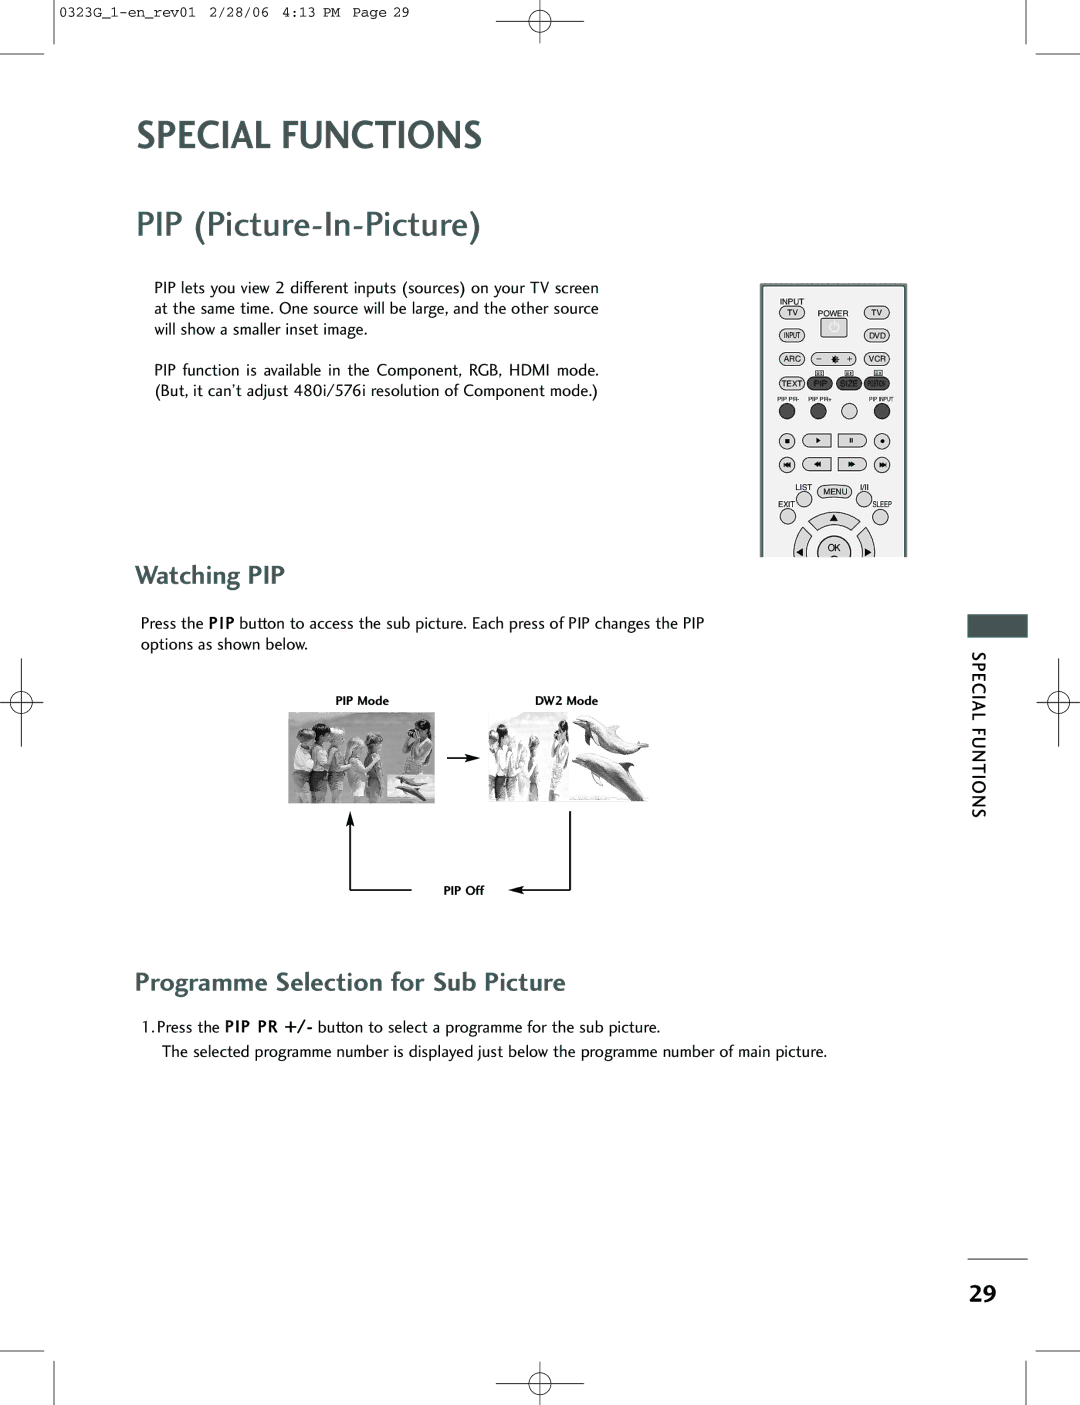
TOP Text
The user guide displays four
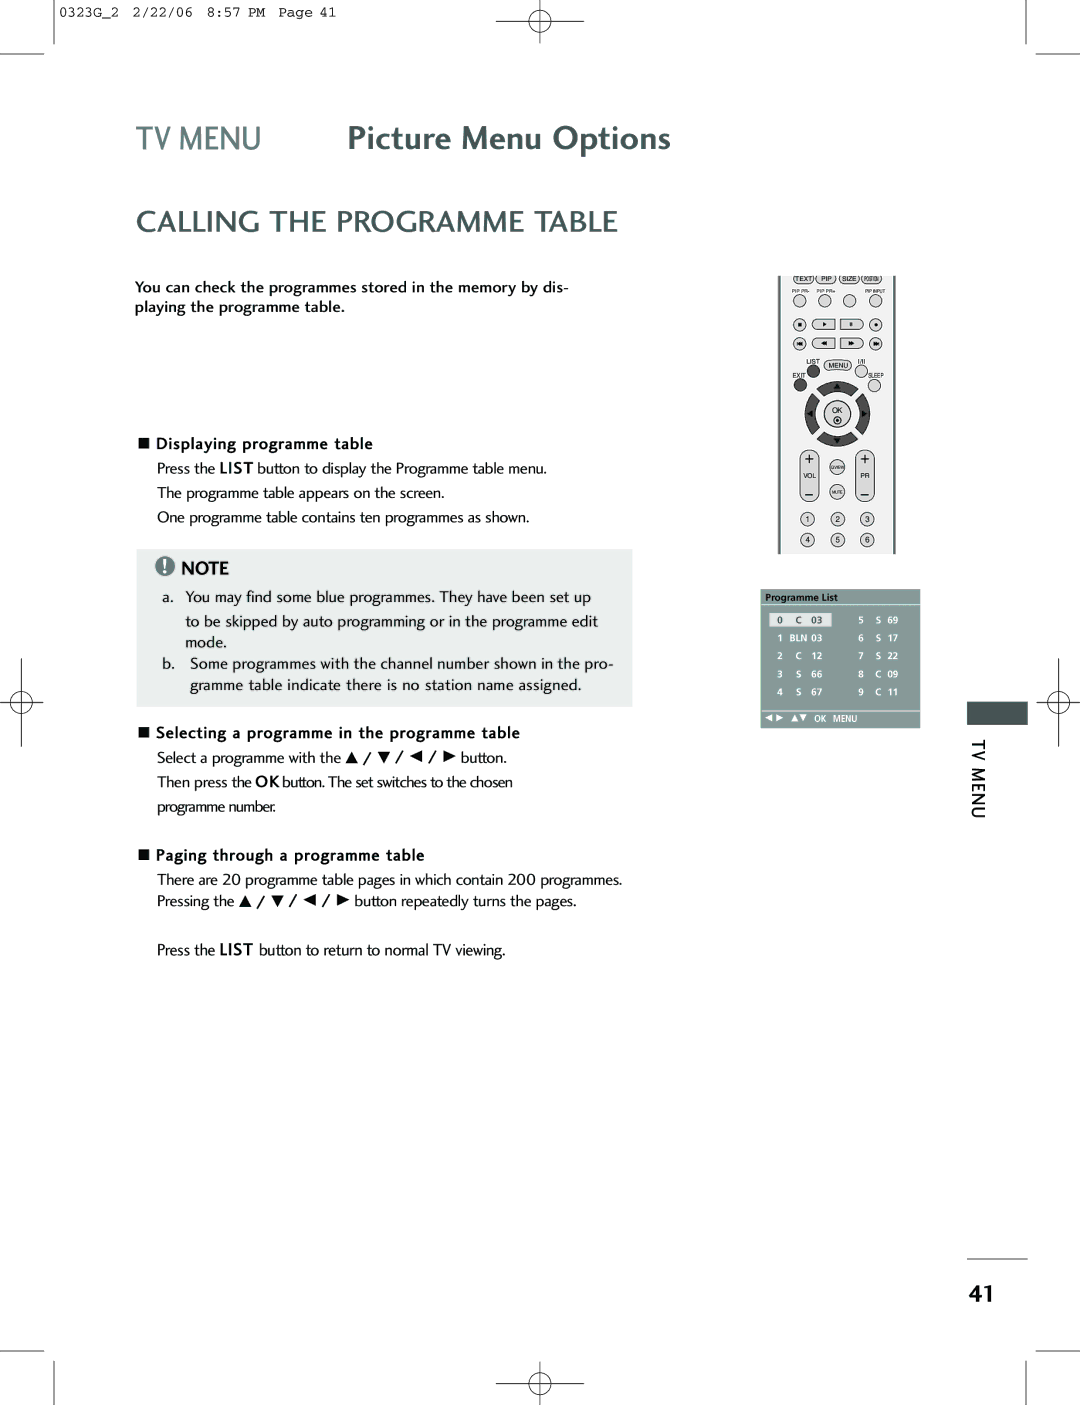
A Block / group / page selection
1With the blue button you can progress from block to block.
2Use the yellow button to proceed to the next group with automatic overflow to the next block.
3With the green button you can proceed to the next existing page with automatic overflow to the next group. Alternatively the PR+ button can be used.
4The red button permits to return to previous selection. Alternatively the PR - button can be used.
A Direct page selection
SPECIAL FUNTIONS
Corresponding to the SIMPLE teletext mode, you can select a page by entering it as a three digit number using the NUMBER buttons in TOP mode.
FASTEXT
The teletext pages are colour coded along the bottom of the screen and are selected by pressing the corre- sponding coloured button.
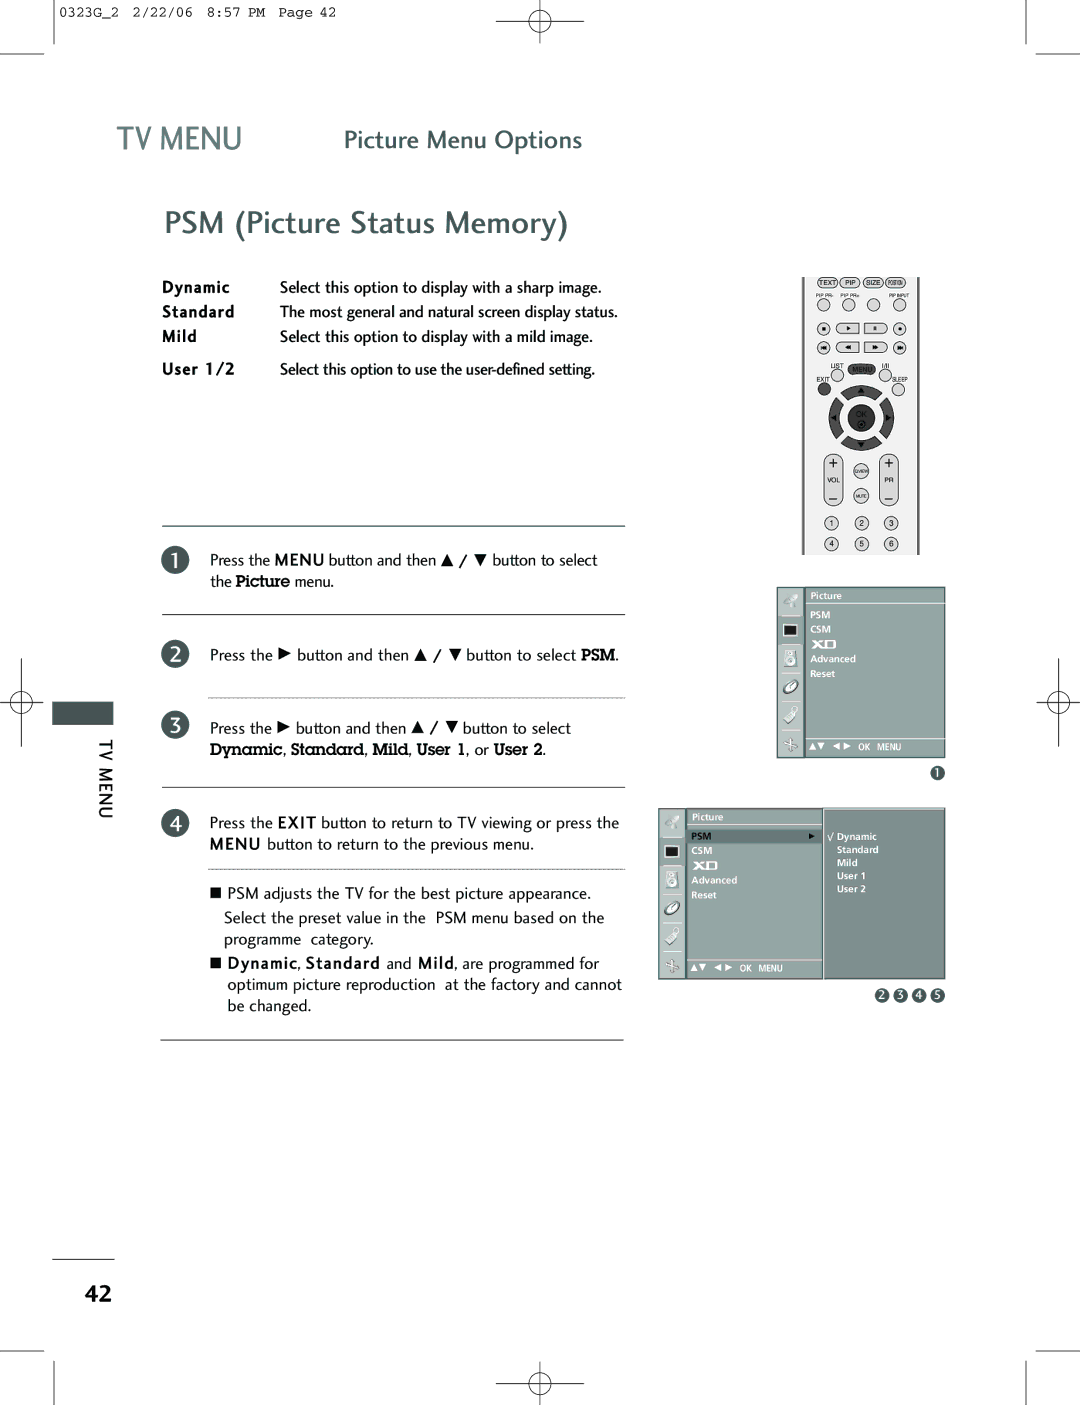
A Page selection
1Press the ![]() i button to select the index page.
i button to select the index page.
2You can select the pages which are colour coded along the bottom line with the same coloured buttons.
3Corresponding to the SIMPLE teletext mode, you can select a page by entering its three digit page number with the NUMBER buttons in FASTEXT mode.
4The PR+/- button can be used to select the preceding or following page.
32