PVR2HD, 1080I, 720P specifications
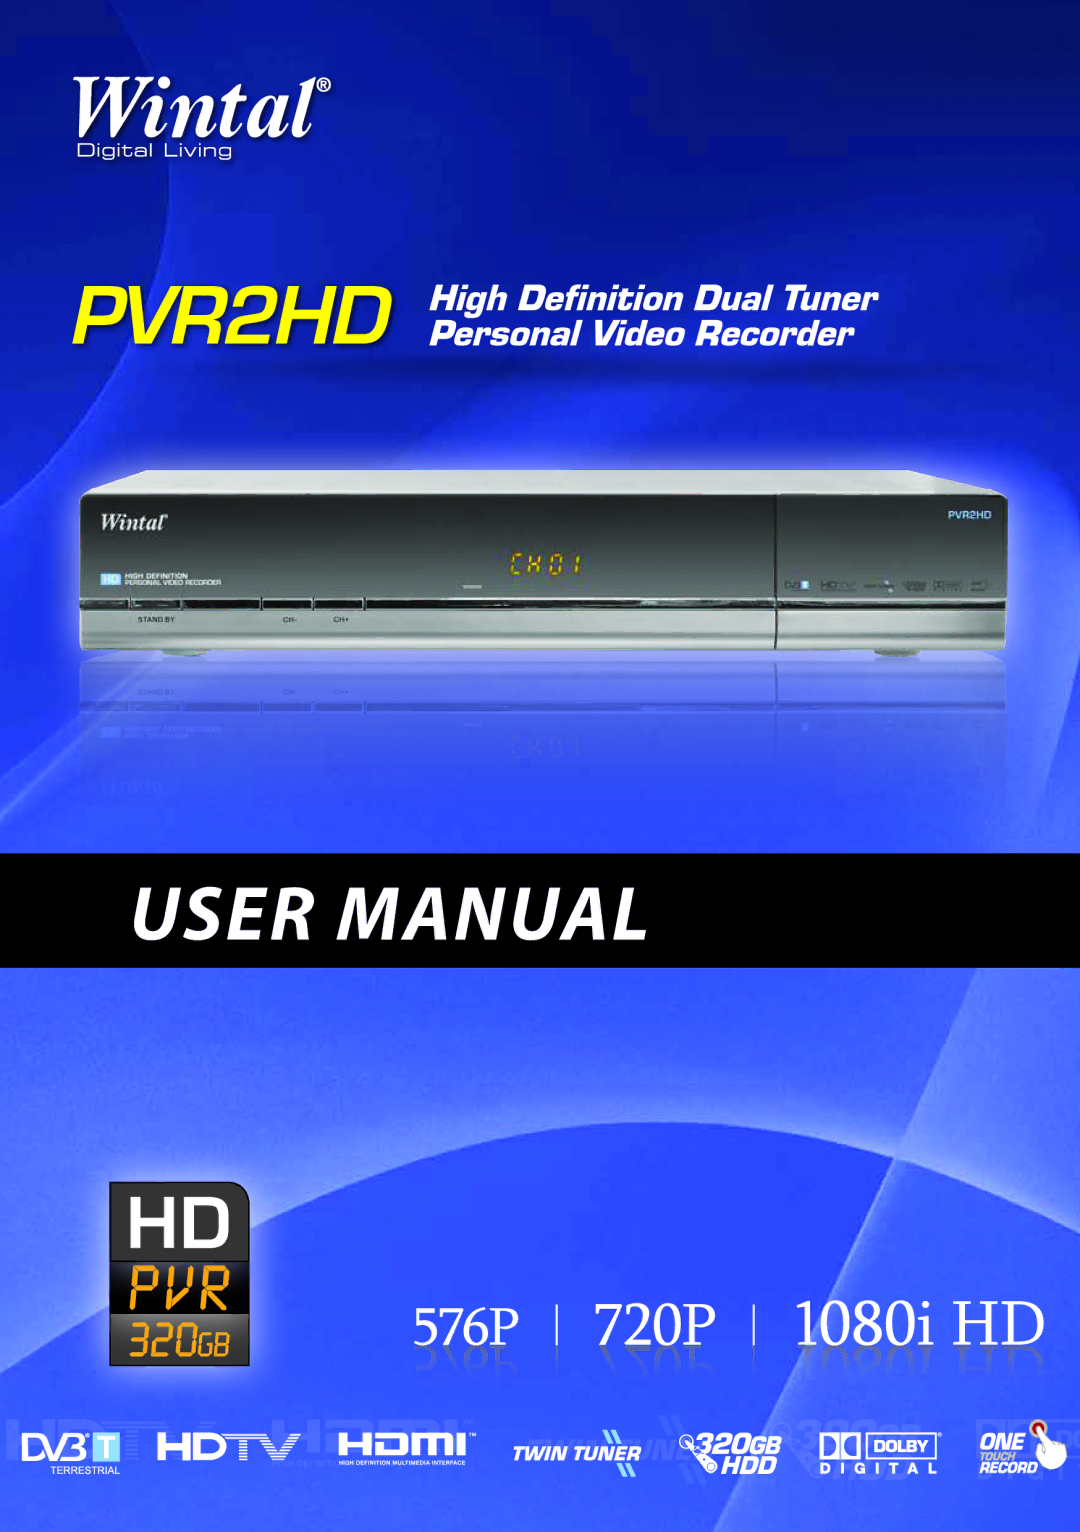
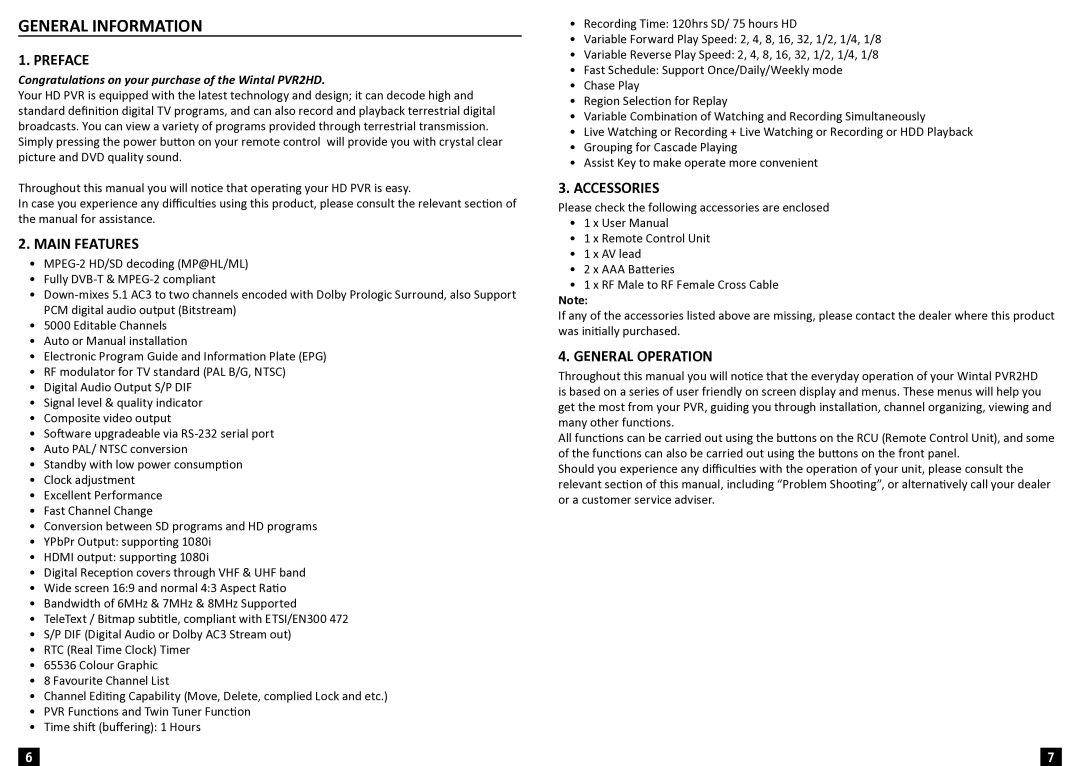
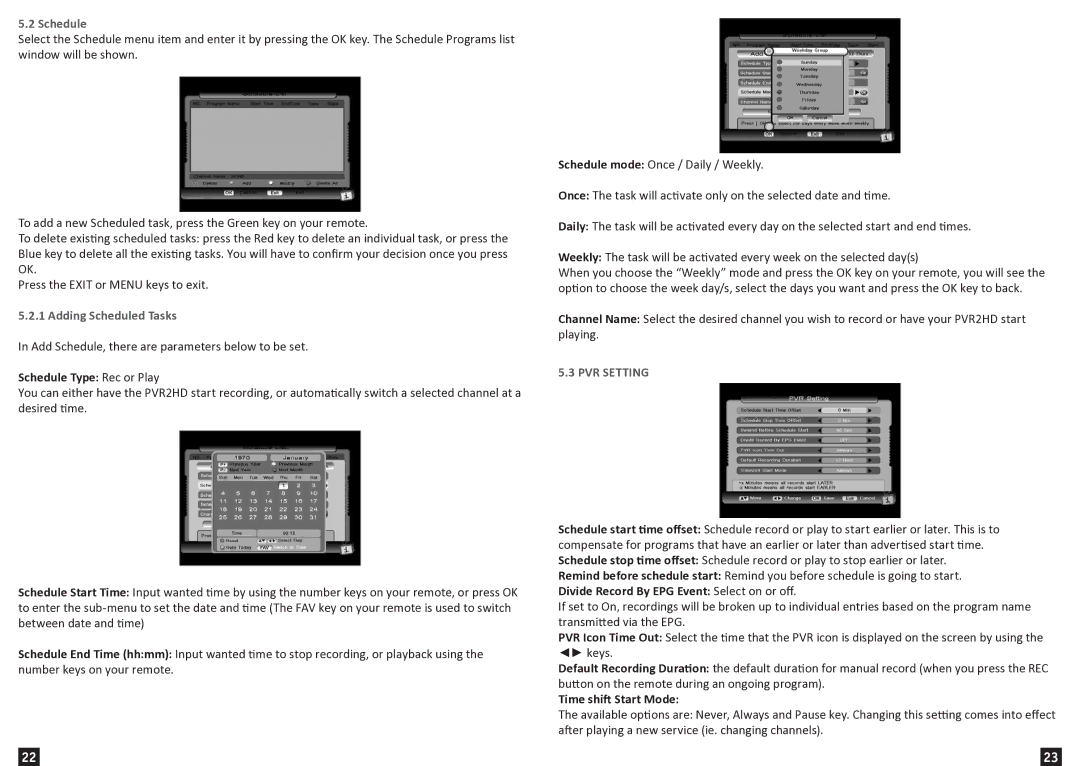
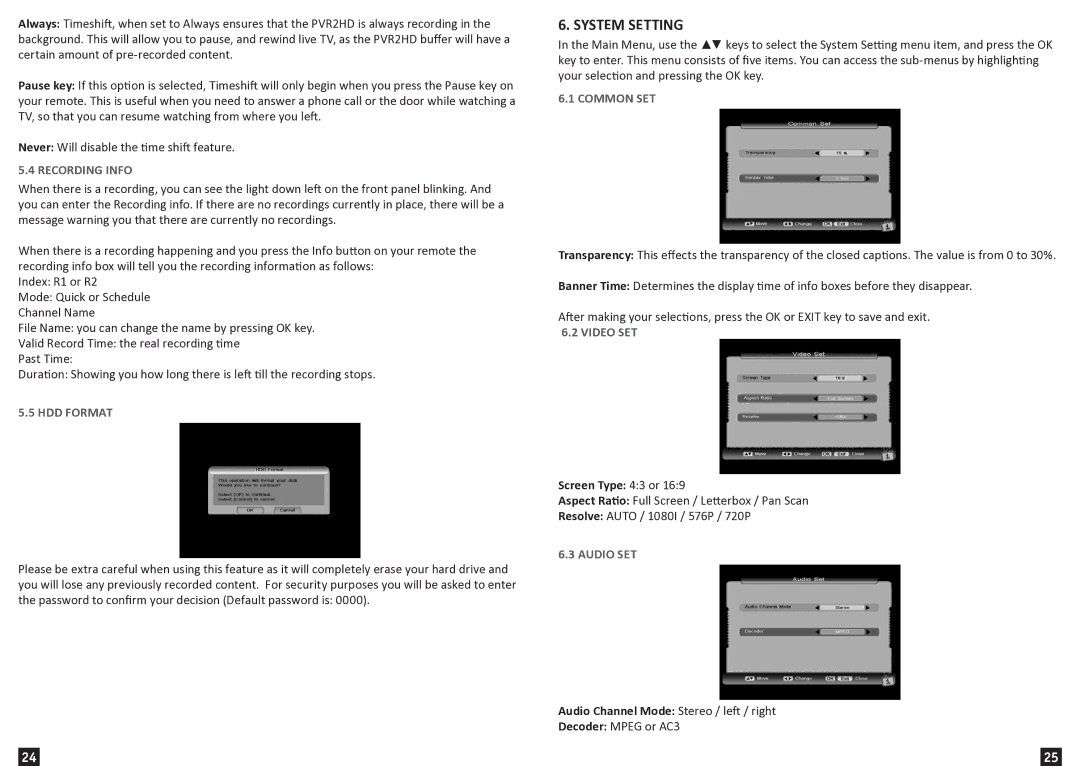
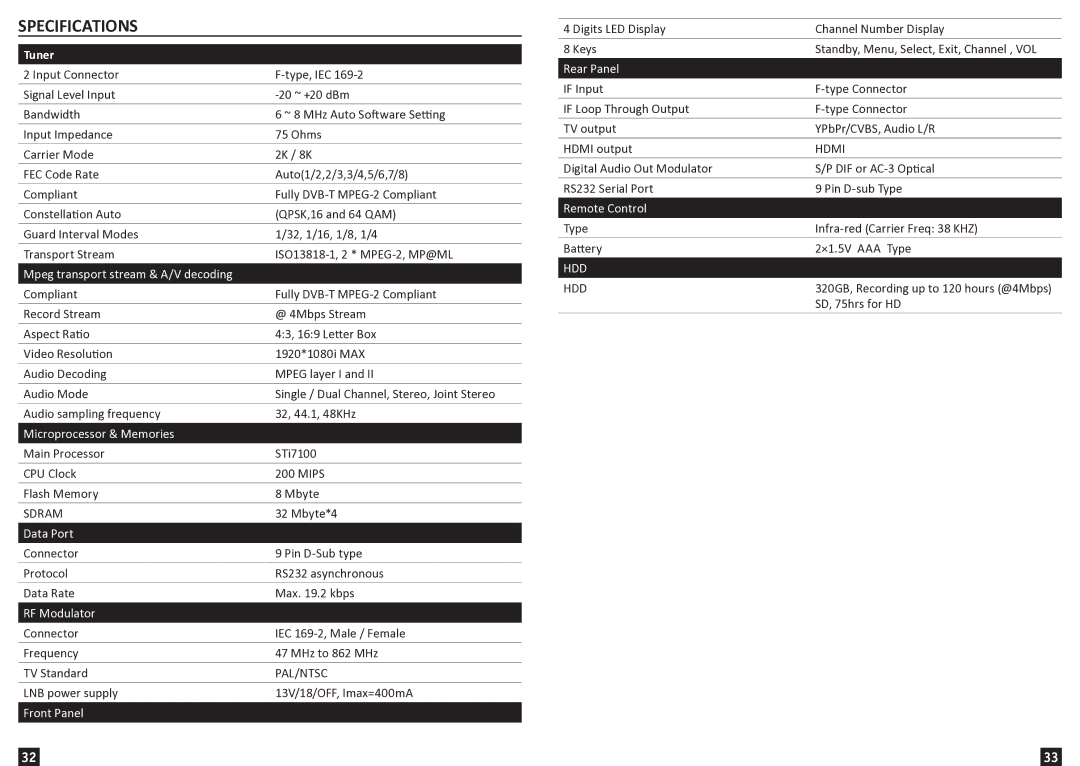
The Wintal 720P, 1080i, PVR2HD is a versatile multimedia device that caters to the needs of modern viewers by combining a range of advanced features in a single unit. This digital video recorder (DVR) is designed to enhance the television viewing experience, allowing users to enjoy high-definition content while providing extensive recording capabilities.One of the standout features of the Wintal PVR2HD is its support for high-definition (HD) video resolutions, including 720P and 1080i. This means that users can experience crisp and clear picture quality, making it an ideal choice for those who appreciate the nuances of high-definition content. Whether watching their favorite shows, movies, or sports events, users can expect vibrant colors and enhanced clarity, bringing their viewing experience to life.
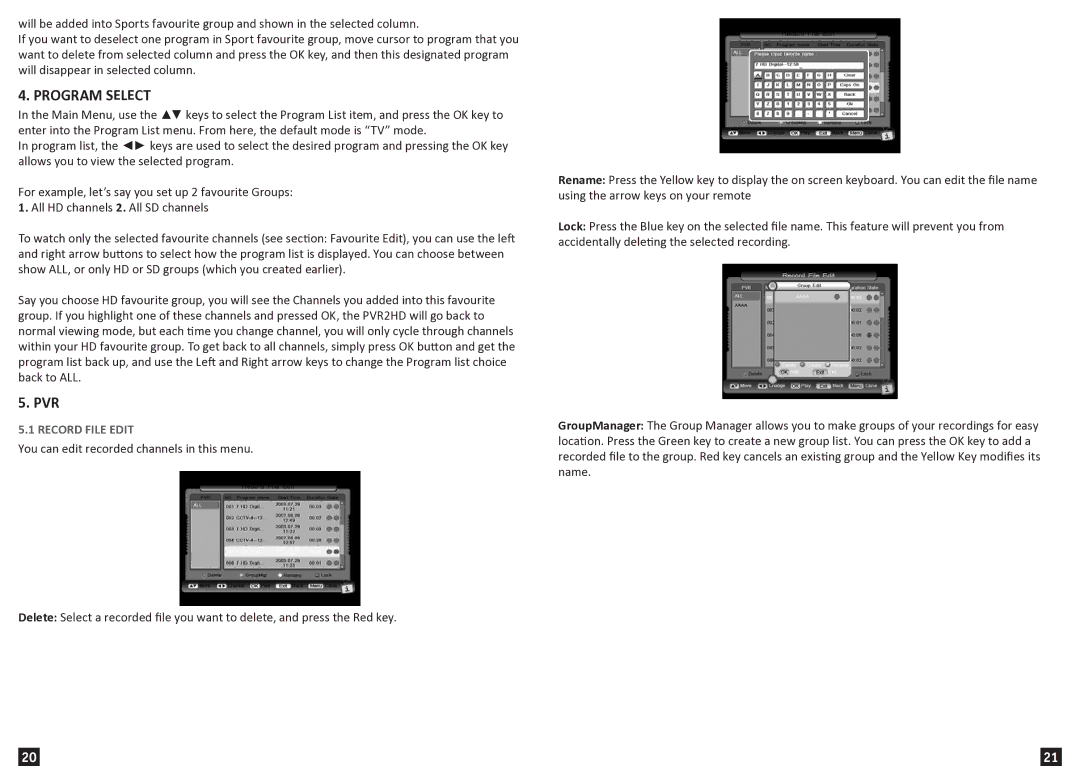
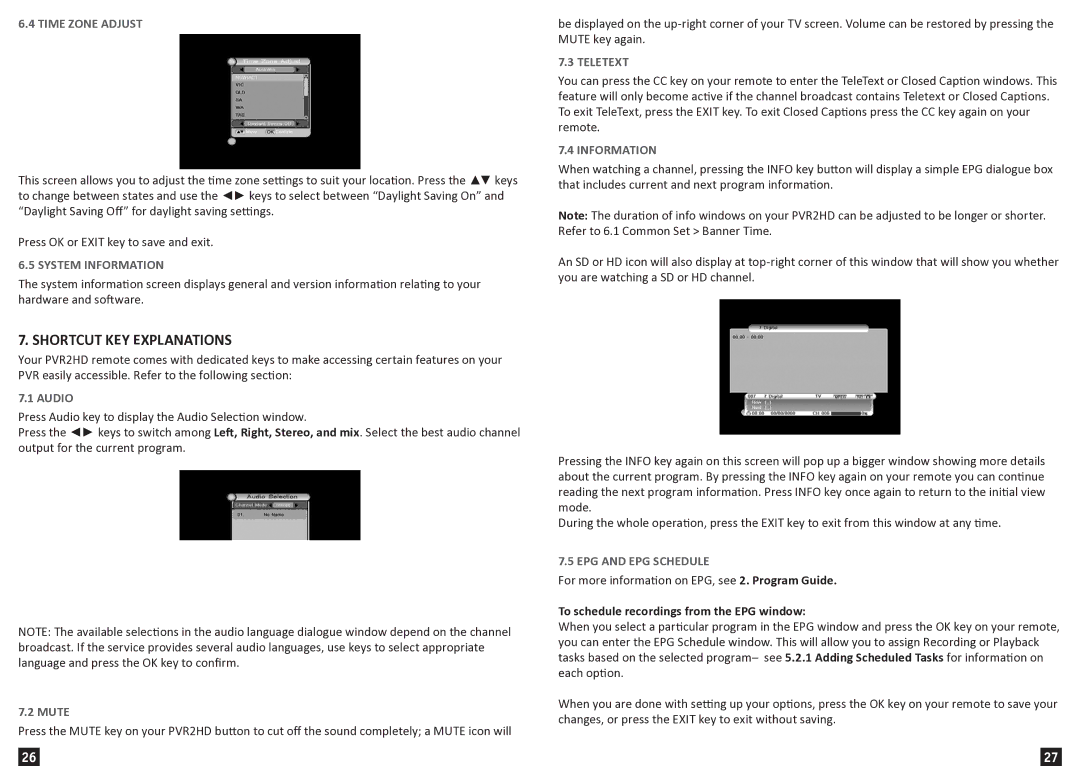
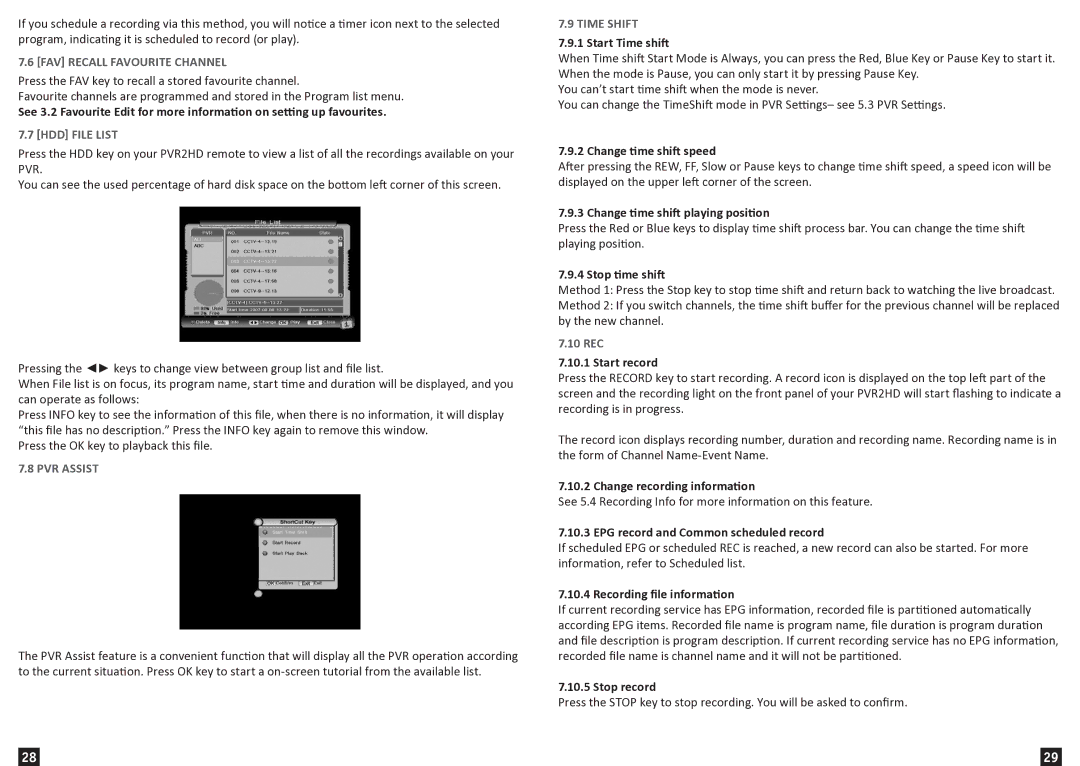
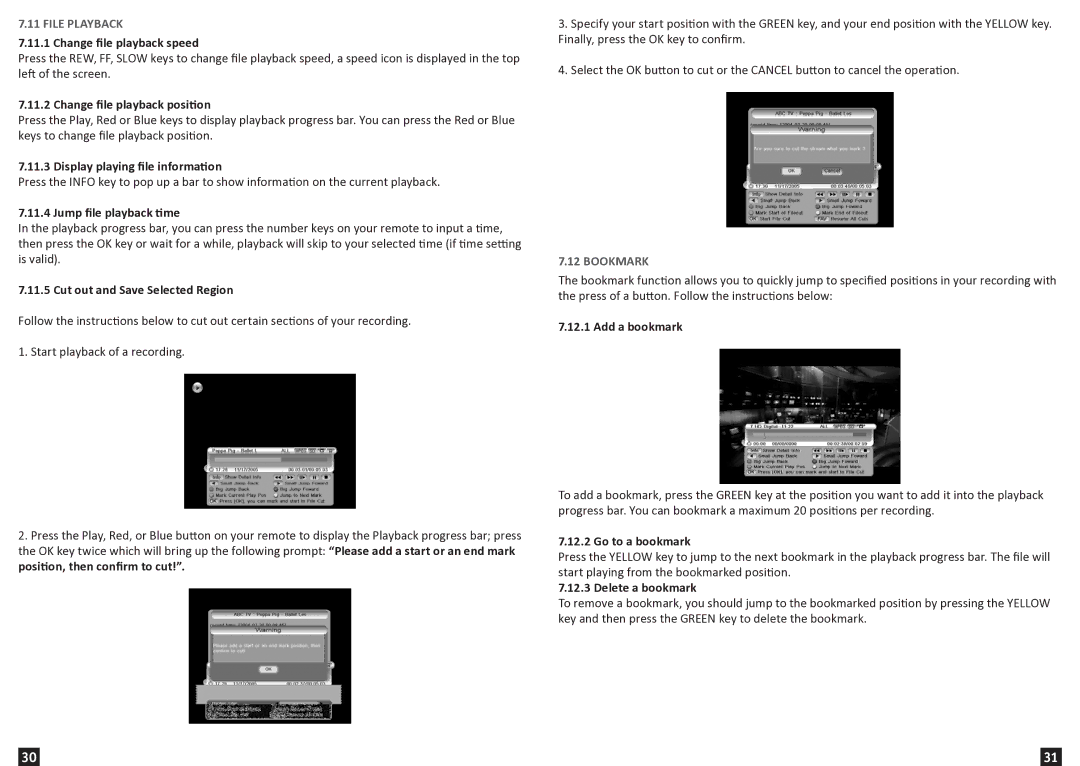
In addition to its impressive resolution capabilities, the Wintal PVR2HD is equipped with a robust Personal Video Recorder (PVR) function. This allows users to easily record live television programming and access their favorite shows at their convenience. With a simplified recording process, viewers can pause, rewind, or fast-forward through live broadcasts, ensuring that they never miss a moment of entertainment. The user-friendly interface makes navigating through recorded content straightforward, providing an enjoyable user experience.
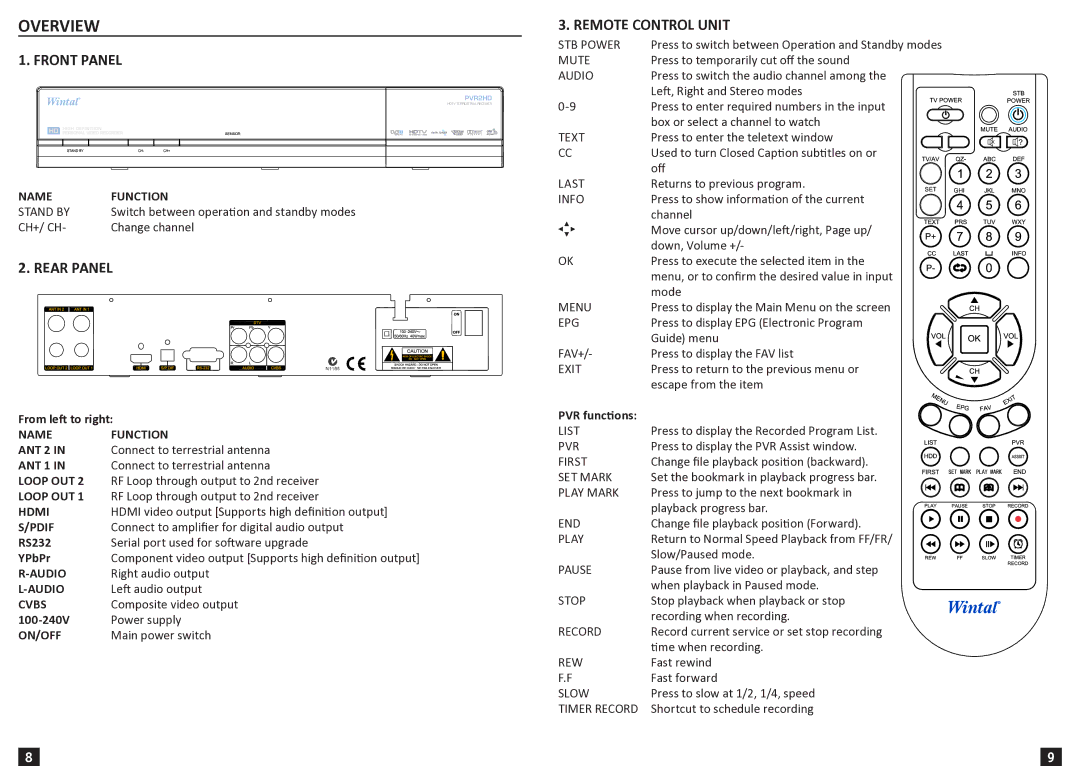
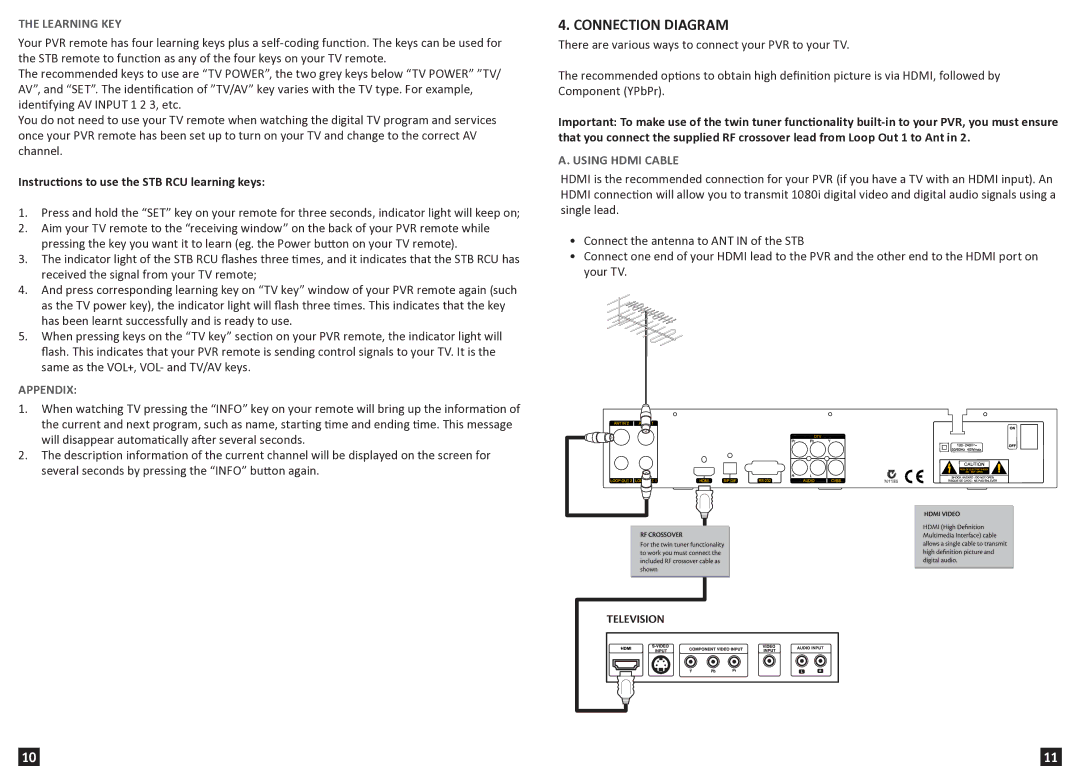
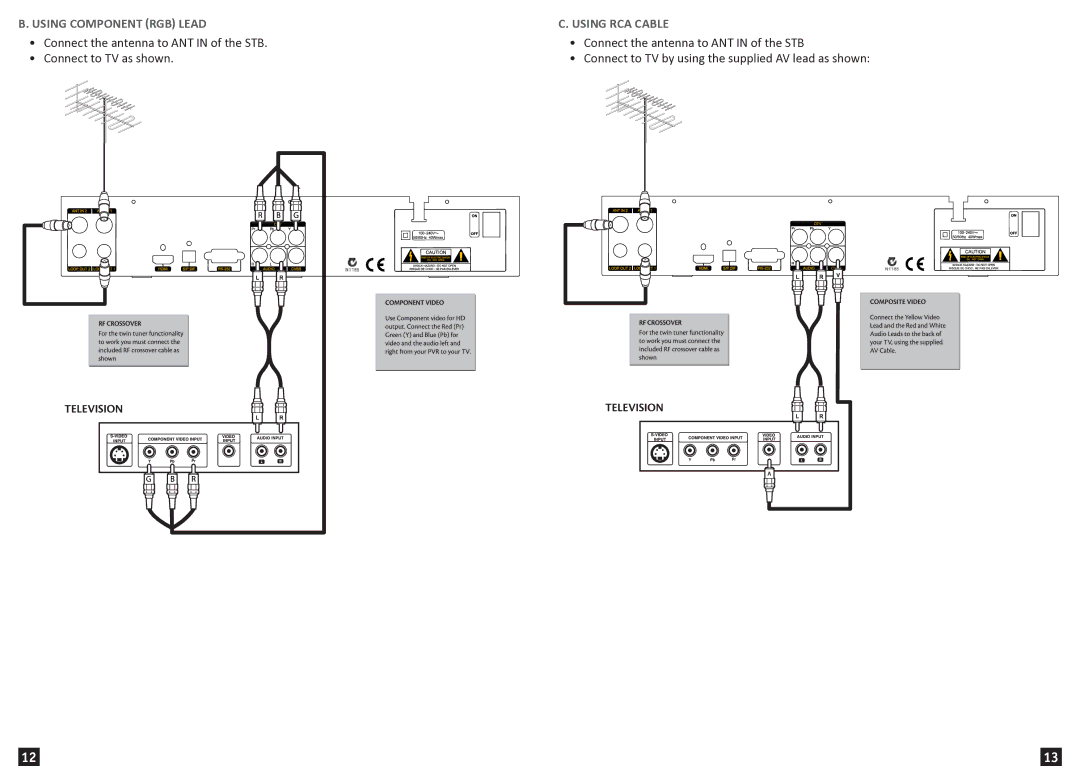
Furthermore, the Wintal PVR2HD offers a variety of connectivity options, making it a flexible solution for different setups. Users can connect it to their televisions or home theater systems through HDMI, allowing for seamless integration. The device also supports USB connectivity, which enables the transfer of files and the use of external storage for additional recording space.
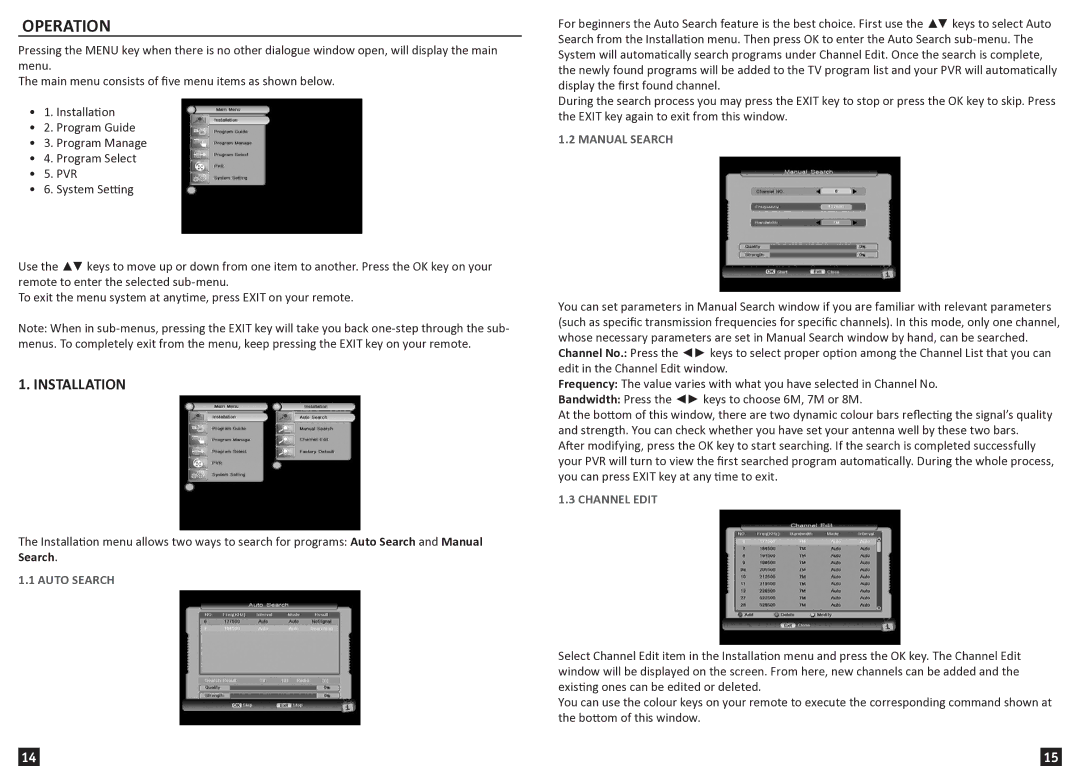
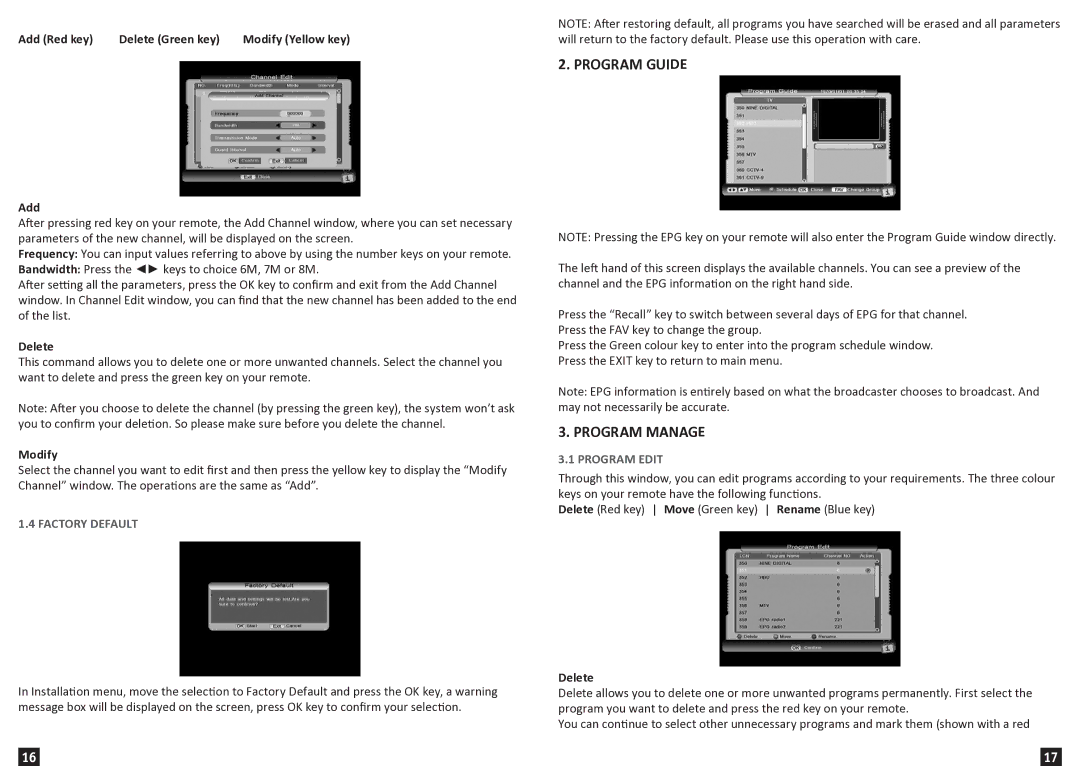
Another notable technology incorporated into the Wintal PVR2HD is its Electronic Program Guide (EPG), which provides viewers with a comprehensive schedule of upcoming broadcasts. This feature allows users to easily plan their viewing ahead of time, enhancing the overall ease of use.
In summary, the Wintal 720P, 1080i, PVR2HD is a state-of-the-art multimedia device that offers high-definition viewing, powerful recording capabilities, and user-friendly features. Its advanced technologies cater to the needs of modern viewers, making it an essential addition to any entertainment system.
