BN68-02101A-00 specifications
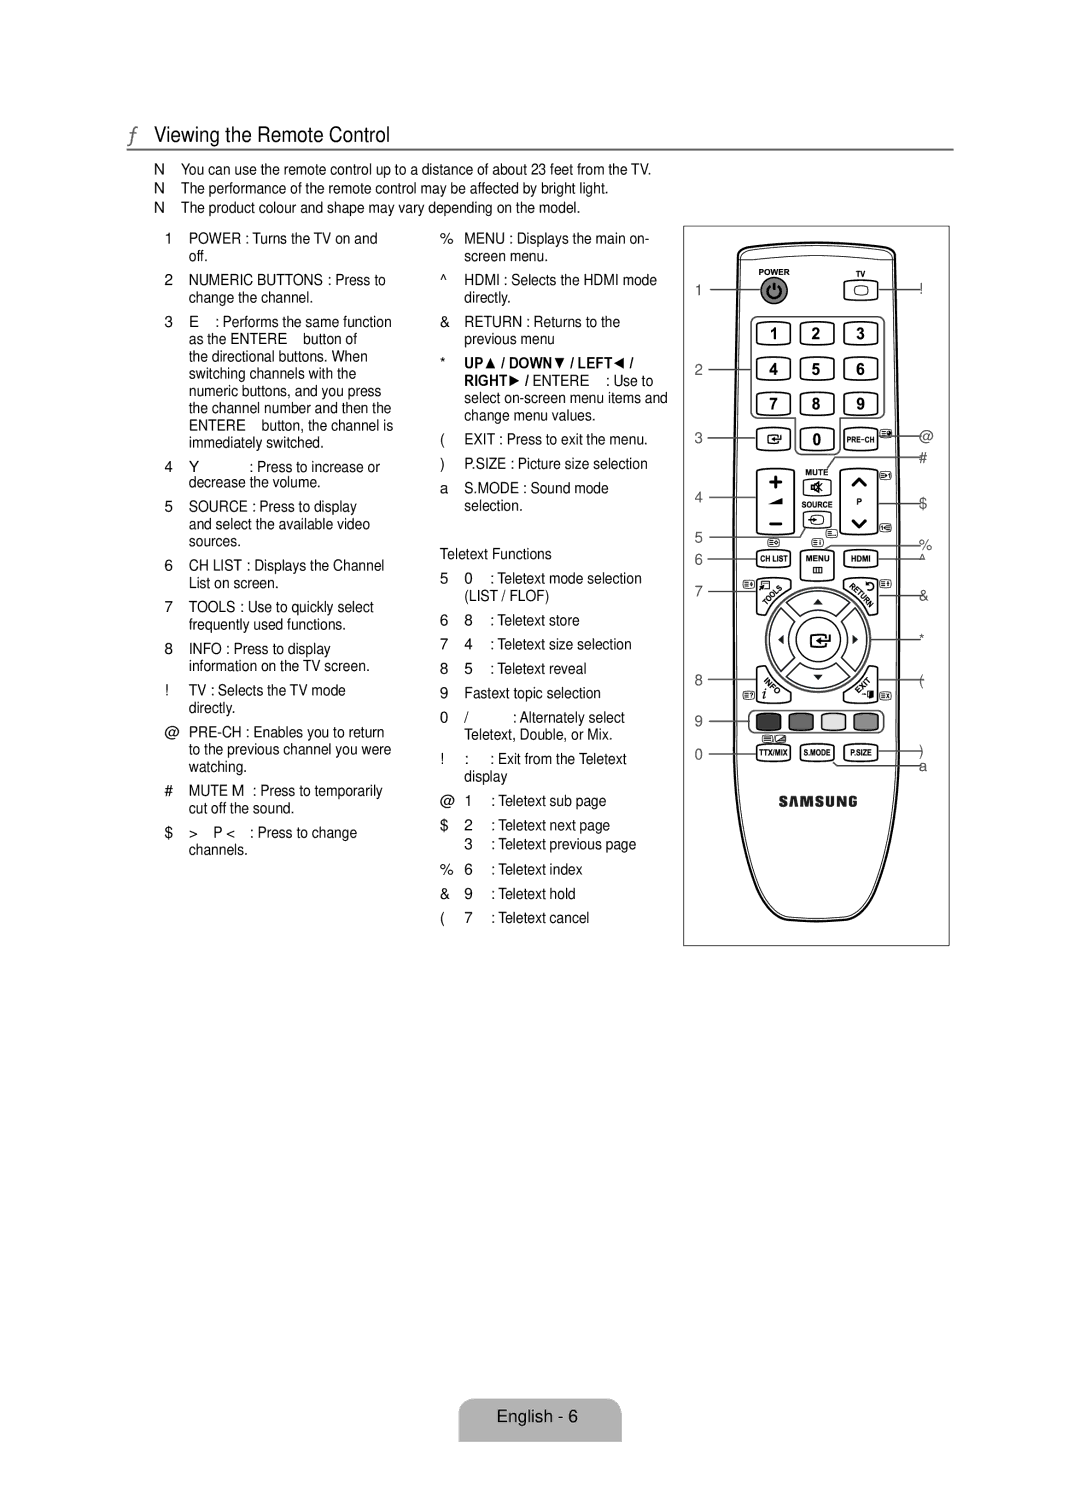
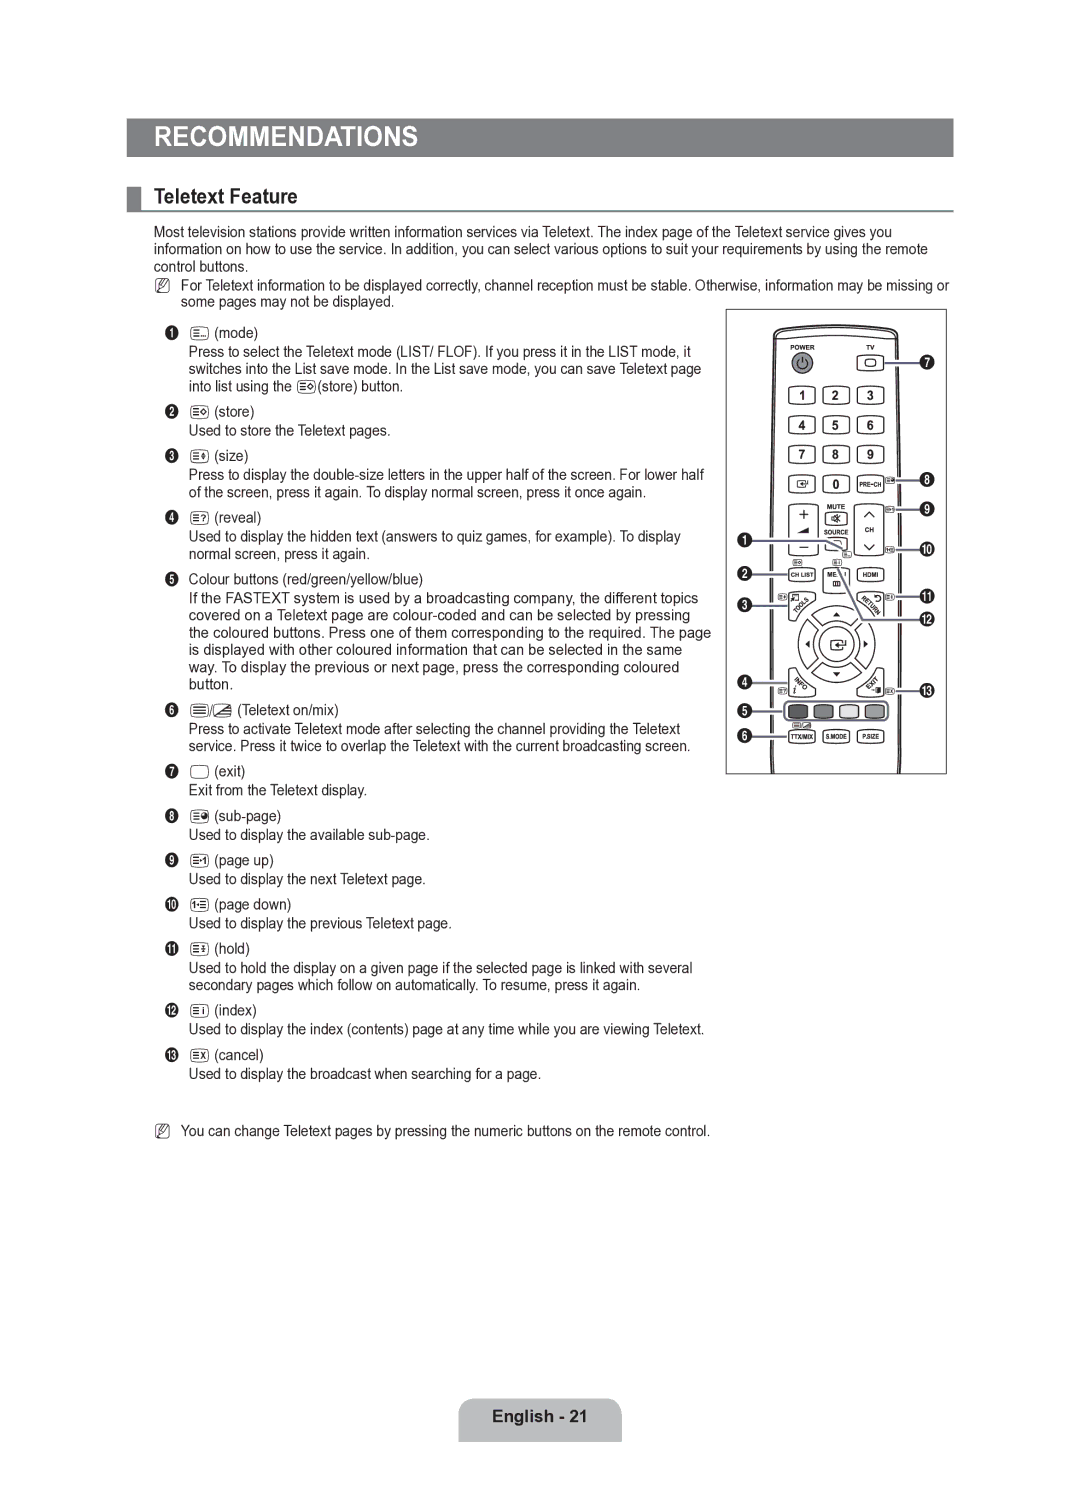
The Samsung BN68-02101A-00 is a versatile and innovative television remote control designed to enhance user experience with seamless functionality and convenient features. This remote is specifically designed for select Samsung TV models, providing a user-friendly interface that intuitively integrates with the latest technologies.One of the standout features of the Samsung BN68-02101A-00 is its ergonomic design. The remote is constructed to fit comfortably in the user's hand, enabling easy navigation through functions and settings. The layout includes large buttons that are well-spaced, which reduces the likelihood of pressing the wrong key, thus improving overall user experience.
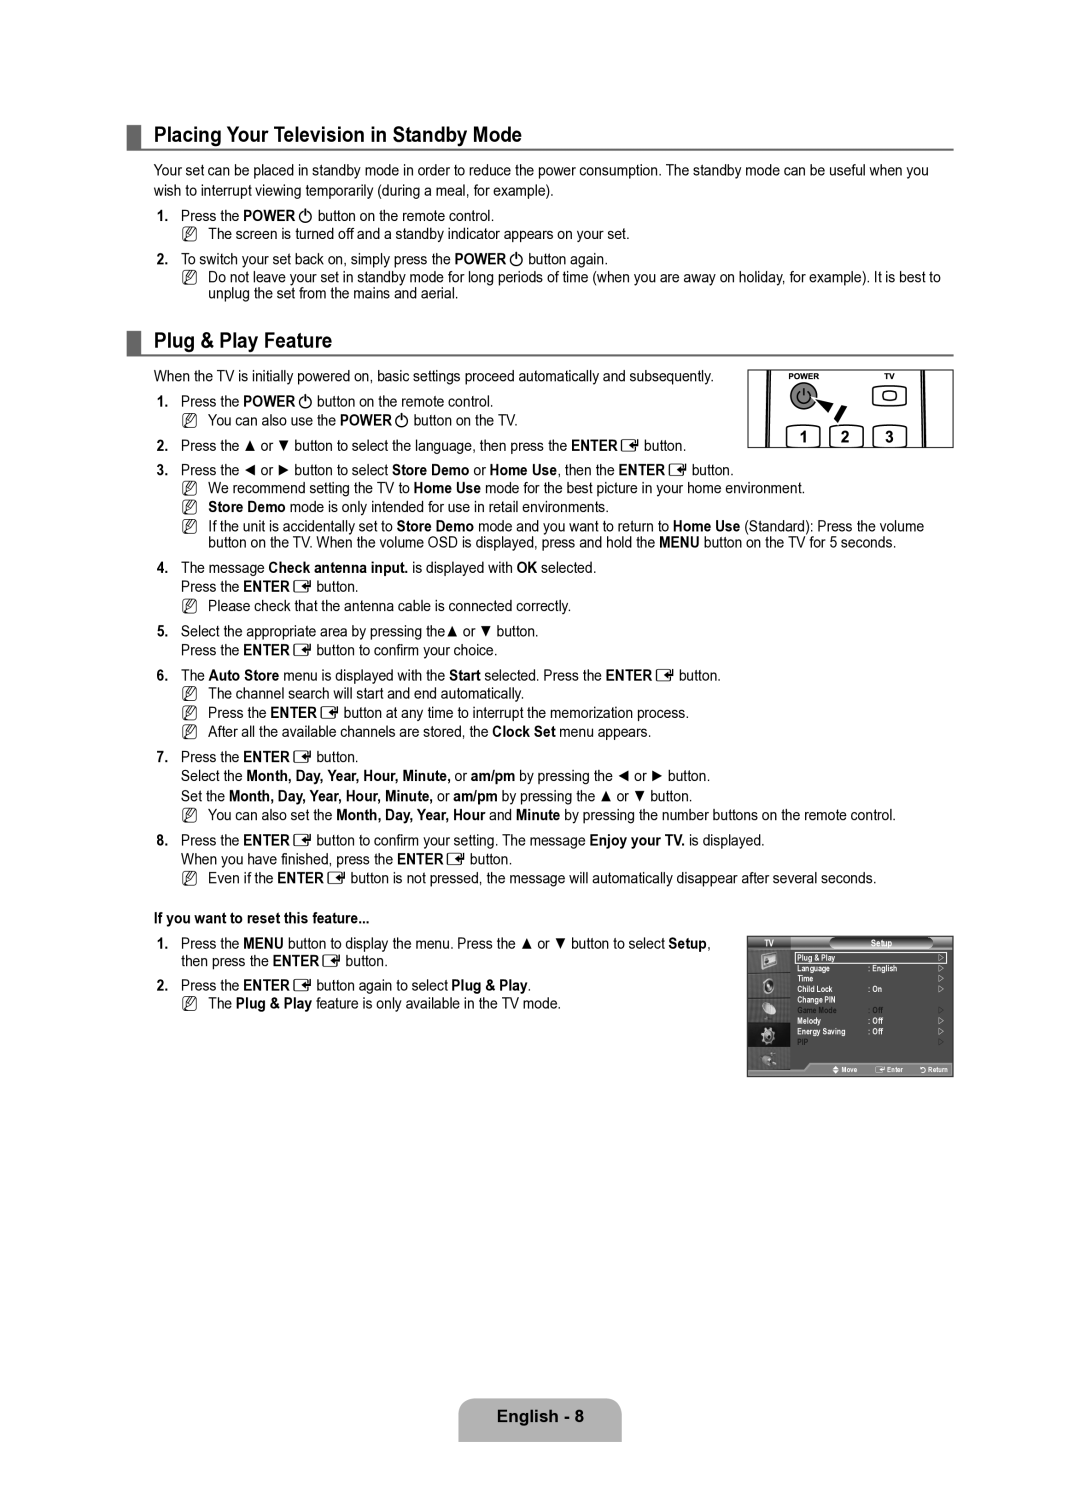
Equipped with infrared technology, the BN68-02101A-00 reliably communicates with the television set from a distance. This technology allows users to control their TV without needing to point directly at the device, providing added convenience when adjusting volume or changing channels.
Another notable characteristic of this remote control is its compatibility with a wide range of Samsung televisions. This allows users to easily replace a lost or damaged remote without worrying about compatibility issues, making it a practical choice for Samsung TV owners.
The Samsung BN68-02101A-00 also supports essential features such as the ability to access smart TV functionalities. With dedicated buttons for popular streaming services, users can quickly navigate to their favorite apps and content. This includes platforms like Netflix, YouTube, and Hulu, offering an intuitive way to enjoy entertainment at the push of a button.
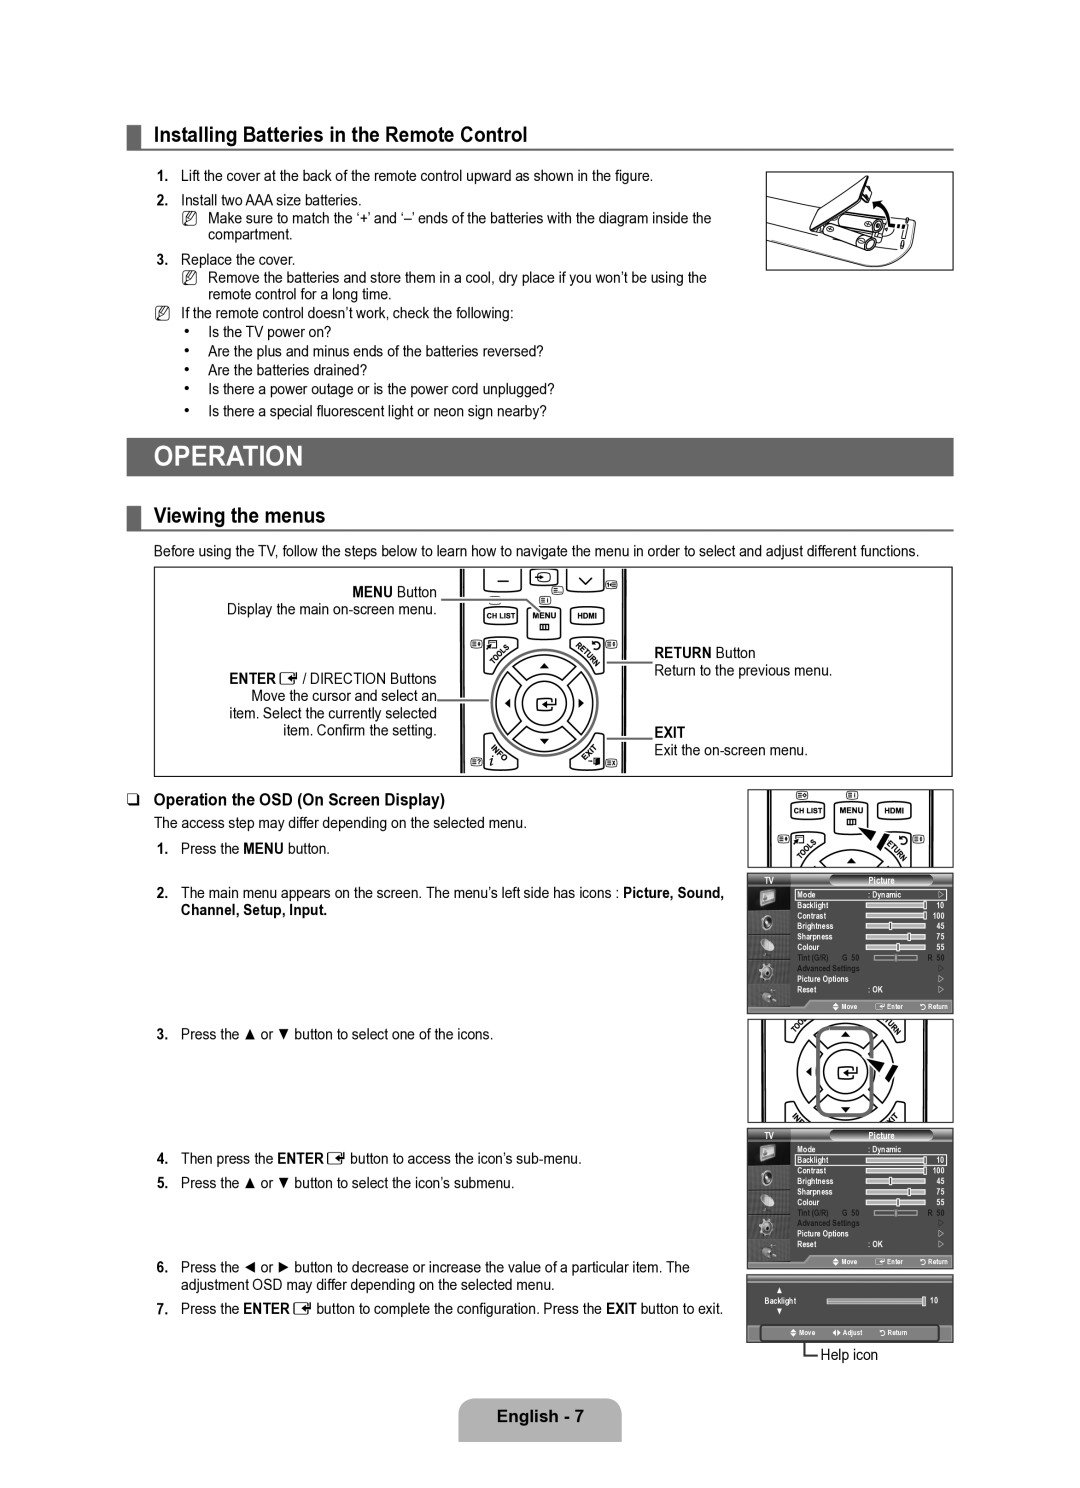
In terms of power efficiency, the BN68-02101A-00 operates on standard batteries, which are easy to replace. The remote is designed to maximize battery life, providing extended usage without frequent changes.
Lastly, users appreciate the reliability and build quality of Samsung products, and the BN68-02101A-00 is no exception. The materials used in its construction are durable, ensuring that it can withstand daily use.
In summary, the Samsung BN68-02101A-00 remote control combines ergonomic design, compatibility, and smart technology integration, making it a valuable accessory for any Samsung television owner looking to enhance their viewing experience.
