Initial Setup
Digital-In
The
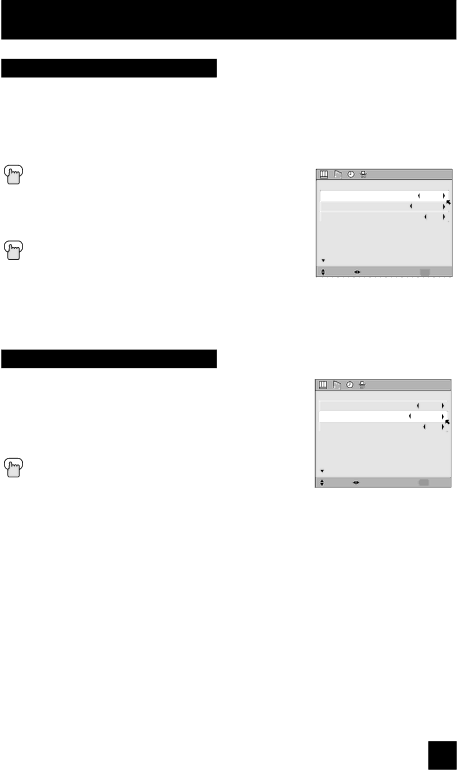
Press the MENU button
π† To
è To select SIZE1 or SIZE2 Press the MENU button to finish
Note:
�������������
![]() ��������
��������
| ���������� | ����� |
| |
| ���������������� | ������� |
| |
| ��������������� | ��� |
| |
| ��������� |
| ����� |
|
| ������ ������� | ���� | ���� |
|
•The
Digital-In Audio
This feature is used if you have a DTV or HDMI compatible component connected to your TV.
![]() Press the MENU button π† To
Press the MENU button π† To
√® To select “ANALOG” or “DIGITAL” Press the Menu button when finished
Notes:
�������������
![]() ��������
��������
| ���������� | ����� |
| |
| ���������������� | ������� |
| |
| ��������������� | ��� |
| |
| ��������� |
| ����� |
|
| ������ ������� | ���� | ���� |
|
•If your DTV or HDMI component is capable of digital audio and video, choose DIGITAL. If your DTV or HDMI component is capable of analog audio and digital video, choose ANALOG.
•Refer to your DTV or HDMI component’s instruction manual for more information.
47