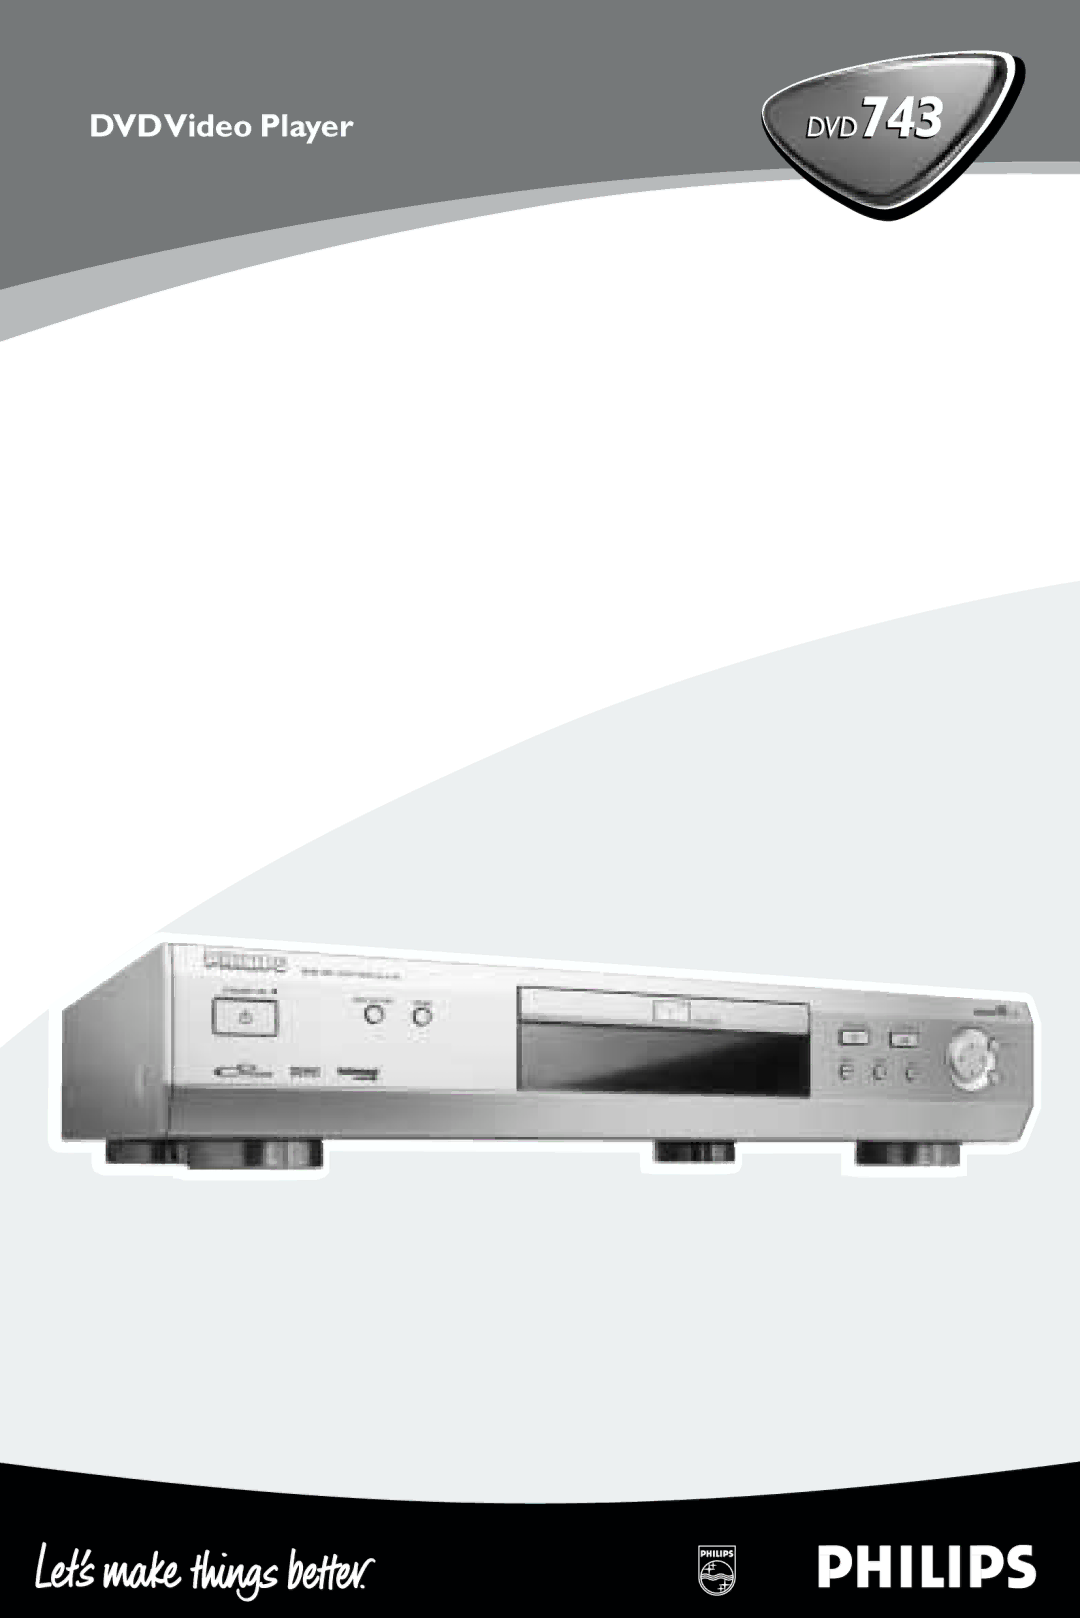
DVD743, DVD743HC/021 specifications
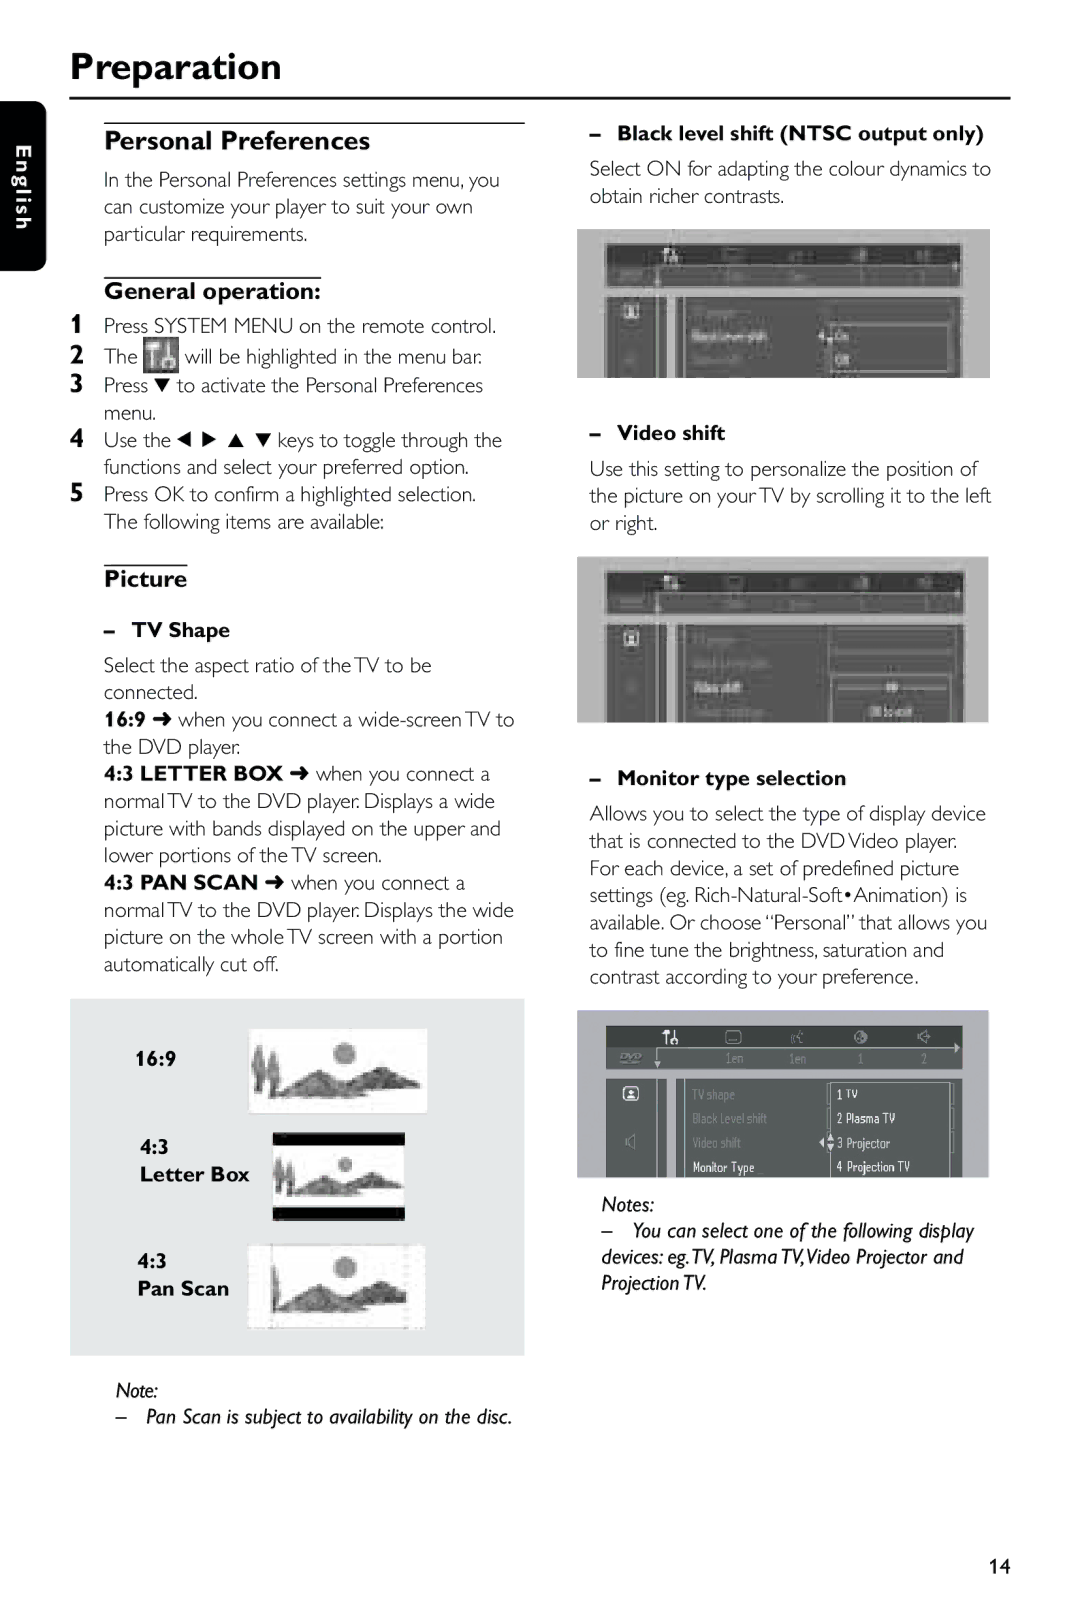
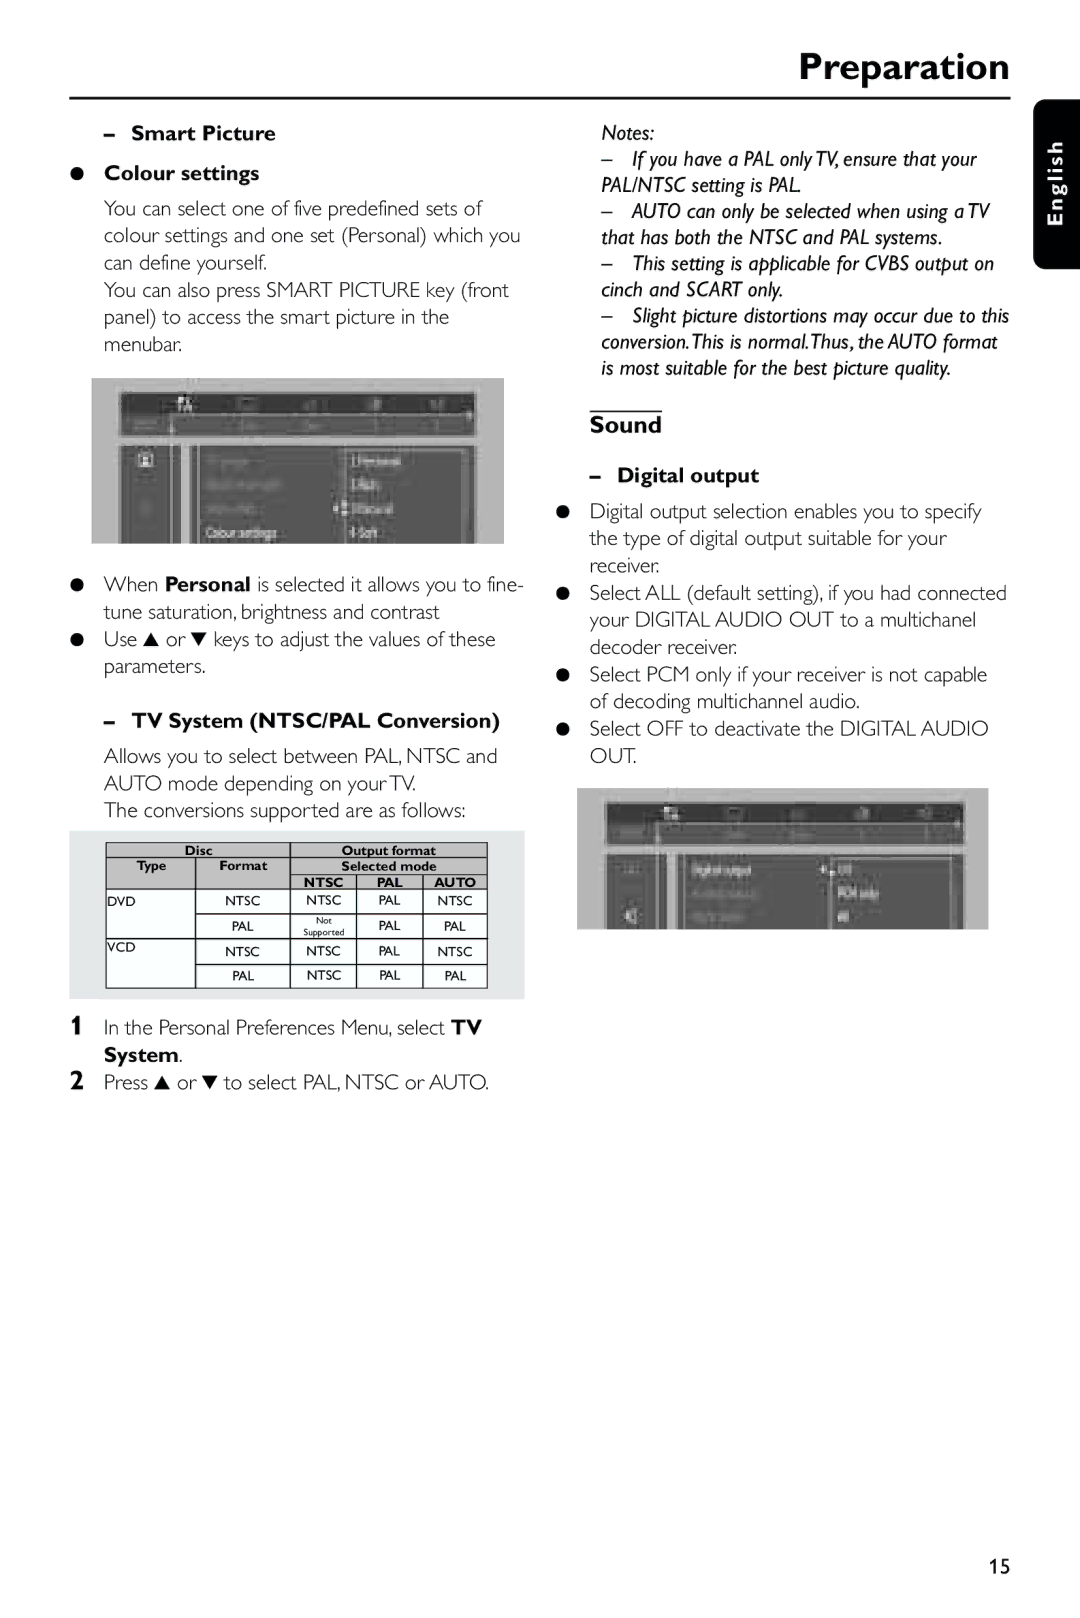
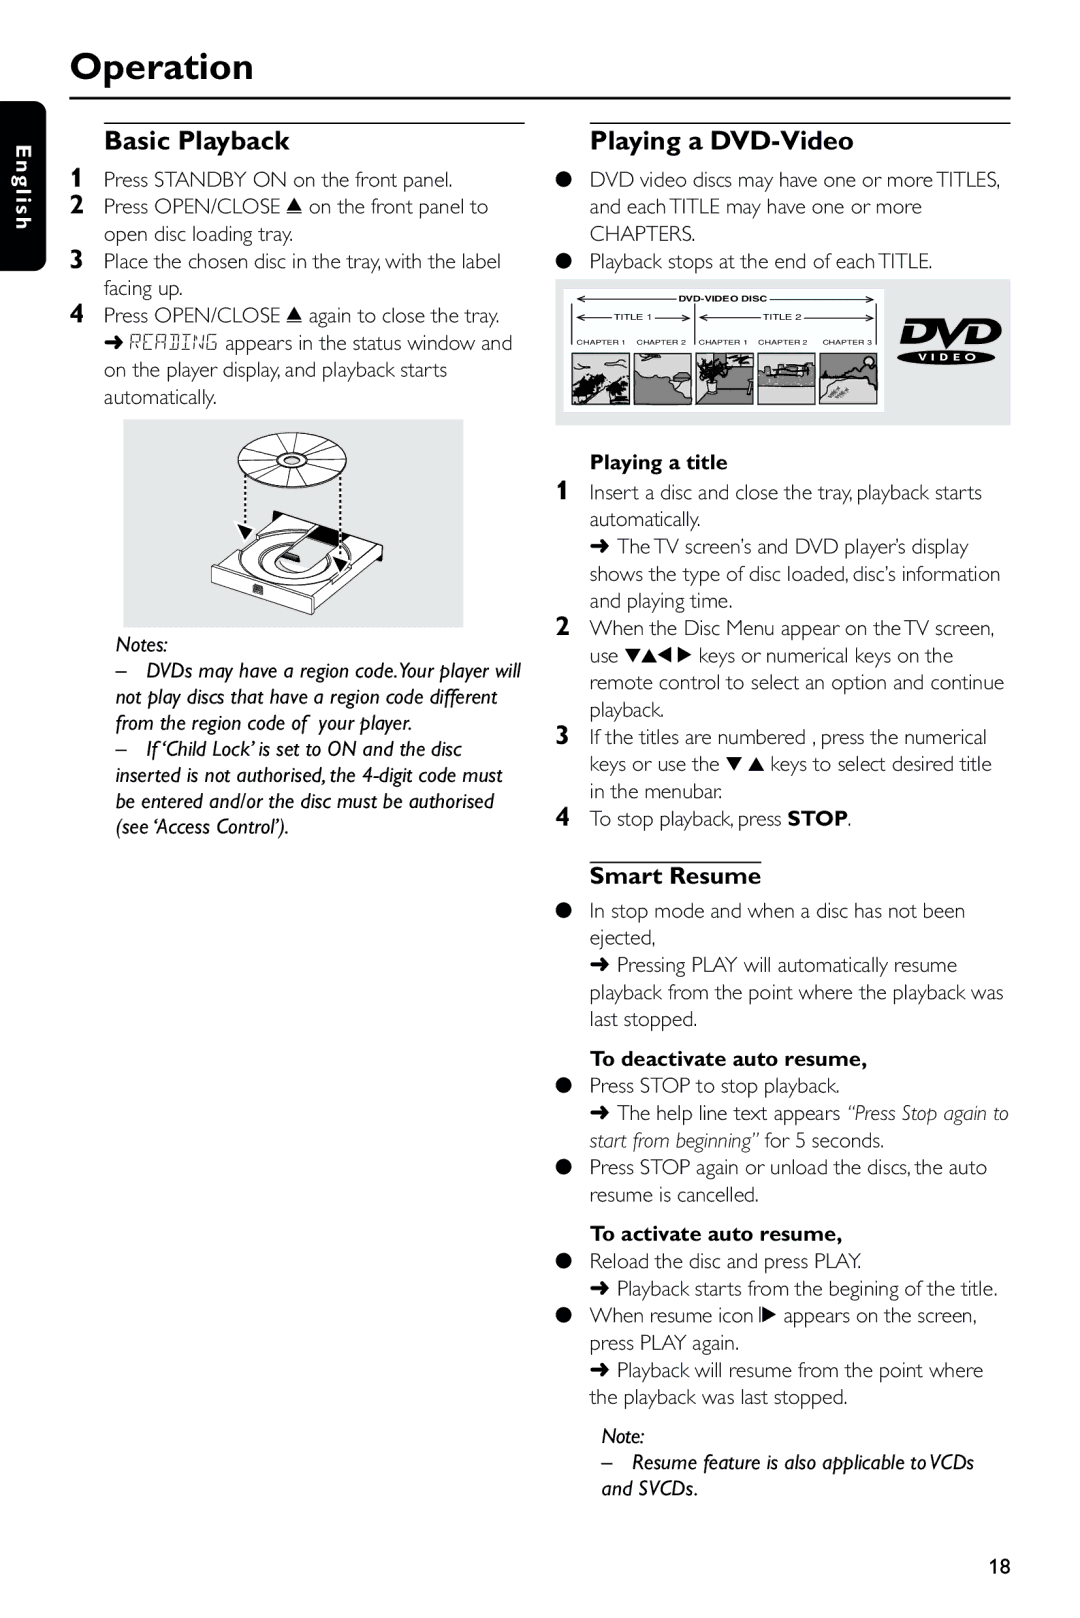
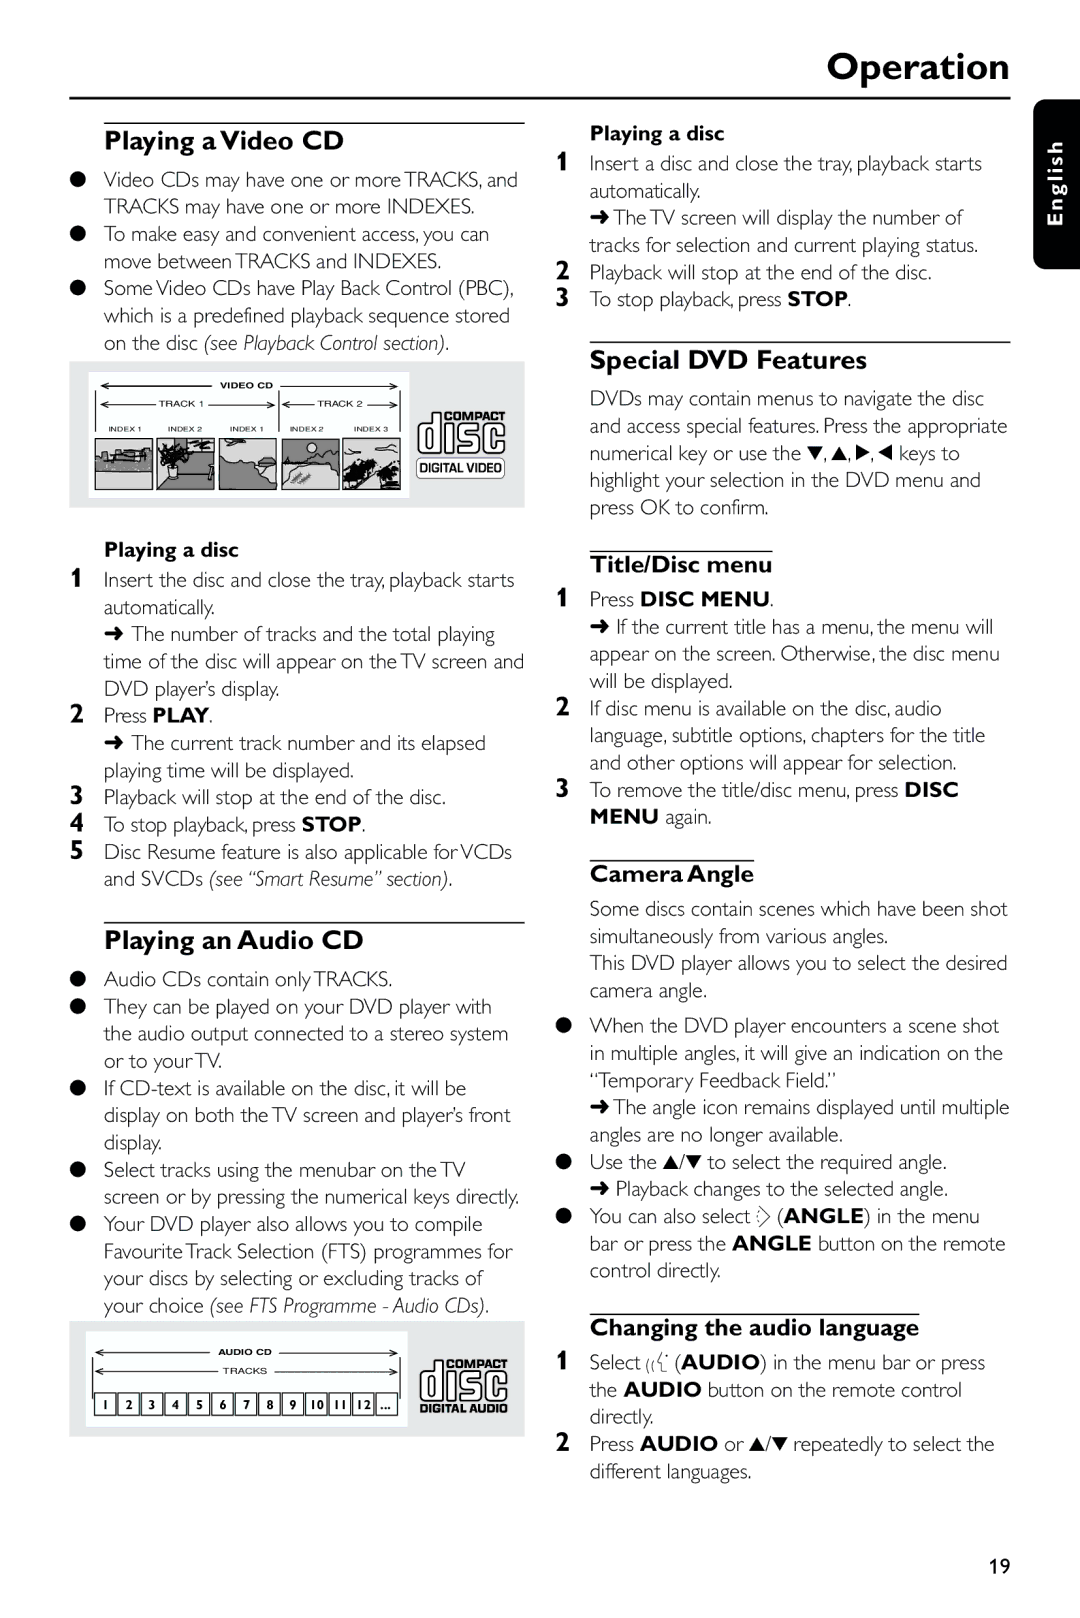
The Philips DVD743HC/021 DVD player is a robust multimedia device designed to deliver high-quality video playback while also supporting a variety of audio formats. One of the standout features of the DVD743 is its compatibility with a wide range of disc formats, including DVD, DVD-R, DVD-RW, CD, CD-R, and CD-RW, making it a versatile solution for all your entertainment needs.Equipped with advanced video processing technologies, the DVD743HC/021 boasts exceptional picture quality. Its progressive scan feature enhances the clarity of video playback, ensuring smooth and detailed images regardless of the source material. This technology is particularly beneficial for viewers who enjoy watching movies in higher resolutions, as it reduces flicker and improves overall image stability.
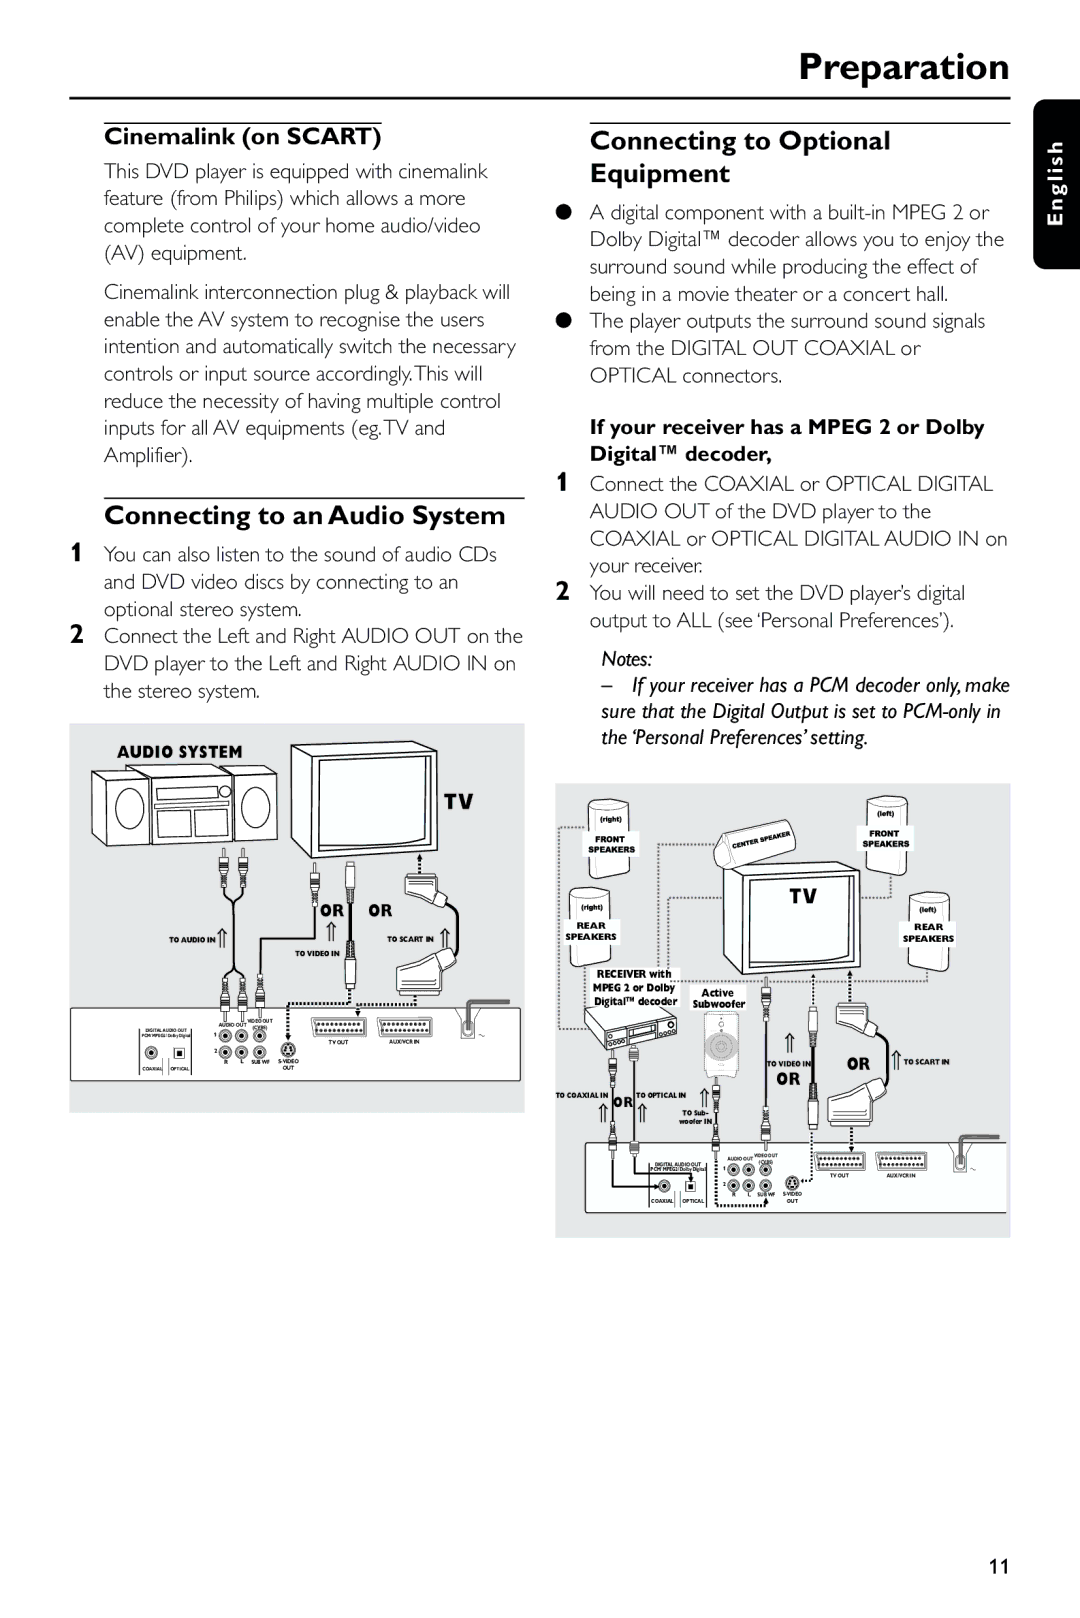
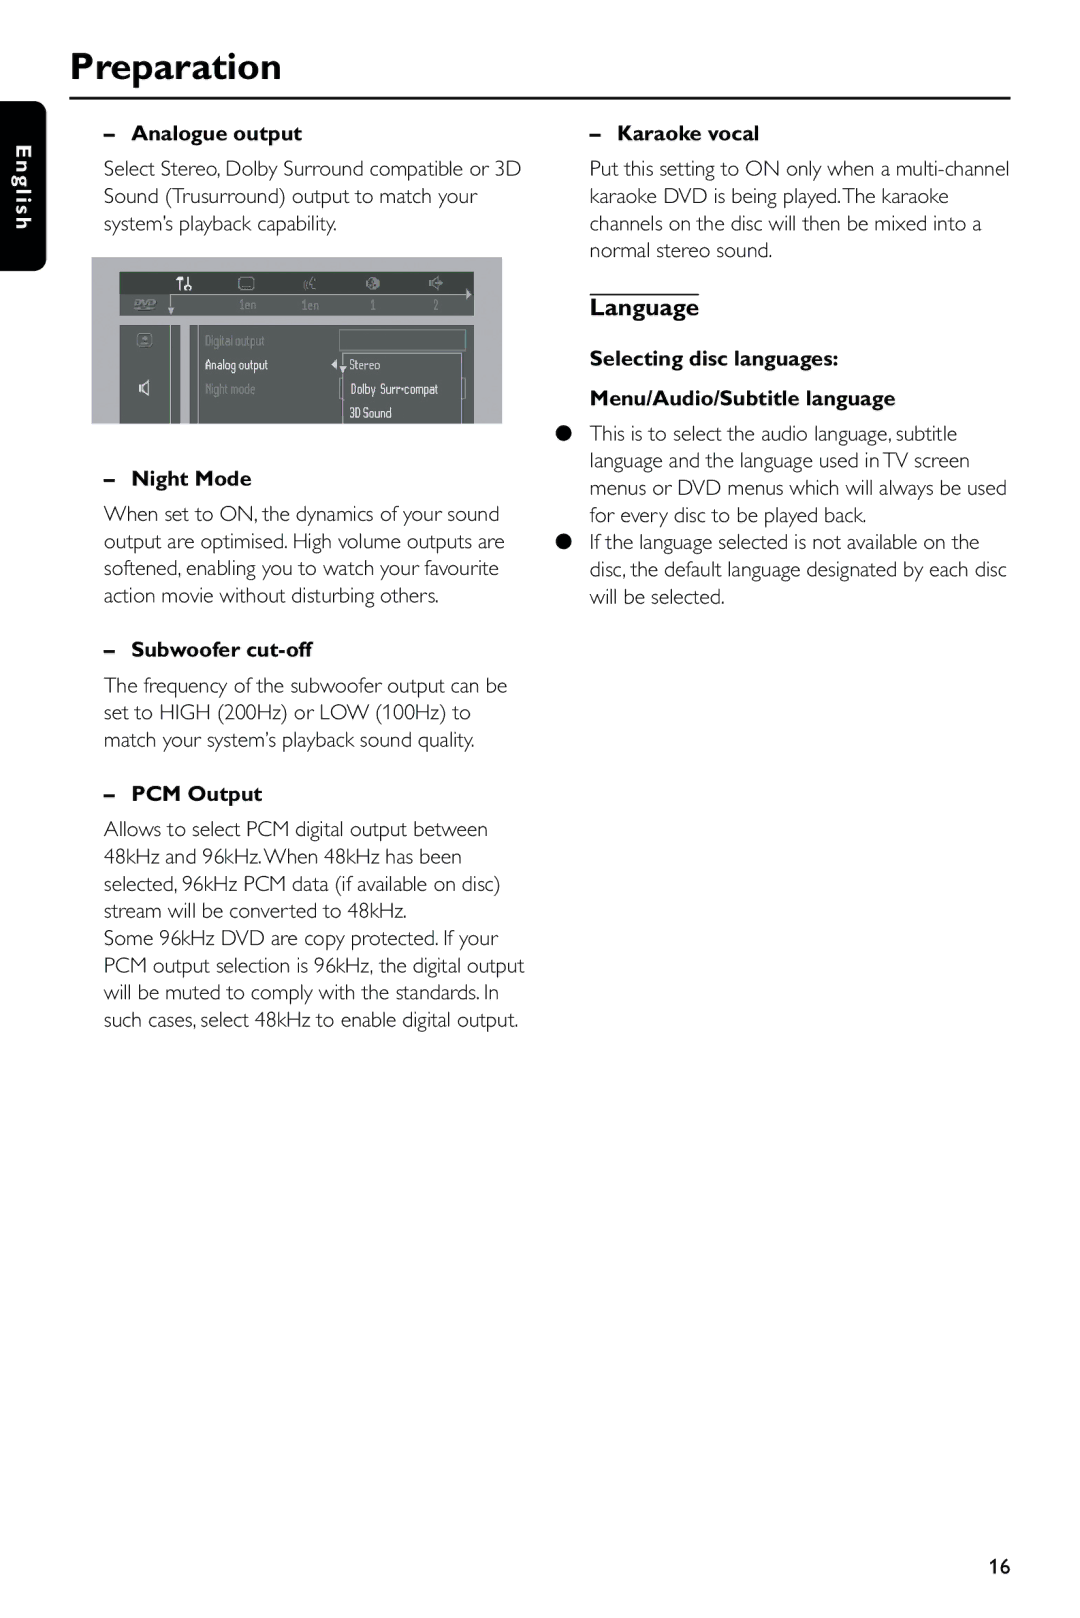
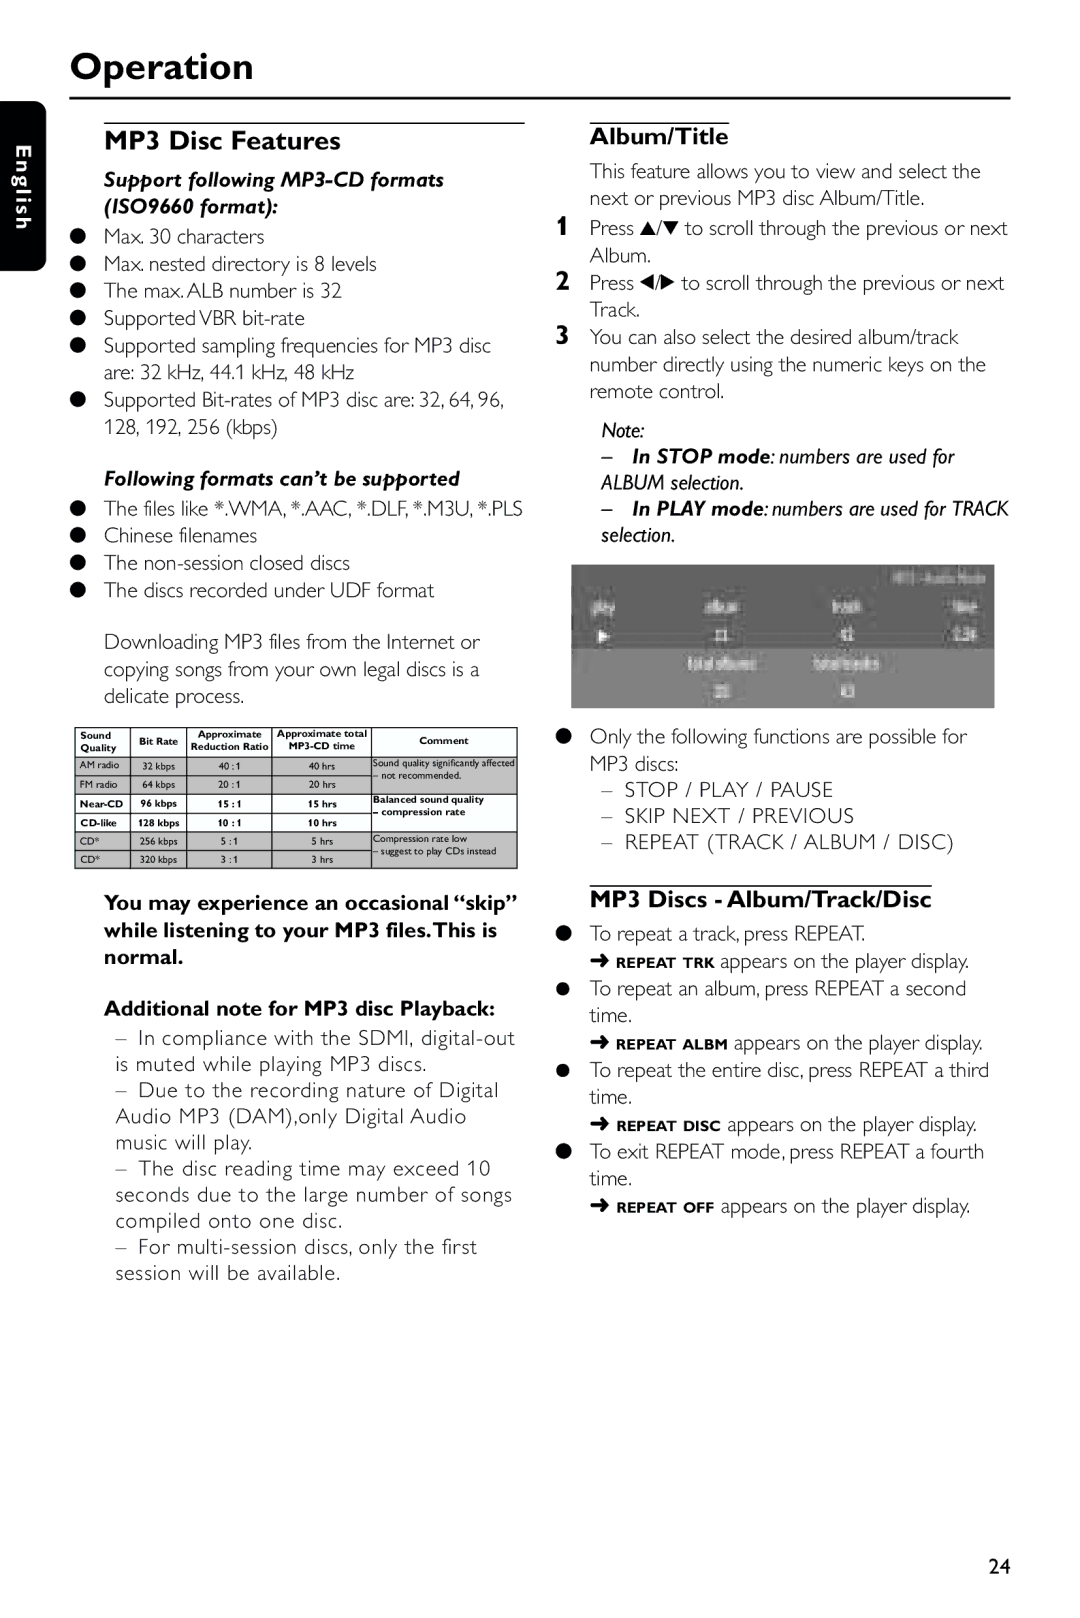
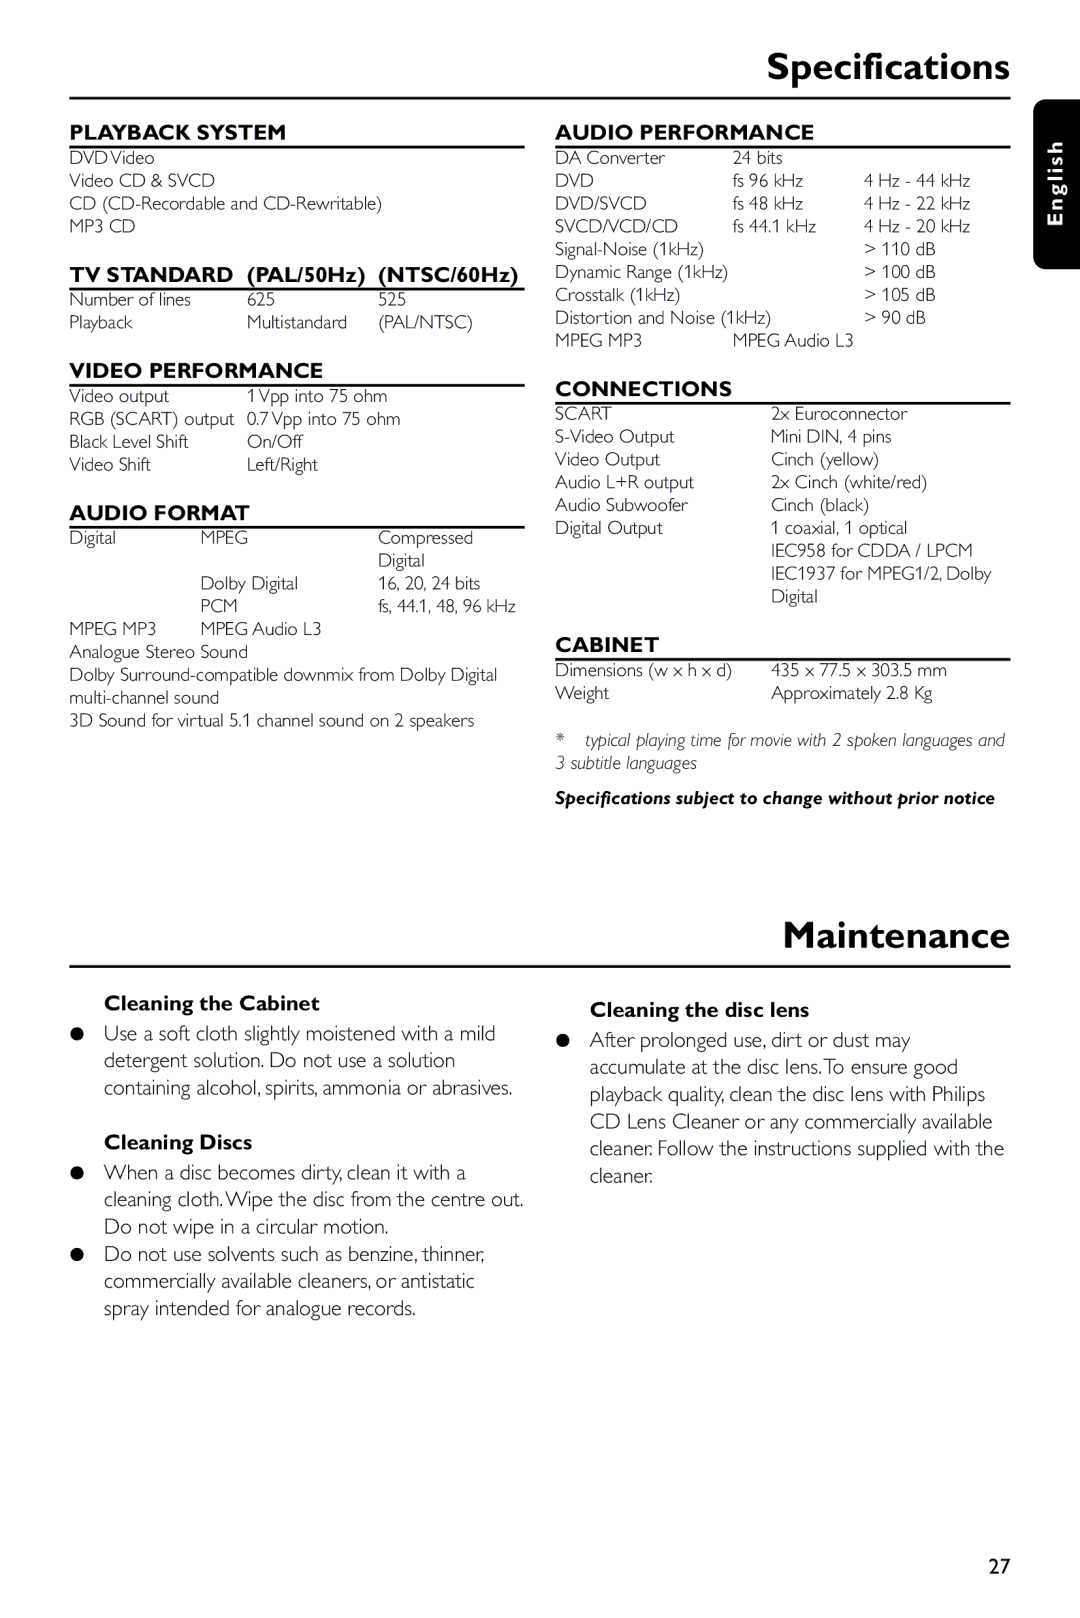
In terms of audio performance, the DVD743 comes with built-in Dolby Digital and DTS decoders, allowing for high-fidelity surround sound experiences. Users can connect the player to their home theater system via the optical or coaxial digital output, enabling seamless integration with modern audio equipment. The player's audio capabilities also extend to supporting various audio formats, including MP3, WMA, and AAC, providing users with flexibility in audio playback.
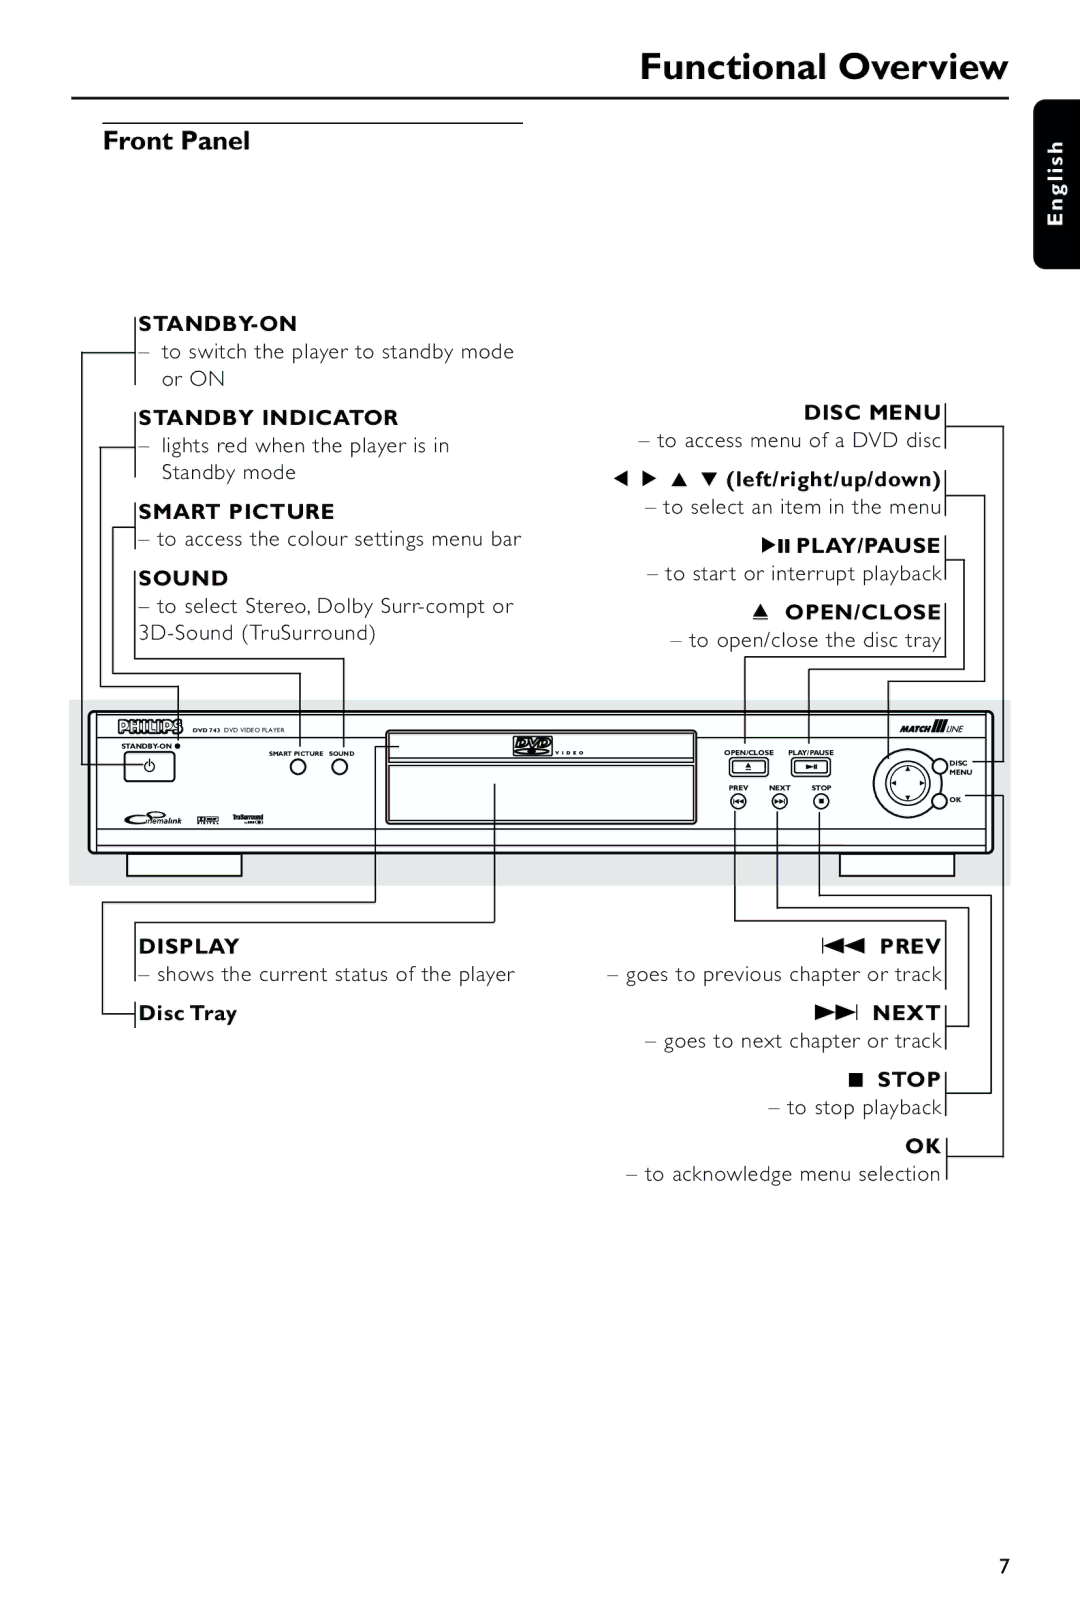
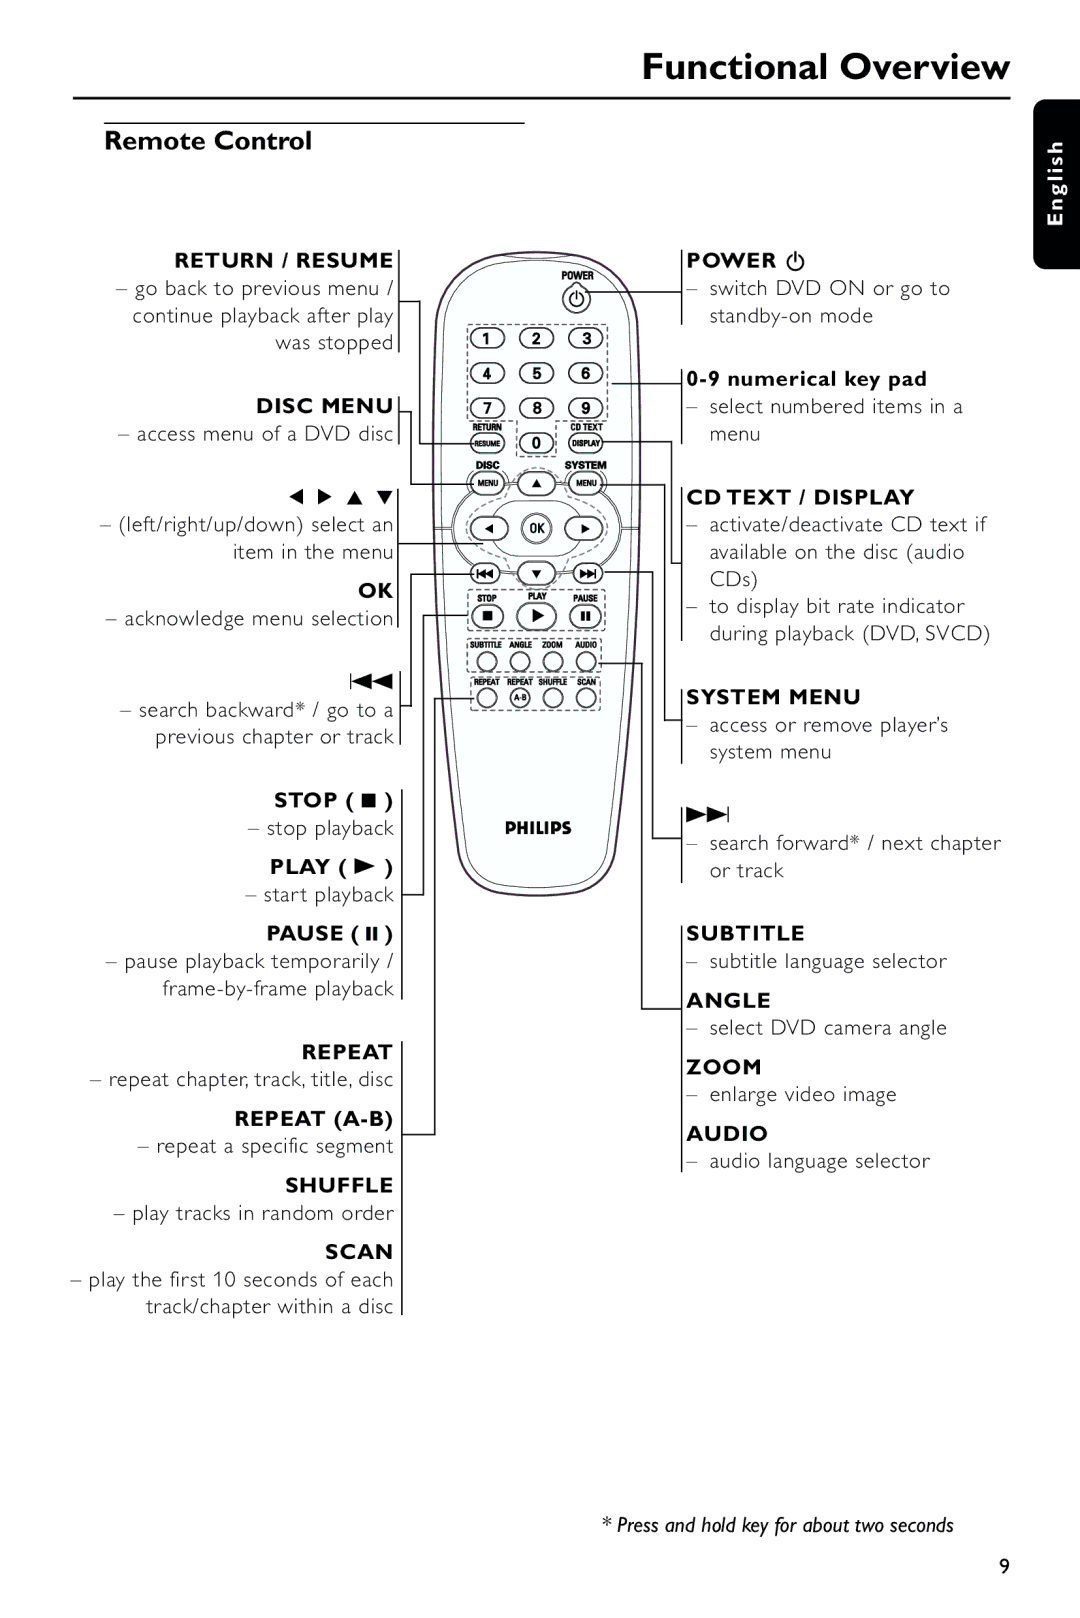
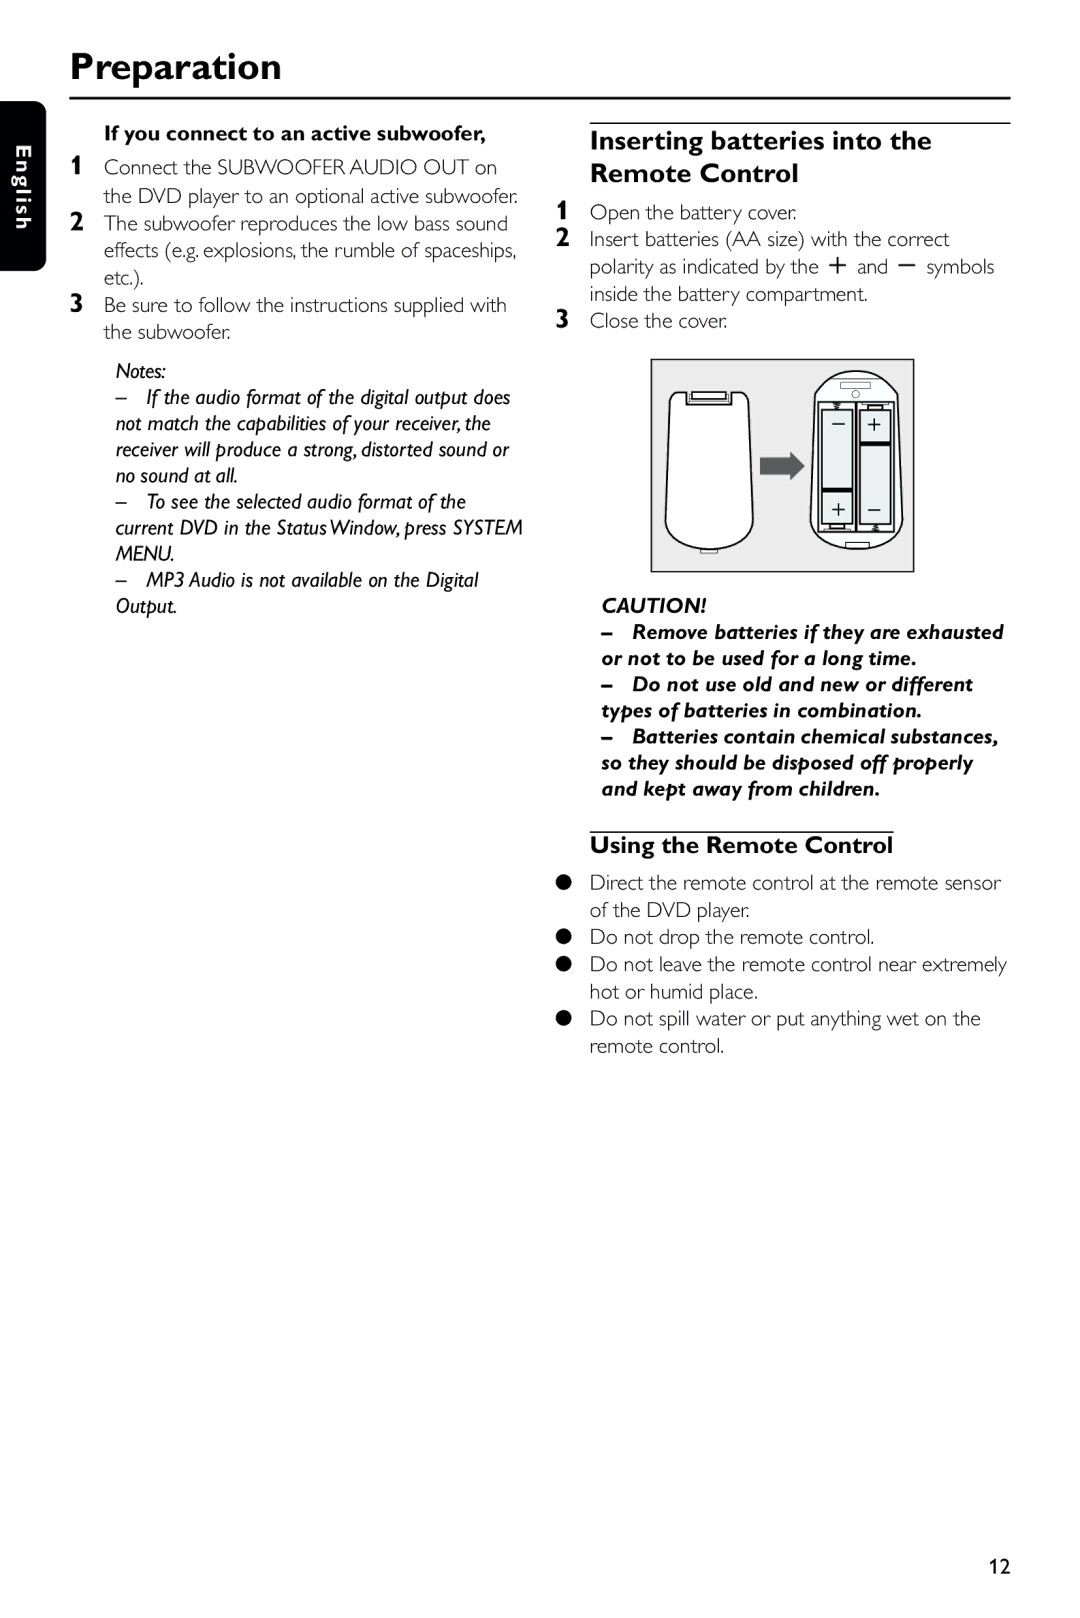
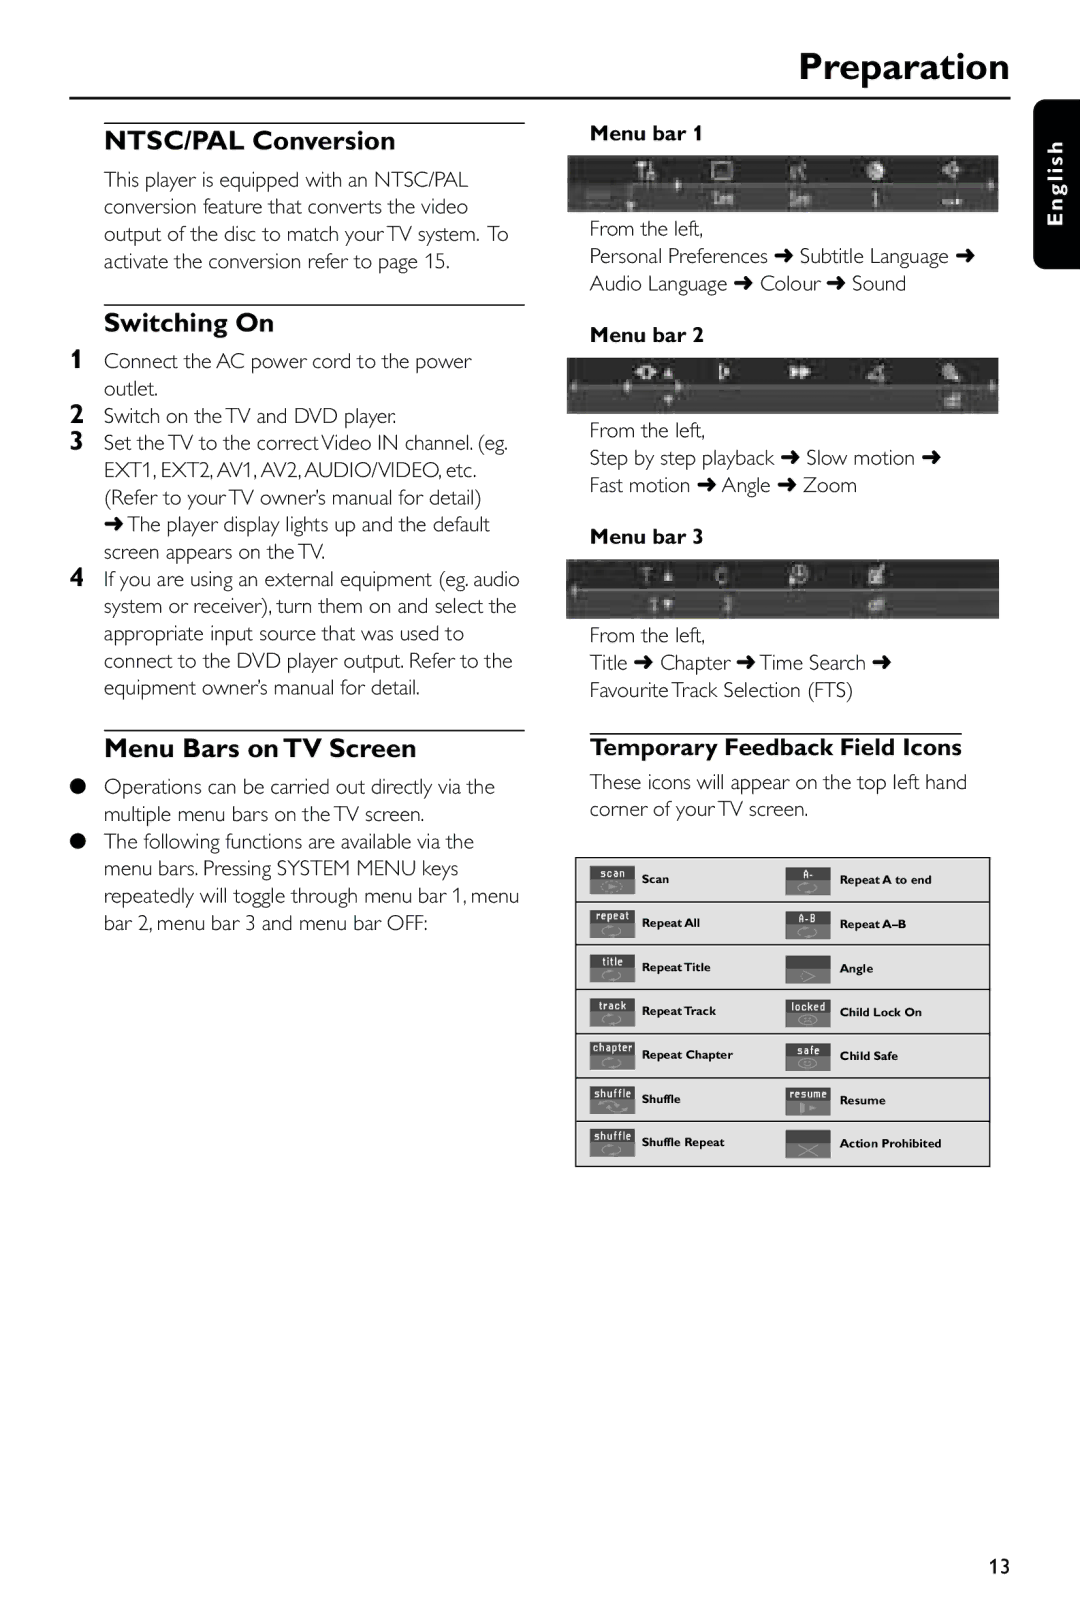
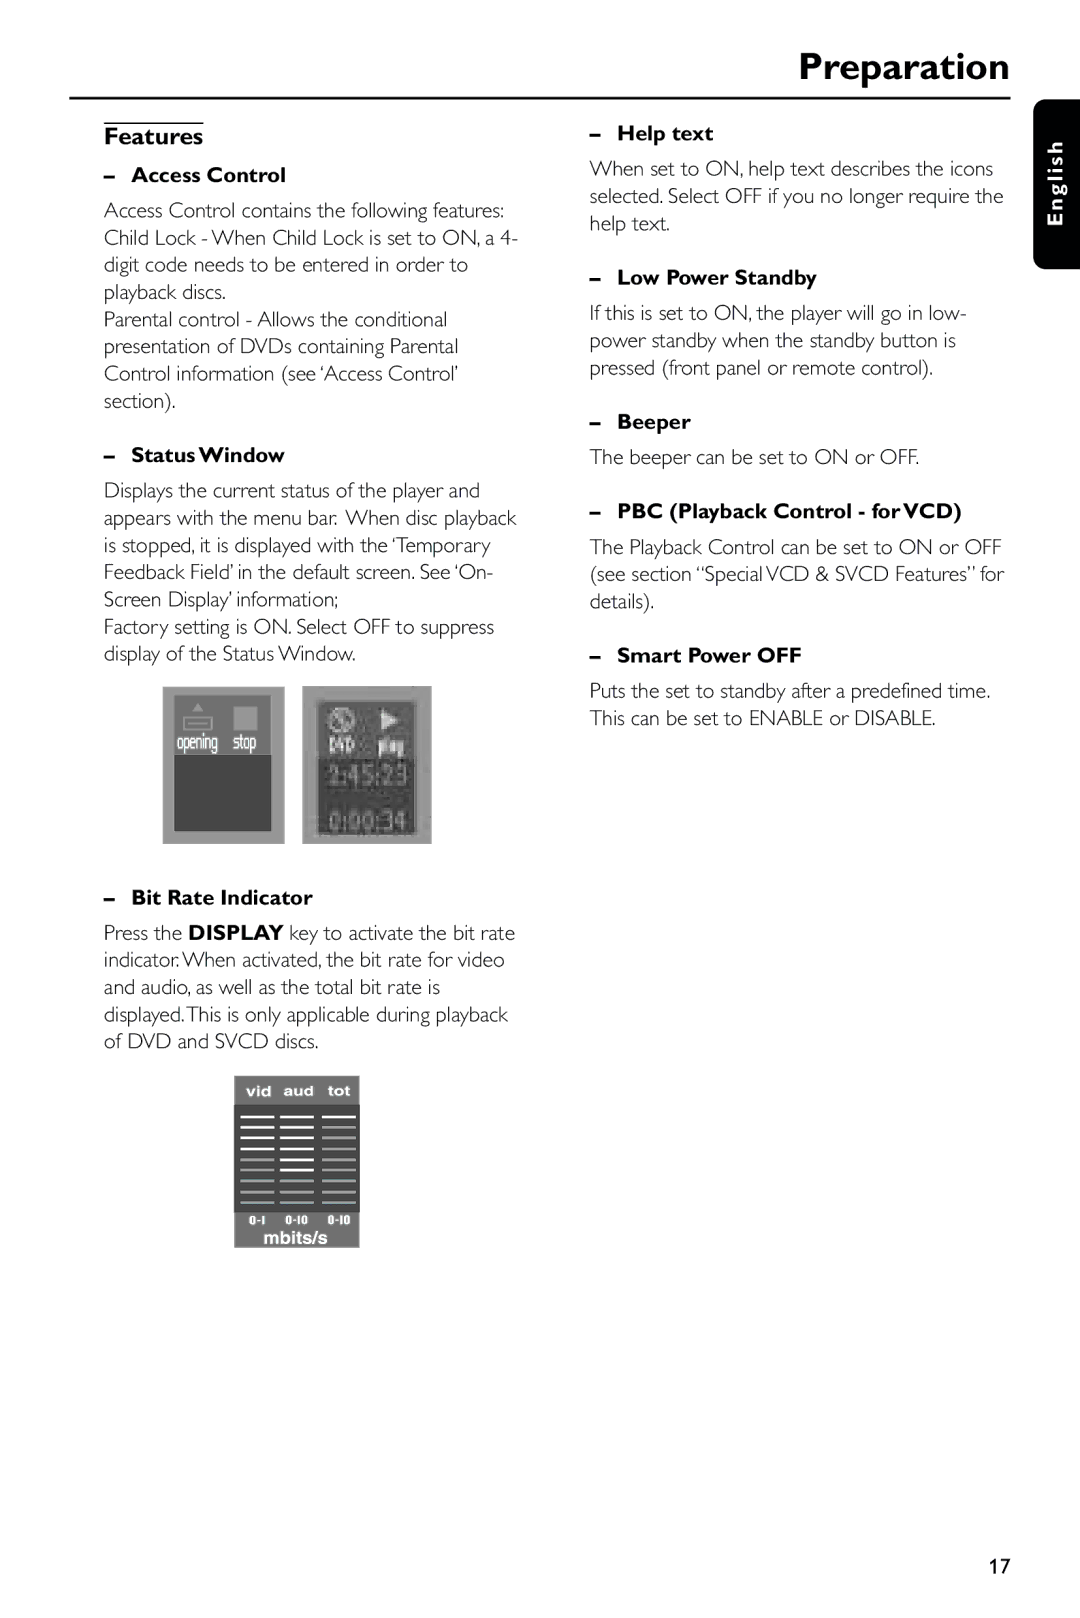
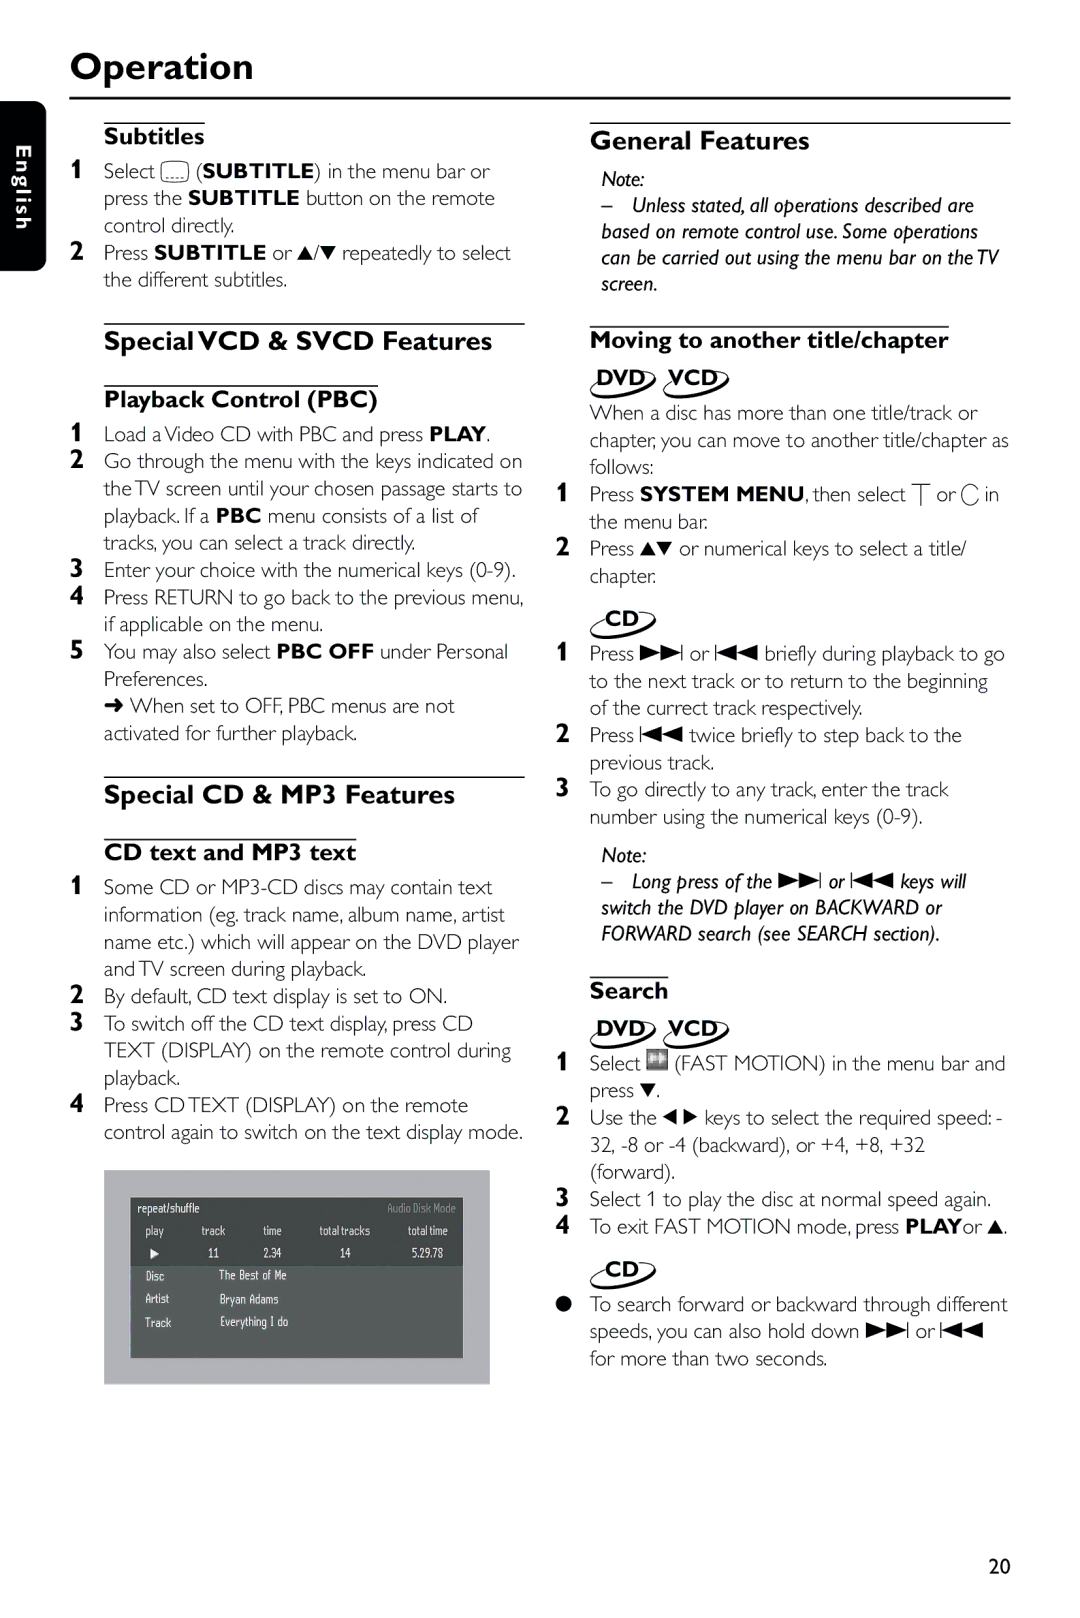
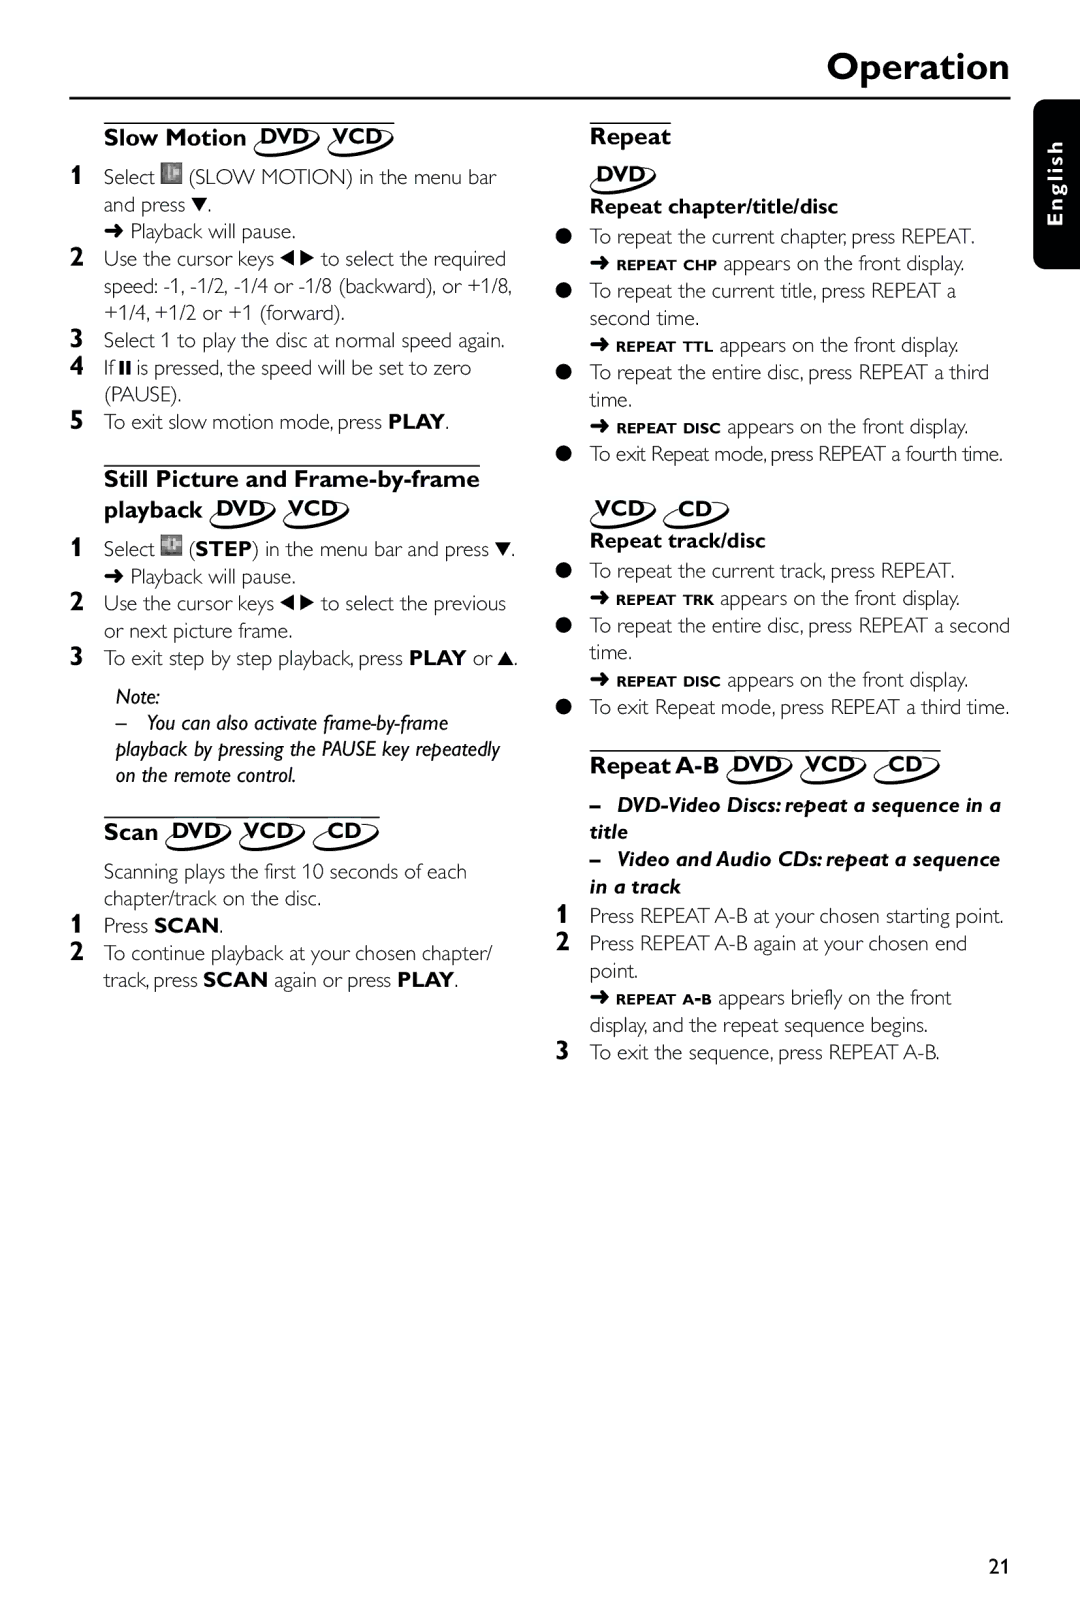
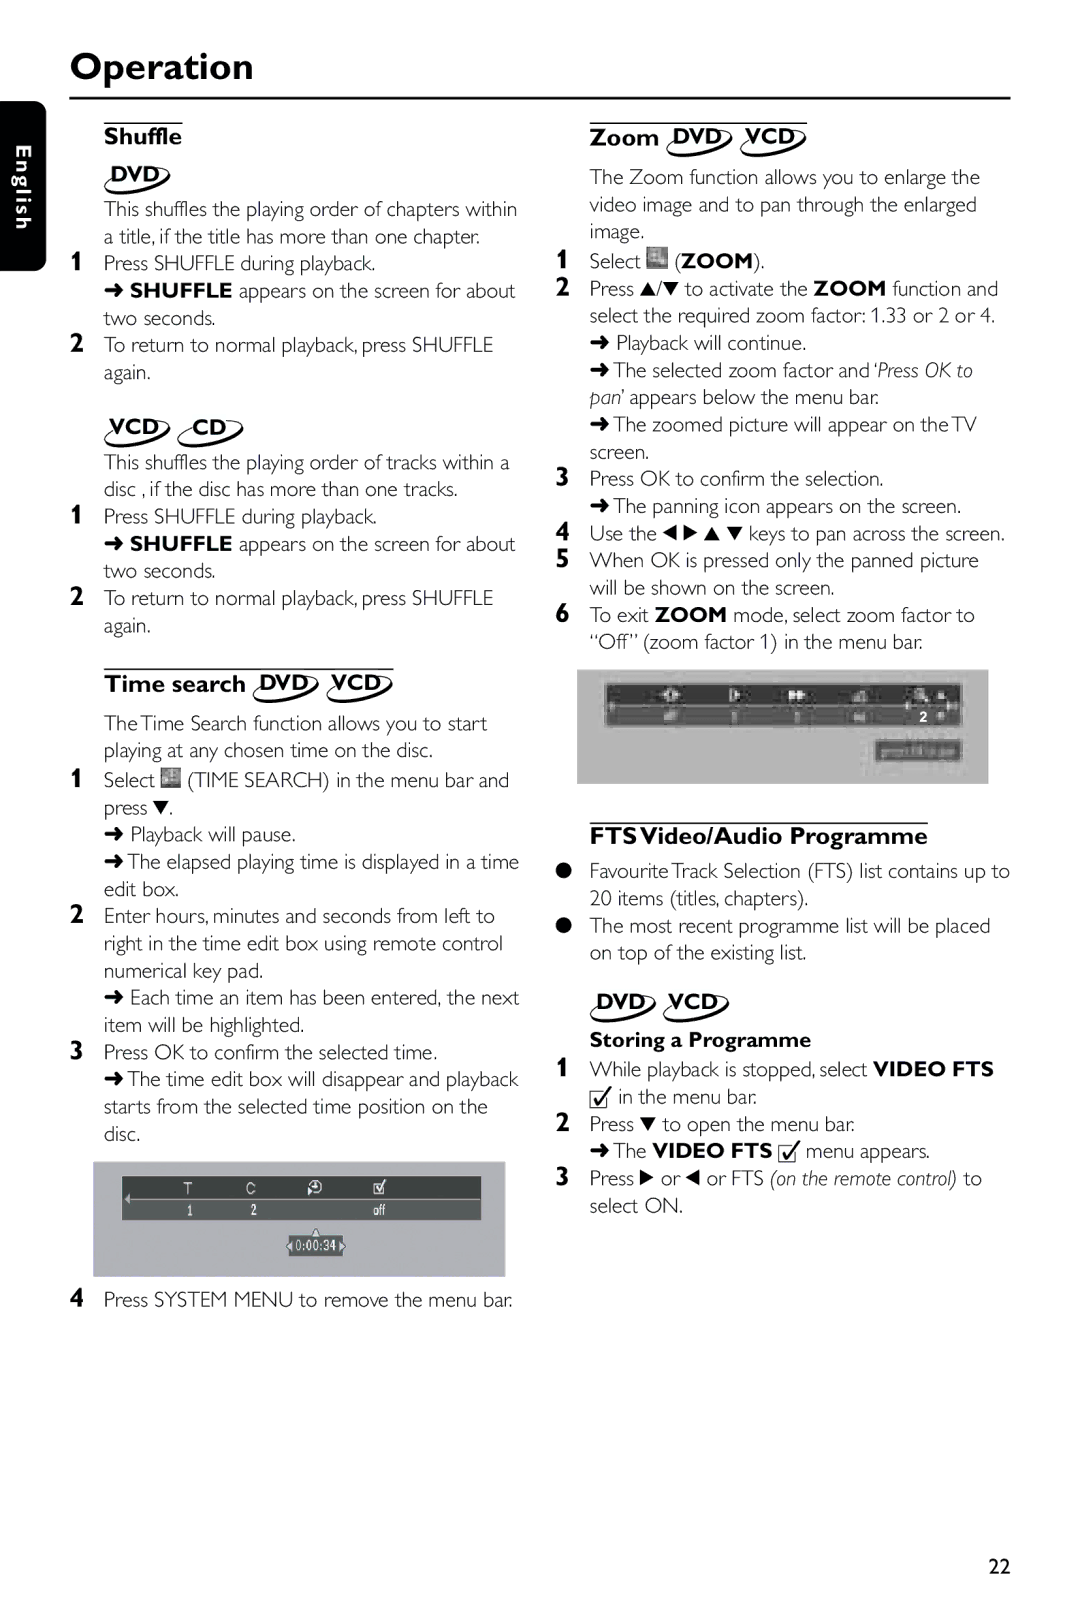
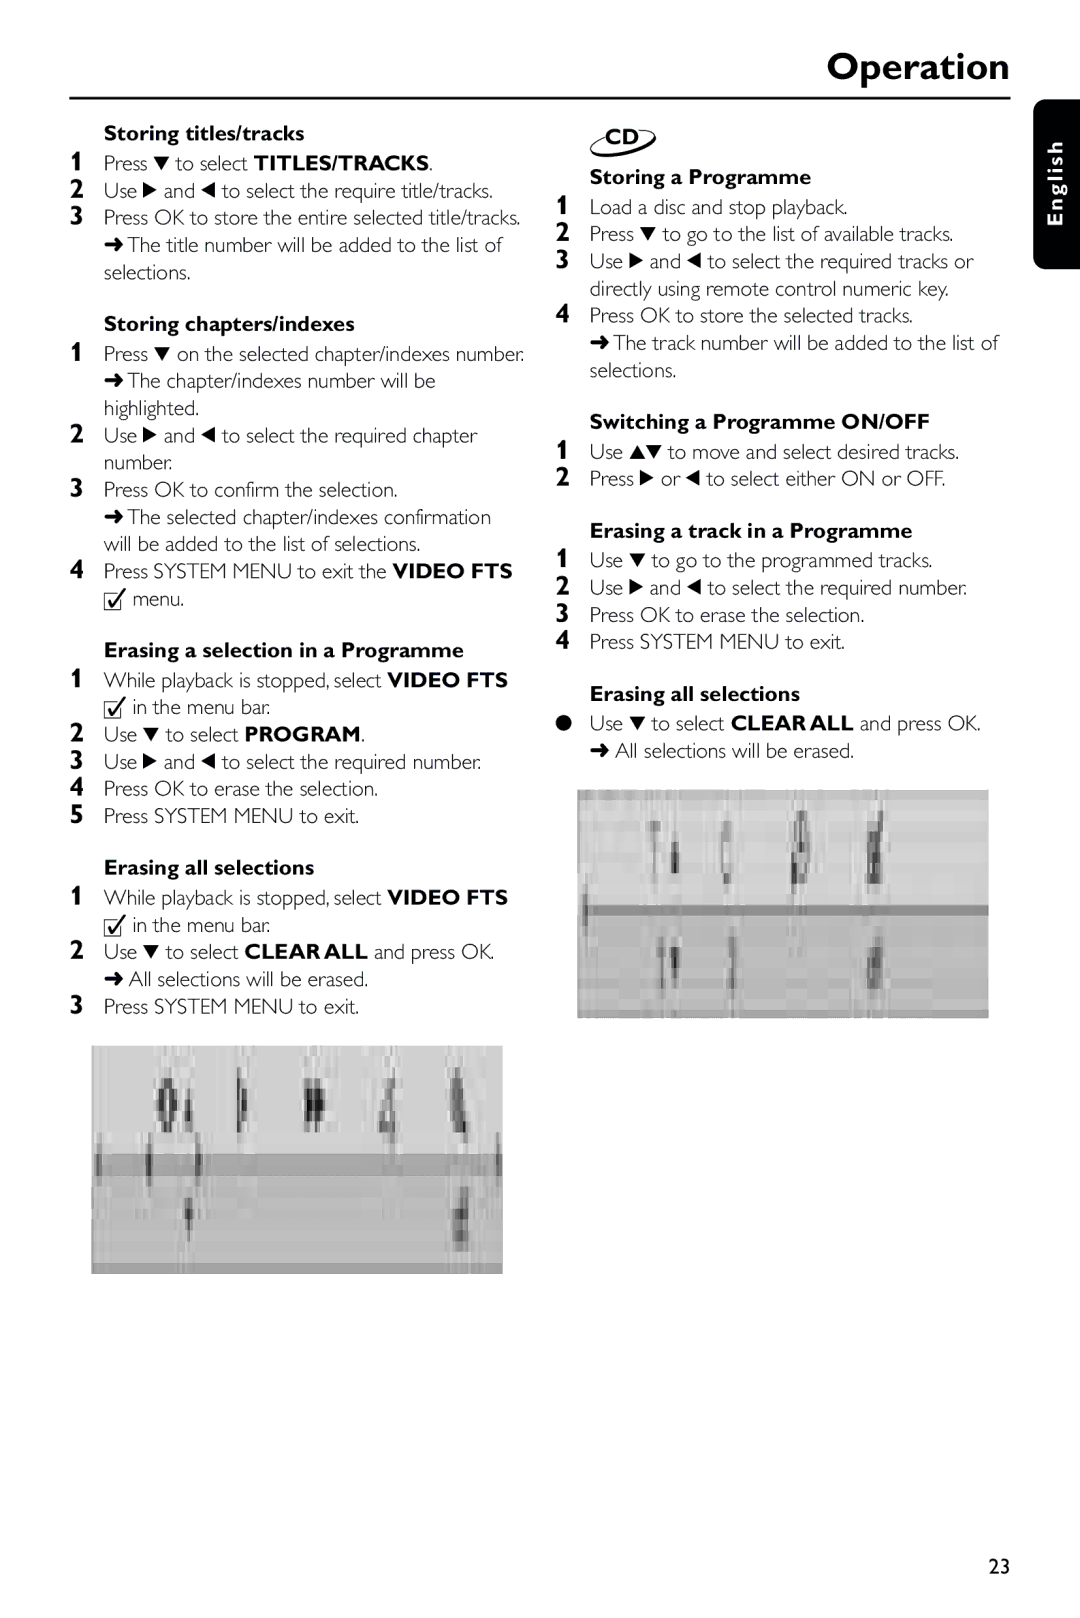
The design of the Philips DVD743HC/021 emphasizes user-friendly navigation. The intuitive interface allows for easy access to all the player’s features, including zoom, repeat, and shuffle options. Additionally, the DVD player includes a comprehensive remote control, enabling users to manage their viewing experience from the comfort of their sofas.
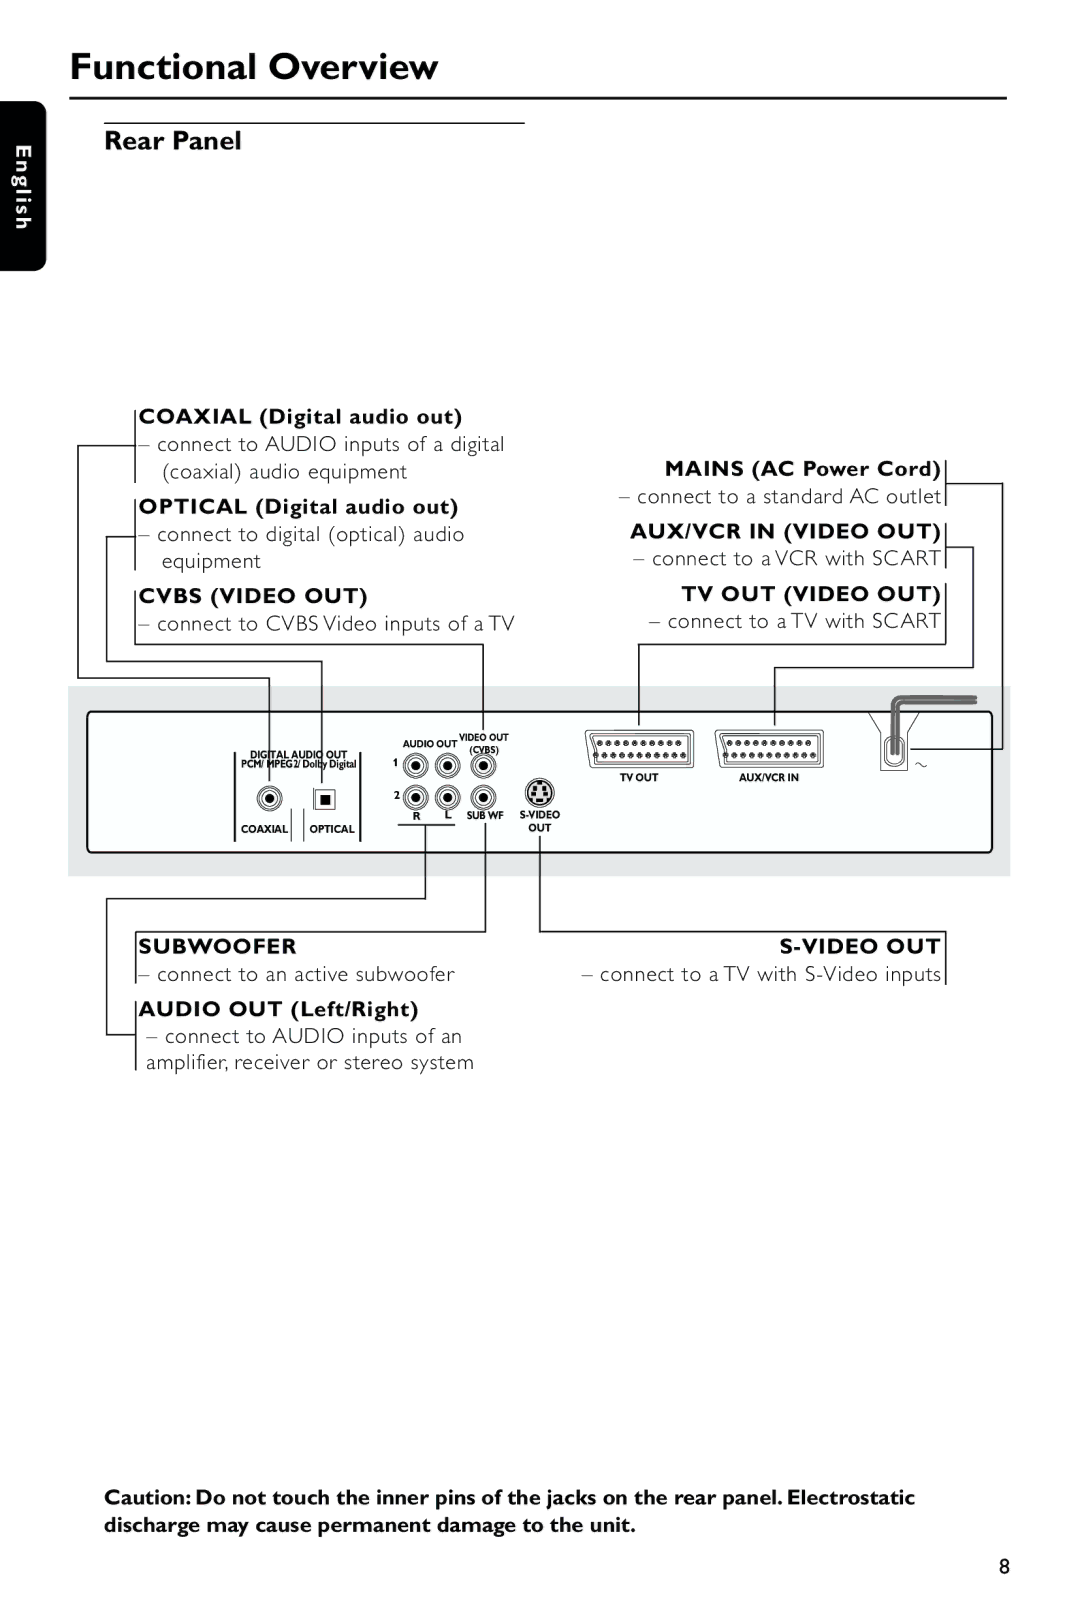
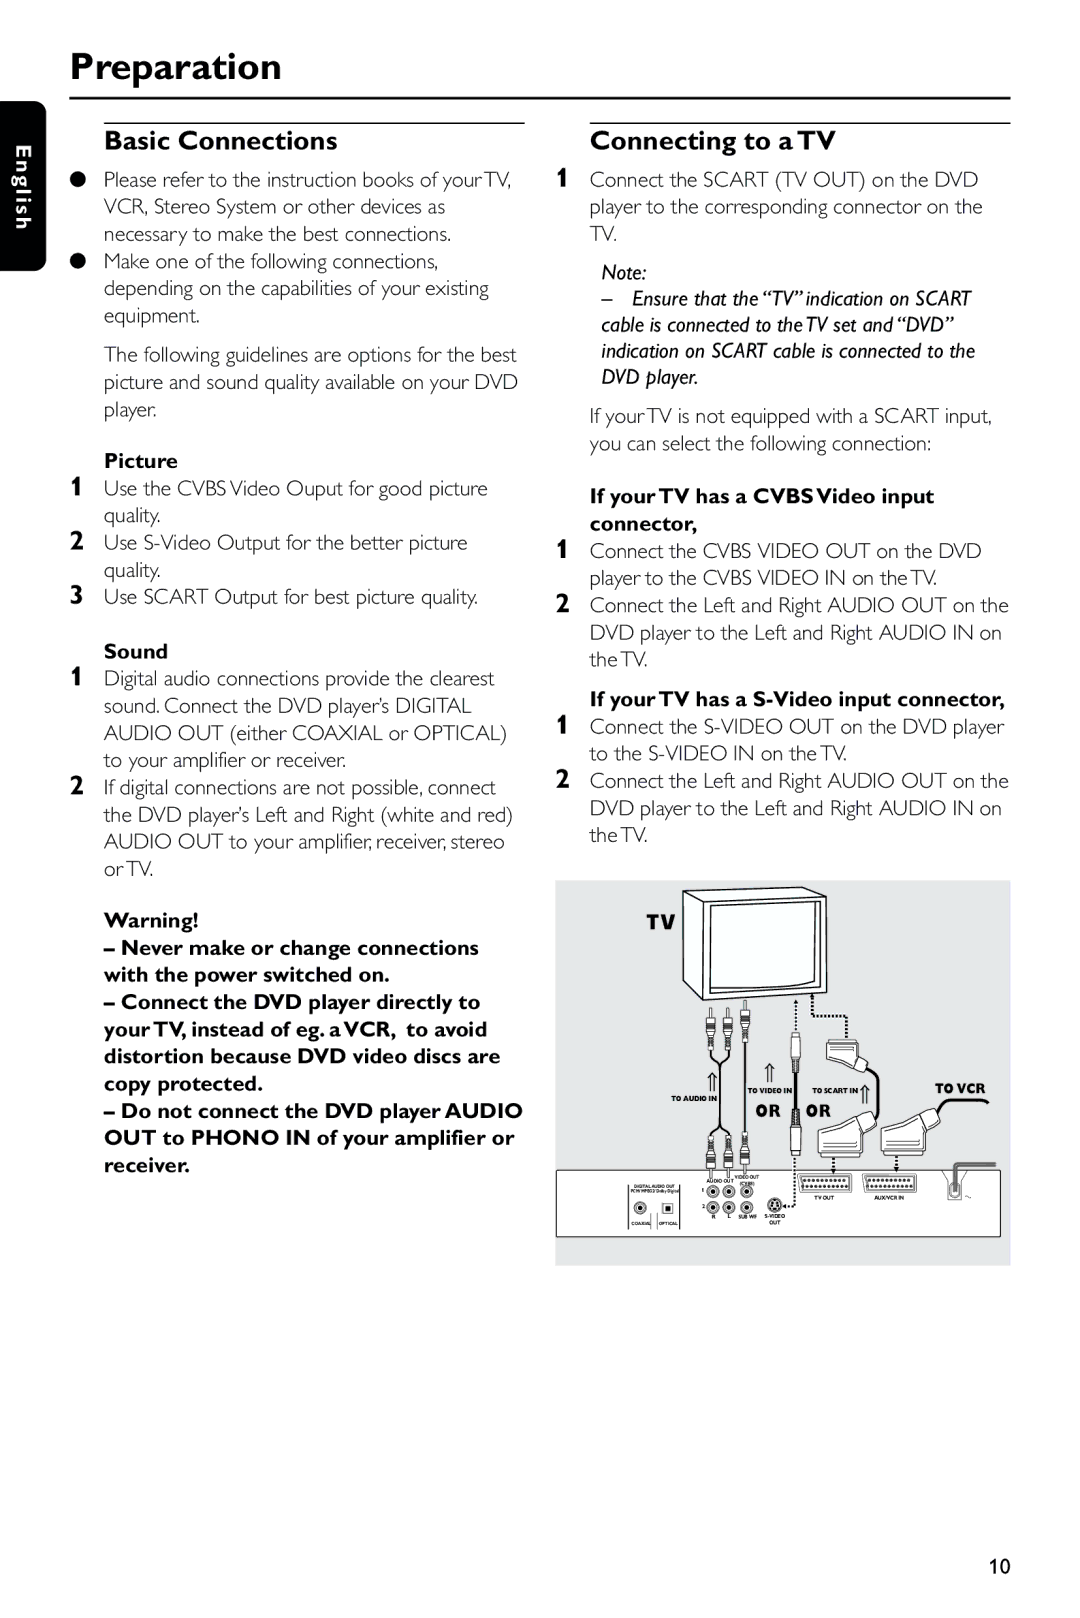
For those who prioritize connectivity, the DVD743HC/021 features composite, S-Video, and component video outputs, ensuring compatibility with a multitude of television sets and display devices. The inclusion of a USB port further enhances its capability, allowing users to directly play content from USB flash drives.
Moreover, the energy-efficient design of the Philips DVD743 aligns with modern environmental standards, helping to reduce energy consumption during operation. This feature is an added benefit for environmentally conscious consumers.
Overall, the Philips DVD743HC/021 combines practicality with advanced technology, making it an excellent choice for anyone looking to enhance their home entertainment systems with a reliable and high-performance DVD player. Its combination of compatibility, video and audio performance, and user-friendly features truly sets it apart in the competitive market of DVD players.
