Sony MVC-FD87 Adjusting the exposure Exposure, Adjusting the white balance White Balance

Page 29

Tips

Under normal recording conditions, the camera automatically makes various adjustments, such as those for the focus, iris, exposure, and white balance, as it shoots. However, you may not be able to carry out your desired shooting depending on shooting conditions. The program AE function provides you with near-optimum adjustments to suit your shooting situation.

B Various recording

Adjusting the exposure (EXPOSURE)

1

2, 3

1Set the PLAY/STILL/MOVIE selector to STILL or MOVIE.

2Select [CAMERA] and then [EXPOSURE] from the menu.

3Select the desired exposure value.

Adjust the exposure value while checking the brightness of the background. You can select values ranging from +2.0 EV to -2.0 EV in steps of 1/3 EV.

Note

If a subject is under extremely bright or dark situations, or the flash is used, the exposure adjustment may not be effective.

Tips

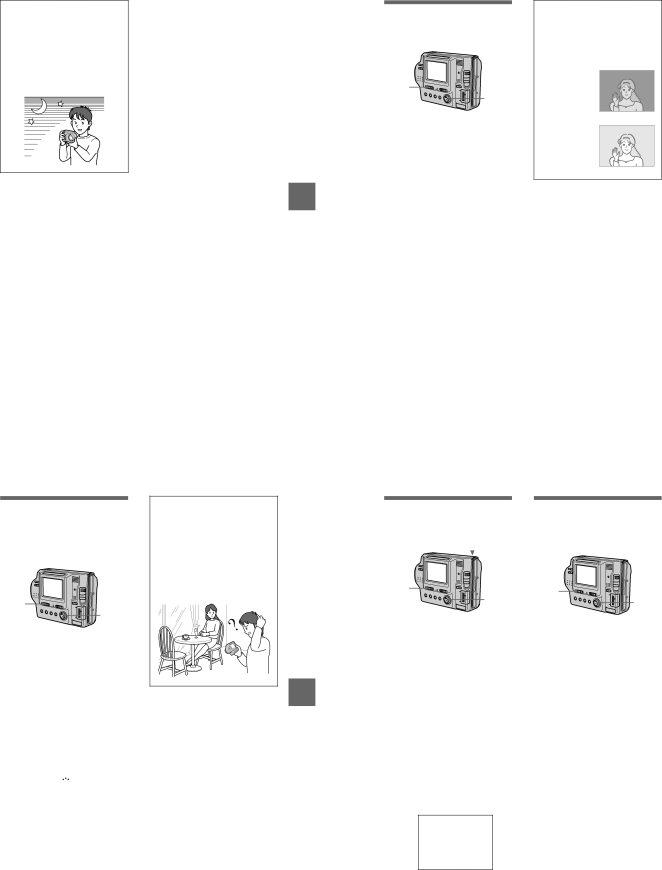
Normally, the camera automatically adjusts the exposure. If the color of the image is too dark or bright as illustrated below, we recommend that you adjust the exposure manually. When the color of the image is too dark, set it toward +, and when it is too bright, set it toward –.

Set the exposure toward +

Set the exposure toward

Adjusting the white balance (WHITE BALANCE)

Normally the white balance is automatically adjusted.

1

2, 3

1Set the PLAY/STILL/MOVIE selector to STILL or MOVIE.

2Select [CAMERA] and then [WHITE BALANCE] from the menu.

3Select the desired white balance setting.

IN DOOR (n)

Places where the lighting condition changes quickly

Under bright lighting such as photography studios

Under sodium or mercury lamps

OUT DOOR ( )

Recording a sunrise/sunset, night scene, neon signs, or fireworks

HOLD (HOLD)

Retains the adjusted white balance value

AUTO (No indicator)

Adjusts the white balance automatically

To reactivate auto adjustment

Select [AUTO] in step 3.

Note

Select [AUTO] when shooting with fluorescent lighting.

55

Tips

The image is susceptible to lighting conditions. The image looks white under sunlight in the summer, and looks red under mercury lamps. Human eyes can resolve these problems. However, the camera cannot resolve the problem by making adjustments. Normally, the camera adjusts it automatically, but, if the image appears in strange colors, we recommend that you change the white balance mode.

B Various recording

57

56

Recording the date and time on the still image (DATE/TIME)

4

1

2, 3

1Set the PLAY/STILL/MOVIE selector to STILL.

2Select [EFFECT] and then [DATE/TIME] from the menu.

3Select the date and time.

DAY & TIME

Imposes the date, hour, and minute.

DATE

Imposes the year, month, and day.

OFF

Does not impose the date and time.

4Record the image.

The date and time do not appear on the LCD screen during shooting. These appear during playback only.

2001 7 4

Notes

When [DATE] is selected in step 3, the date is imposed in the order set by the CLOCK SET item (page 14).

The date and time are not imposed onto Clip Motion images.

58

Enjoying picture effects (PICTURE EFFECT)

1

2, 3

1Set the PLAY/STILL/MOVIE selector to STILL or MOVIE.

2Select [EFFECT] and then [P. EFFECT] from the menu.

3Select the desired mode.

SOLARIZE

The light contrast is clearer and the picture looks like an illustration.

B&W

The picture is monochrome (black and white).

SEPIA

The picture is sepia-toned like an old photograph.

NEG.ART

The color and brightness of the picture are reversed as in a negative.

OFF

Does not use the picture effect function.

To cancel picture effect

Select [OFF] in step 3.

– 29 –

Image 29
Contents PHoto MVC-FD92 SpecificationsTable for differences of function Floppy disk that can be used by the MVC-FD87/FD92Table of Contents KΩ /1 W Part code 215-869-11 Capacitor KΩ /1 W Wrap insulating tapeDisplay Code Description on Self-diagnosis DisplayOther accessories Checking supplied accessoriesAEP CD-ROMLCD Module Assembly FDD Block Assembly PK-54 Board FC-85 BoardMVC-FD87/FD92 Lens Block Assembly LCD Module Cabinet Front Section 5966 Cabinet Front AssemblyRemark COVER, DC FD92101 106 105 104 FDD Block Section104 103 102 108 104 107156 157 Cabinet Rear Section158 153213 211 214 Cabinet Rear Assembly210 212 215 208 217259 Lens Block Section FD87257 253 256 255 252 254 258 303 302 307 Lens Block Section FD92304 309 301For the Customers in the U.S.A Be sure to read the following before using your cameraDeclaration of Conformity For the Customers in the U.S.A. and CanadaInstalling the battery pack Preparing the power supplyCharging the battery pack Identifying the partsUsing the AC power adaptor Setting the date and timeBattery pack NP-F330 supplied NP-F550Inserting a Memory Stick To cancel the date and time settingInserting a floppy disk Recording still imagesAdjusting the brightness of the LCD screen Indicators on the LCD screen during recordingUsing the zoom feature Using the self-timerRecording moving images LCD screen indicators during still image playbackPlaying back moving images Playing back still imagesPlayback Viewing images using a computerDouble-click in this order Image file storage destinations and image file namesHow to use the control button How to use the PLAY/STILL/MOVIE selectorBefore performing advanced operations Location File MeaningSetting Description How to change the menu settingsMovie selector Item-1Index Only in Play single mode Setting the image sizeDelete Only in Play single mode Return Only in Play Index modeRecording still images for e-mail E- Mail Creating Clip Motion FilesAdding audio files to still images Voice Various recordingUsing the Program AE function Setting the distance to the subjectRecording text documents Text Recording still images as uncompressed files TiffAdjusting the white balance White Balance Adjusting the exposure ExposureRecording the date and time on the still image DATE/TIME Enjoying picture effects Picture EffectSlide Show Playing back the still images in orderEnlarging a part of the still image Zoom and trimming Viewing images on a TV screenCopying images Copy Changing the recorded still image size ResizeDeleting images Delete Format Copying all the information on your floppy disk Disk CopySelecting still images to print Print Mark On Memory Sticks PrecautionsAdditional information About InfoLITHIUM battery packSymptom Cause and/or Solution For Windows 2000 Professional users Battery packsSkipping For Windows 98, Windows 98SE, WindowsMessage Meaning Indicators during recordingCode AdditionalIndicators during moving image playback Indicators during still image playbackIs displayed during stop, and X during playback Image searching buttons Menu bar and guide menuPublished by PV Customer Center 2001F0500-1 2001Revision History