Contents
Coolpix
VGA
Contents
Overview
Putting Batteries inYour Camera
First Steps
Choosing a Language for the Menus
Inserting and Removing Memory Cards
First Steps Setting the Time and Date
Setting the Time and Date
Clock battery
First Steps Taking Your First Photograph
Turn the mode dial to A-REC
TakingYour First Photograph
Check the number of exposures remaining
Compose a photograph
Adjust camera settings
Take a photograph
Half-press the shutter-release button
Check the results
Using the Buttons A-REC, M-REC Flash Settings
Using the Buttons A-REC, M-REC
Flash Settings
Setting How it works When to use it
Tips
Autofocus settings
Focus Settings
Using the Buttons A-REC, M-REC Focus Settings
Pressing the button
Manual focus
Focus Distance
Using the Buttons A-REC, M-REC Using the Self-Timer
Using the Self-Timer
Quality 8MB
Using the Buttons A-REC, M-REC Image Quality
Image Quality
Approx. No
Using the Buttons A-REC, M-REC Image Quality
Using the Buttons Play
Using the Buttons Play
To view photos one at a time
Button once for a magnification
If desired, you can zoom in on the current
Photo by pressing Button.
Center portion of the image will be en
A-REC Menu
Camera Menus
Camera Menus The A-REC Menu
Right
Using Folders A-REC, M-REC
Selecting a Folder
Press the shutter-release button to dis
Renaming existing folders To rename an existing folder
Folder Options Menu
Creating new folders
To create a new folder
To delete an existing folder
LCD brightness can be adjusted from the setup menu for each
LCD Brightness
Deleting folders
Formatting Memory Cards
Auto Off
Camera Menus The M-REC Menu
M-REC Menu
Allows you to choose between single-shot and three multi
Scribed in First Steps Setting the Time and Date, above
M-REC setup menu offers access to the following settings
Lens Lens Converter
Pixels
Below
194
640 ⋅
Right, then press the shutter-release but
Lens Converter Settings Lens
Option How it works
Desired option from the menu shown at
Black-and-White Photography
Second Turn the mode dial to M-REC
Choose YES black-and-white mode or
No color mode from the B&W menu
Making a Panorama-Tips AE-LOCK
Using autoexposure and auto white-balance lock
Button
Second
User Settings
Folder
Restoring Default Settings
Sensitivity Default no adjustment Best-shot selection Off
Lens converter Normal no adjustment
LCD On/Off
Setting How it works
Save Focus Mode Save As above, but the camera
Flash is set to Auto when the camera is turned on
Controls Menu
Card
Prepares photographs for printing
Playback setup menu provides
Playback Menu
Protects selected photographs from deletion
Ages marked with a icon. Highlight no
Deleting Multiple Photographs
Button
Deleting All Photographs in Memory
Deleting Folders
To delete a folder
To select a folder for playback
Using Folders Playback
By default, each photograph will be dis
Slideshow
Protecting Photographs from Deletion
Preparing Photographs for Printing
Hiding Photographs During Playback
Camera Menus The Playback Menu
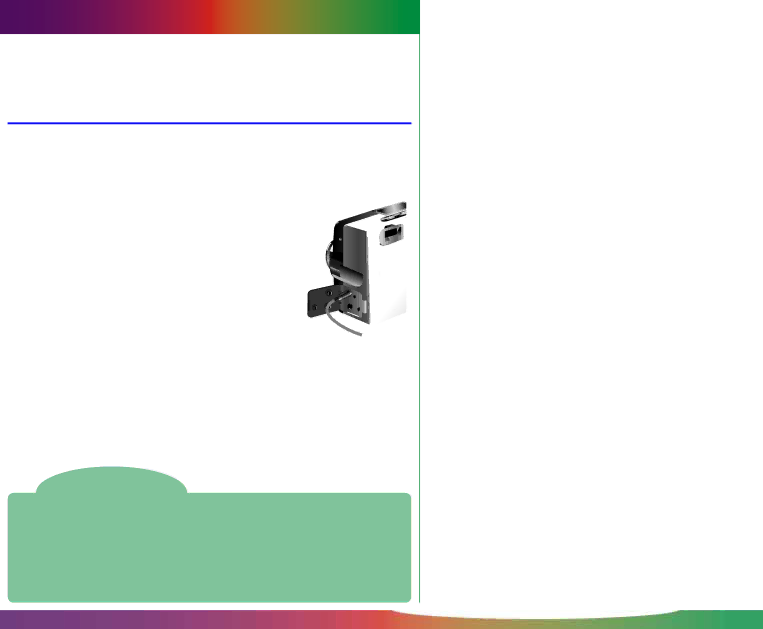
Connections Connecting to a Television or VCR
Connecting to aTelevision or VCR
Connections
Reading Memory Cards
Using a CF Card Reader
Using a Pcmcia Card Slot
Viewing Photos on a Computer
Caring for Your Camera
Cleaning
Caring forYour Camera
Storage
Optional Accessories
Accessories
What’s in the Box
General Problems
Troubleshooting
Images are over- or underexposed
See Error Messages, below, for more information
Exposure count shows zero
Monitor shows the message, no Card Present
Is your television compatible with the Coolpix 700?
Your television does not mirror the LCD monitor
Troubleshooting Error Messages
Error Messages
Use a Nikon memory card
S T EM E Rror
Specifications
Specifications
Dimensions
Ing can be preset
Self-timer
Ports DC, video, serial Power source