Vivitar DVR 810HD user manual

Page 37

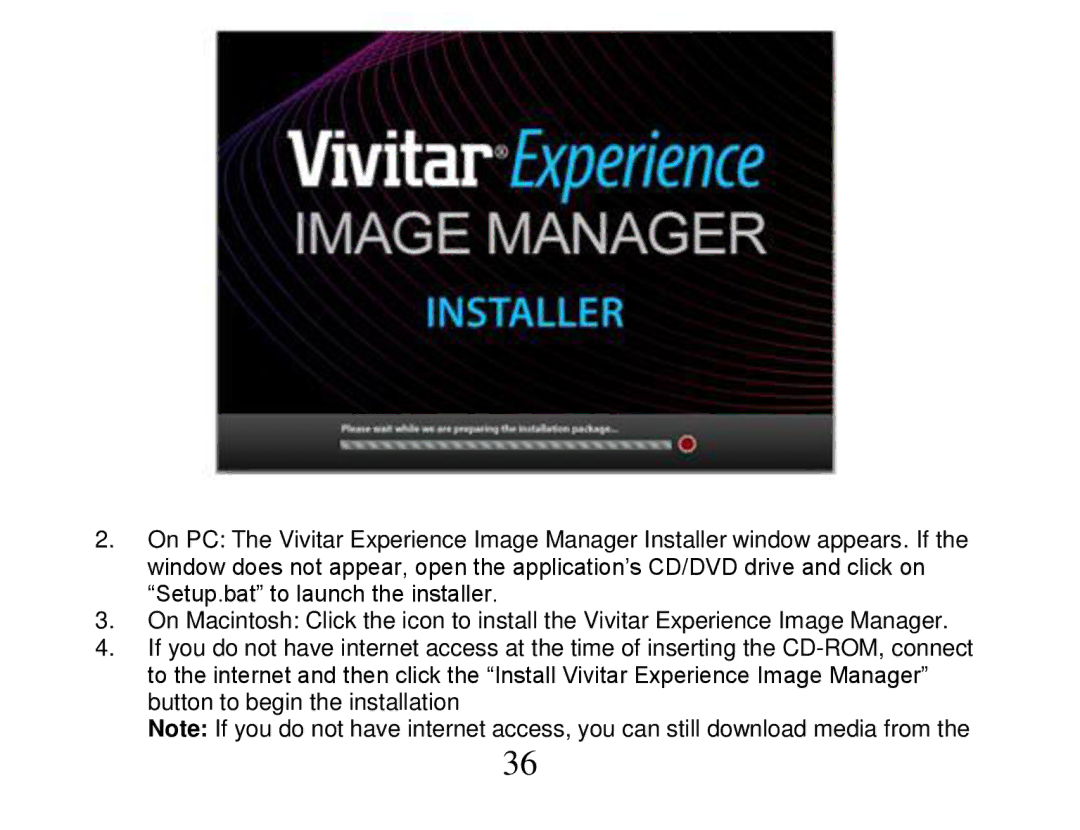
2.On PC: The Vivitar Experience Image Manager Installer window appears. If the window does not appear, open the application’s CD/DVD drive and click on “Setup.bat” to launch the installer.

3.On Macintosh: Click the icon to install the Vivitar Experience Image Manager.

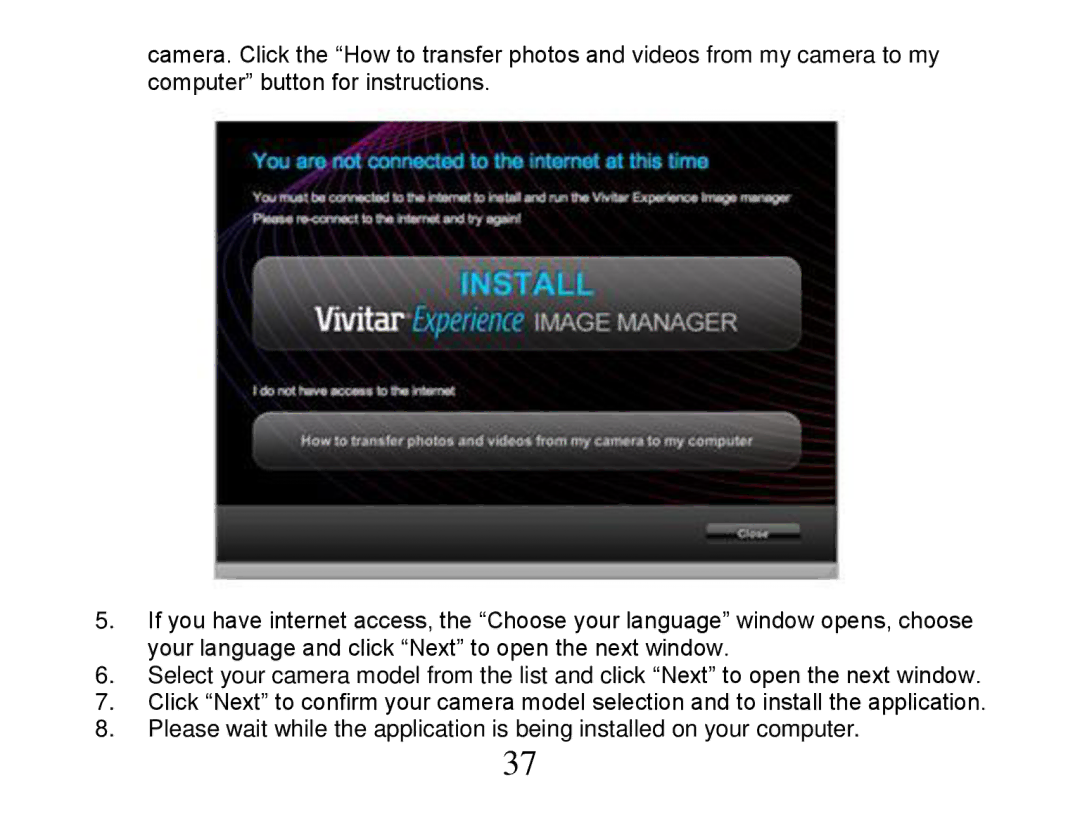
4.If you do not have internet access at the time of inserting the CD-ROM, connect to the internet and then click the “Install Vivitar Experience Image Manager” button to begin the installation

Note: If you do not have internet access, you can still download media from the

36

Image 37
Contents DVR 810HD Table of Contents Introduction Key FeaturesWhat your digital video camera includes Computer System Requirement for Windows Vista Computer System Requirements for Windows XPComputer System Requirements for Macintosh Quick Look at your Digital Video Camera Preparing Your Camera for Use Inserting an SD Memory Card Page Power off Power onDVR Function Control Capturing Videos Page Scene ResolutionExposure Noise Reduction White BalanceTaking photos Delete last file Digital Zoom function Self-TimerMulti-Snapshot Quality Sharpness ISOAnti-Shake Time Stamp Exposure Audio Mode Thumbnail display Operation for still photosRotate ProtectPrint directly with PictBridge DeleteOperation for AVI file Format Default settingDate Format Time Format Date/Time SettingTV Out FrequencyBuzzer Auto Power OffInstall the Vivitar Experience Image Manager Software Page Page Page Get photos and videos from your camera to your computer Connect your camera to the computerGet media from device window opens Get started Page Sakar Warranty Card Maintenance of Your Digital CameraWhat Is Not Covered By Warranty Technical Specifications YES Trouble Shooting How do I make sure I dont lose important pictures?