Pandigital PAN80XXT Copying Files from a Computer or Flash Drive, Changing the Decorative Frame

Page 12

screen. There under the “Network Photo” icon you should see the network you are connected to.

Note: The “+” and “-“ keys are used to toggle between Capital and lower case letters on the virtual keyboard.

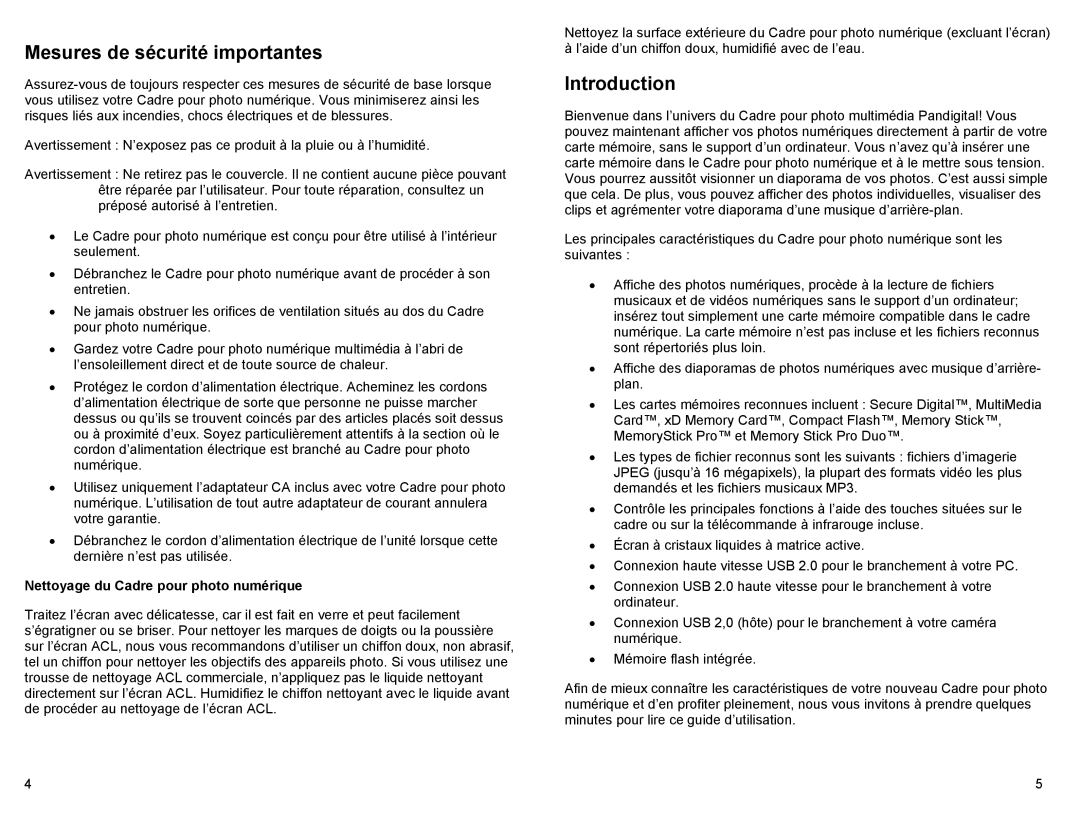
Step 2: Setting up your Picasa User ID and Password on the DPF.

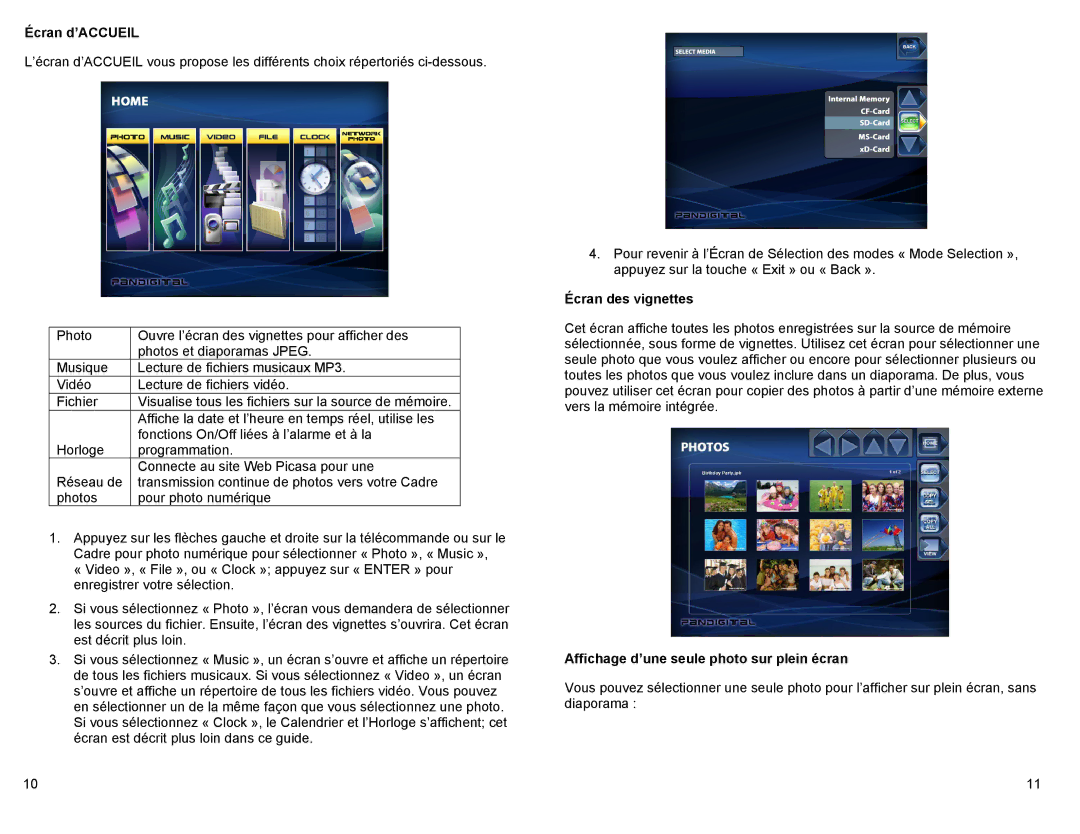
a.From Home screen, select the “Network Photo” icon and press ENTER.

b.Press SETUP to get to the Google Account Page.

c.Select “User ID” and press ENTER. Type your Picasa User ID and then the “Done” key.

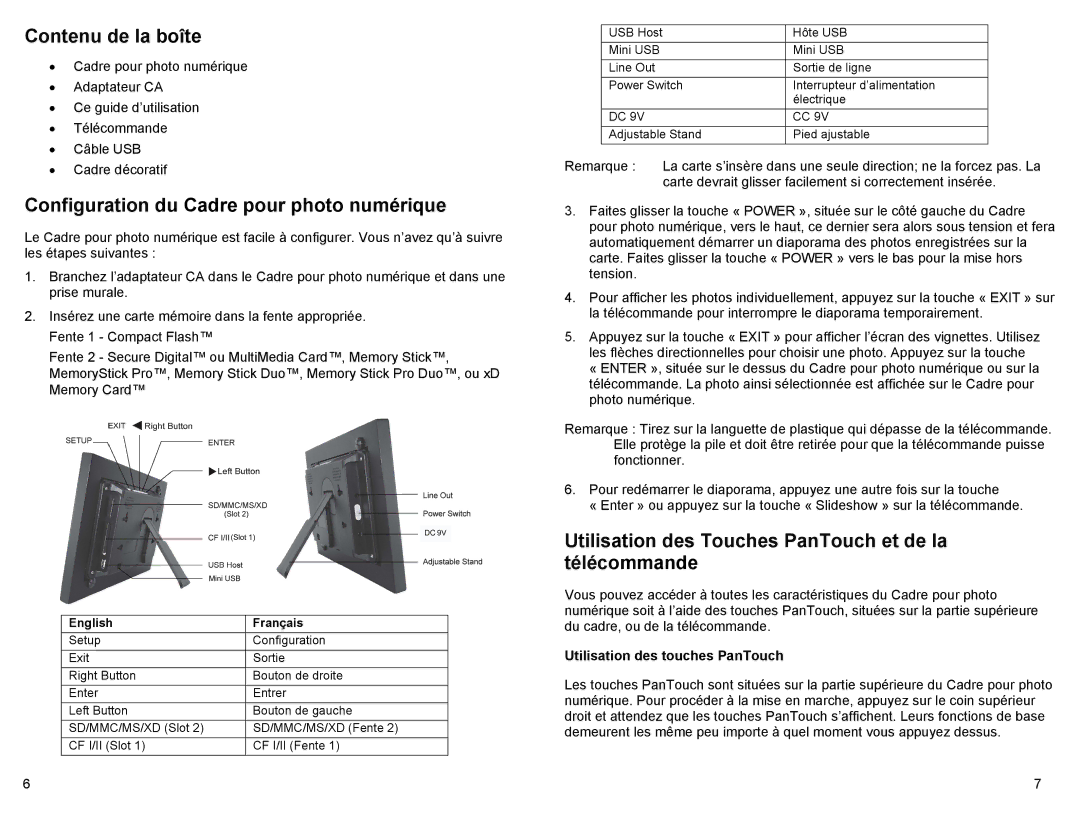
d.At the bottom left of the screen the “Password” field is highlighted in Yellow, indicating for you to enter your Picasa account password.

e.Type in your Picasa account password and then the “Done” key to return to the Google Account Screen.

f.Select “Connect” and press ENTER.

g.When you are connected you will see the folders you created in Picasa

Note: Step 2 assumes that you have already gone to http://Picasa.Google.com and setup your User ID and Password and have successfully uploaded pictures to that account.

Viewing Pictures Stored on Picasa

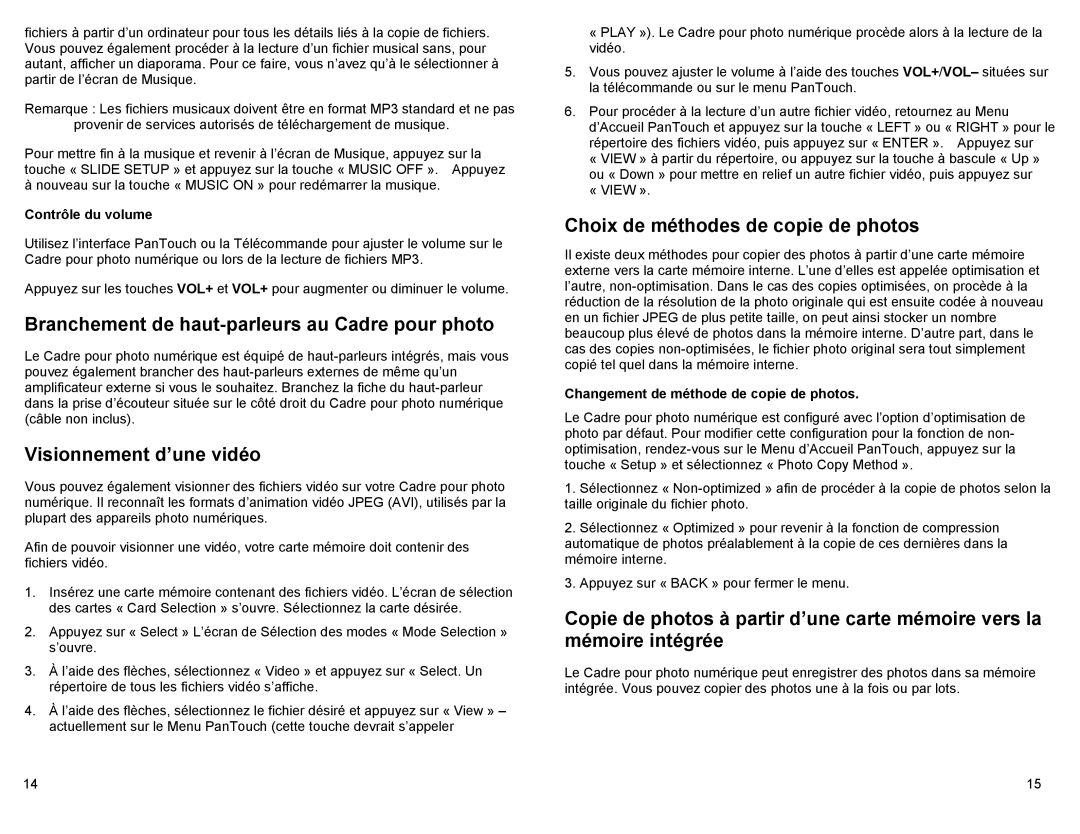
a.From the “Picasa Web Albums” page, select the folder you wish to view and press ENTER to see thumbnails of all the pictures in that folder.

b.Pressing ENTER on a thumbnail will display the picture in single picture mode.

c.Pressing SLIDESHOW will slideshow all the pictures in that folder.

d.Pressing EXIT will in either single picture mode or slideshow mode will return you to the thumbnail screen.

e.Functions like zoom, rotate, and copy are all available and behave in the same manner as described in the user guide.

Changing the Decorative Frame

Depending on the model, your Digital Photo Frame may come with interchangeable decorative frames.

1.To change the frame, remove four screws on the back of the frame and lift the unit from the frame.

2.Place the unit into the new frame, replace the screws, and finger-tighten.

22

Copying Files from a Computer or Flash Drive

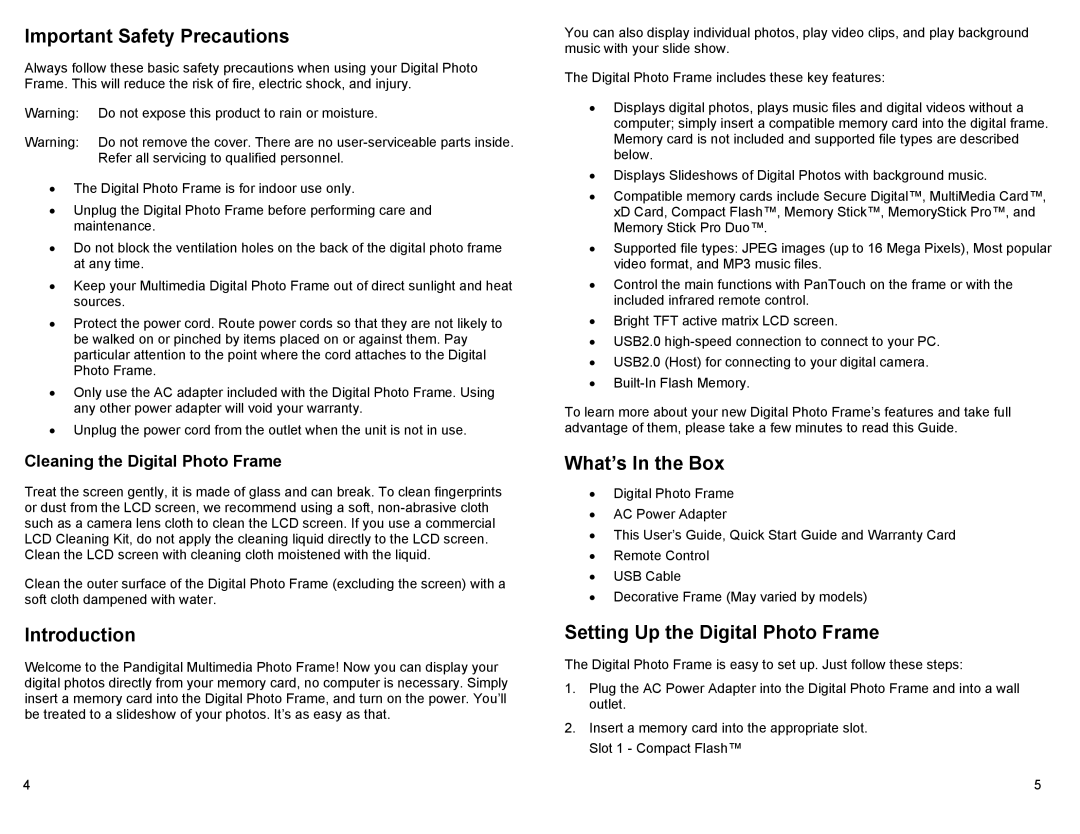
You can connect the Digital Photo Frame to a Windows or Macintosh computer to copy files to the built-in memory. You can also connect a USB flash drive to the frame to copy files.

Connect to a Windows Computer

To copy files from between your computer and the Digital Photo Frame do the following:

1.Plug in and turn on the Digital Photo Frame.

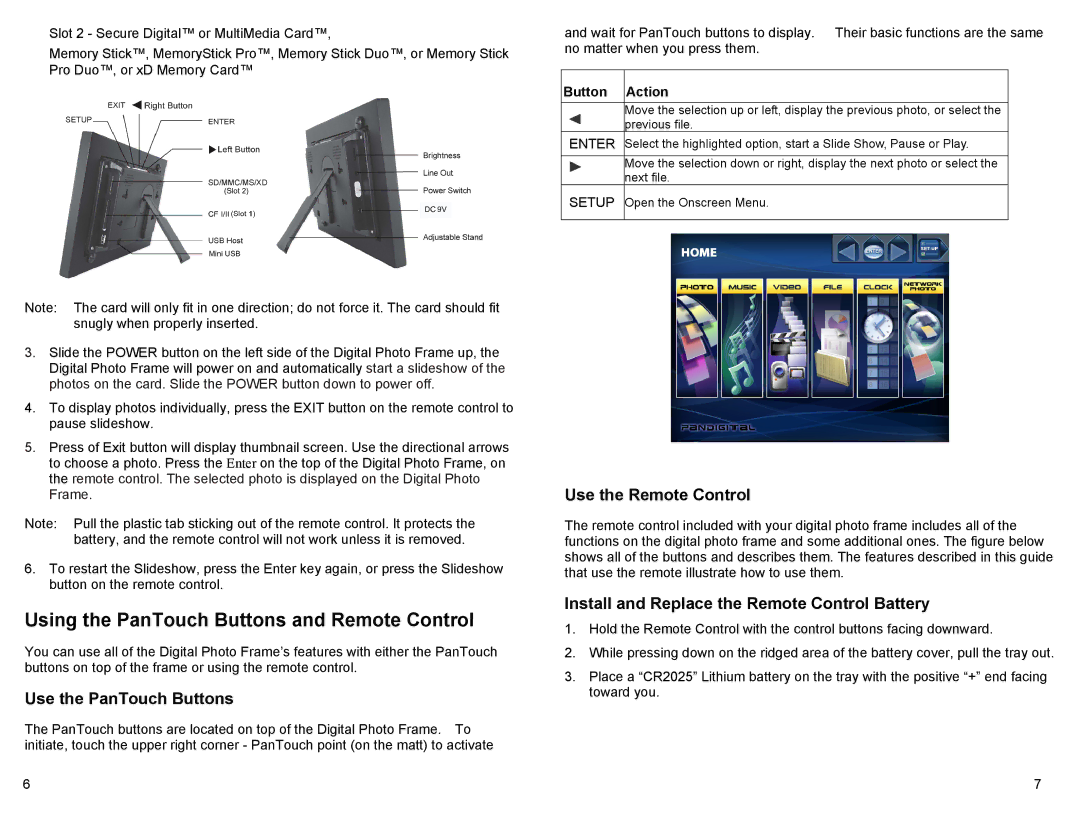
2.Connect the small end of the USB cable to the Mini USB port on the Digital Photo Frame.

3.Connect the Larger end of the USB cable to a USB port on your computer.

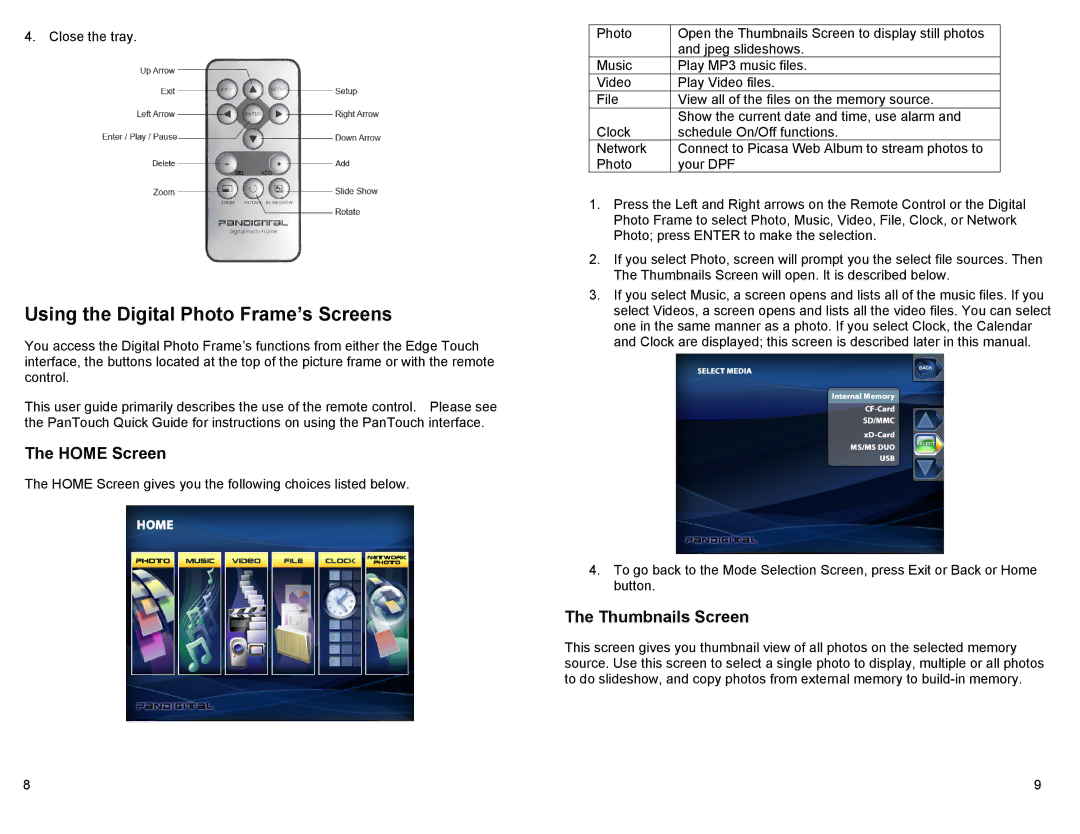
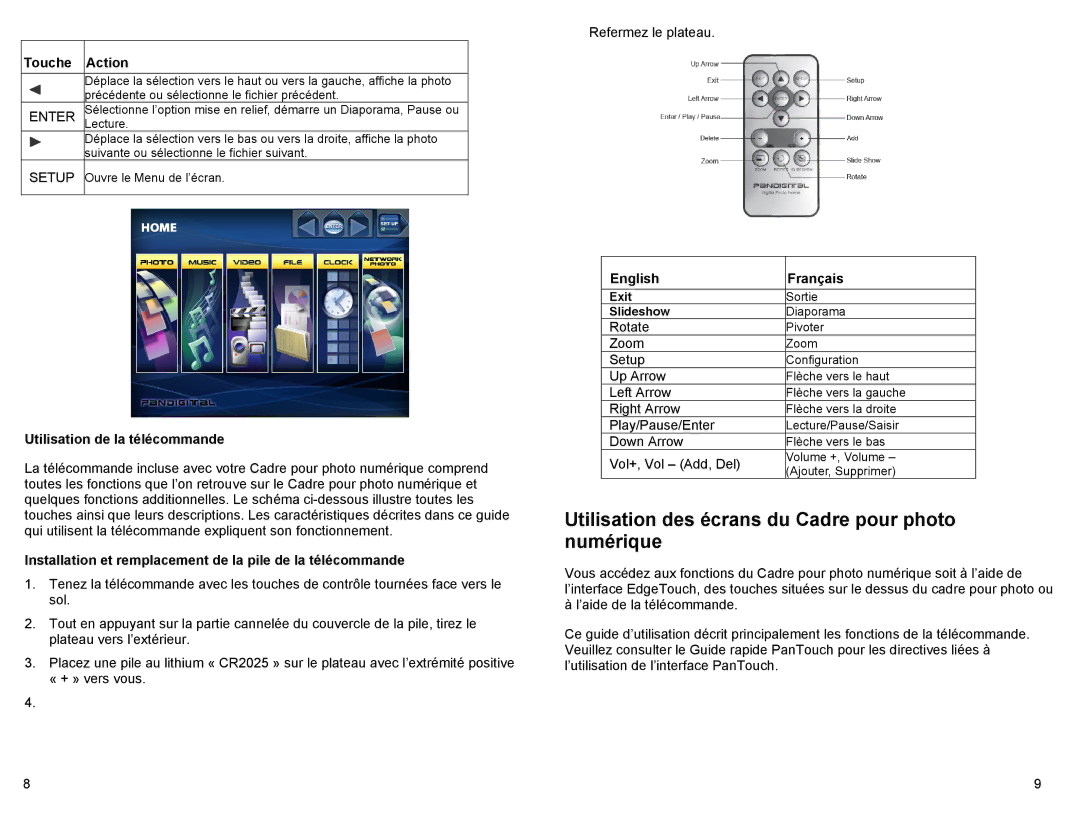
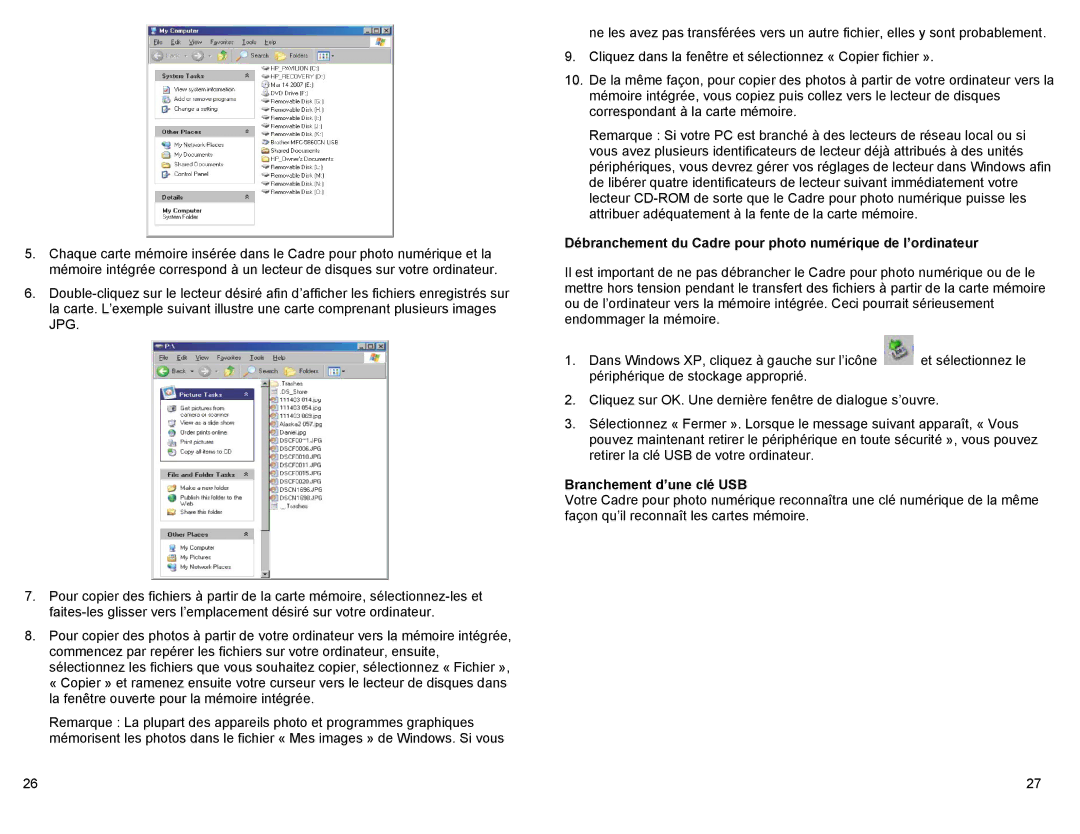
4.Open My Computer on your Desktop. A window showing all drives connected to your computer opens. (It will look similar to the screen shown below.)

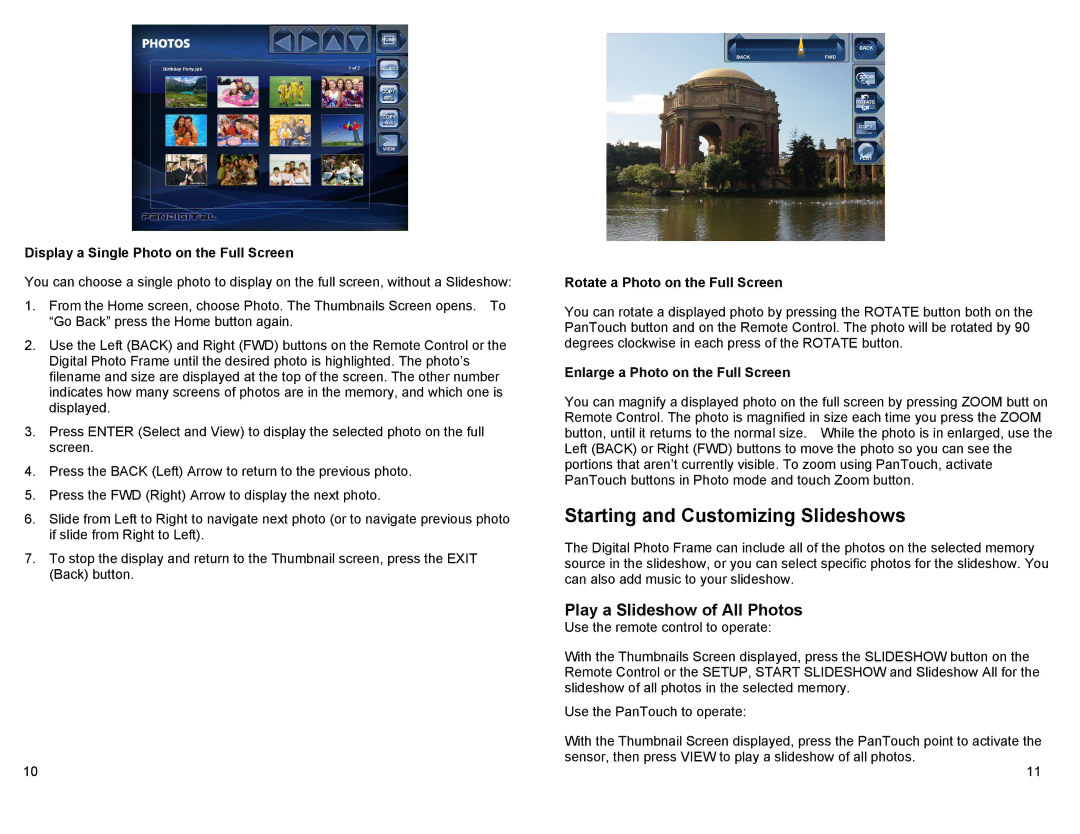
5.Each memory card inserted in the Photo Frame and the built-in memory is associated with one disk drive on your computer.

6.Double-click the desired drive to display the files on the card. The example below shows a card with several JPG images on it.

23

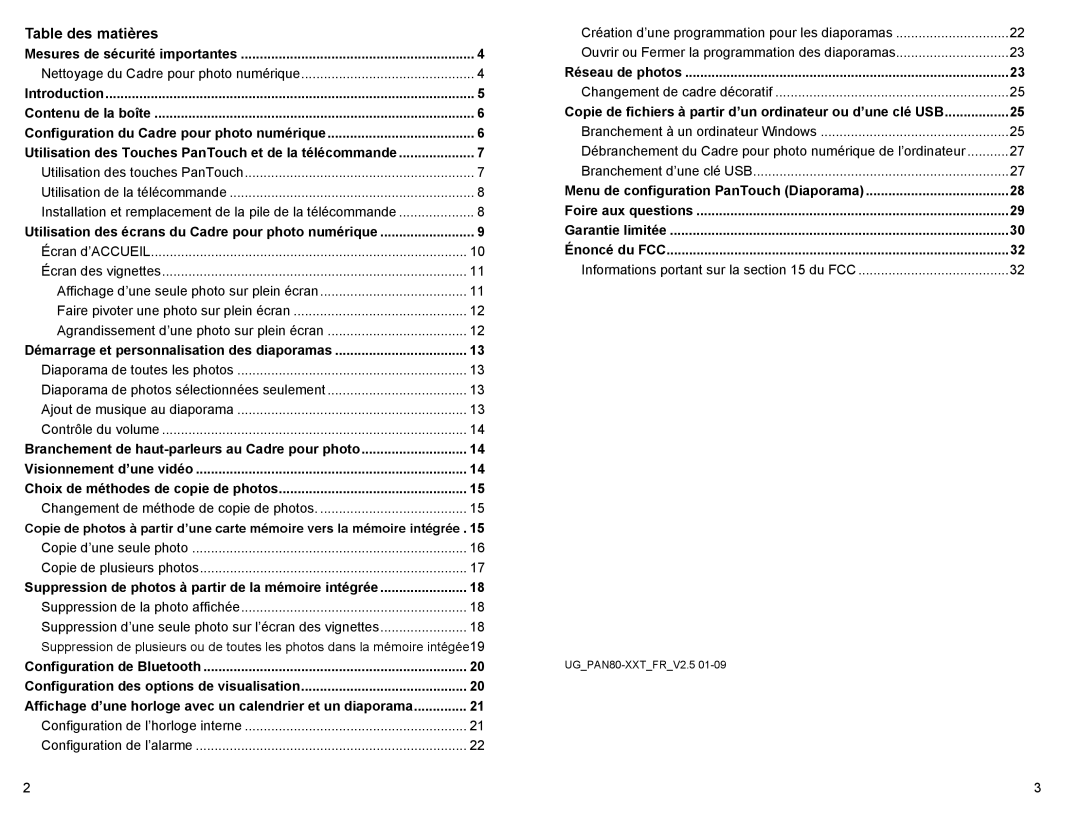
Image 12
Contents Digital Photo Frame Table of Contents Important Safety Precautions Setting Up the Digital Photo FrameCleaning the Digital Photo Frame IntroductionUsing the PanTouch Buttons and Remote Control Use the Remote ControlInstall and Replace the Remote Control Battery Use the PanTouch ButtonsUsing the Digital Photo Frame’s Screens Home ScreenThumbnails Screen Close the trayStarting and Customizing Slideshows Play a Slideshow of All PhotosDisplay a Single Photo on the Full Screen Rotate a Photo on the Full ScreenConnecting Speakers to the Photo Frame Control the VolumeWatching a Video Play a Slideshow of Selected Photos OnlyPhoto Copy Method Options Copying Photos from a Memory Card to Built-in MemoryChanging the Photo Copy Method Copy a Single Photo Deleting Photos from the Built-in Memory Delete the Displayed Photo Delete a Single Photo on the Thumbnails Screen Delete Several or All Photos in the Built-in MemoryBluetooth Setting Setting Viewing OptionsDisplaying a Clock with a Calendar and a Slideshow Set the Alarm Network PhotoSet the Internal Clock Create a Schedule for Playing SlideshowsSetting up your Picasa User ID and Password on the DPF Copying Files from a Computer or Flash DriveChanging the Decorative Frame Connect to a Windows ComputerPanTouch Slideshow Setup Menu Disconnect the Digital Photo Frame from the ComputerConnect a USB Flash Drive Frequently Asked Questions Limited WarrantyFCC Statement FCC Part 15 InformationCadre Photo Numérique Installation et remplacement de la pile de la télécommande Nettoyage du Cadre pour photo numériqueChangement de méthode de copie de photos Changement de cadre décoratifMesures de sécurité importantes Nettoyage du Cadre pour photo numériqueConfiguration du Cadre pour photo numérique Utilisation des Touches PanTouch et de la télécommandeContenu de la boîte Utilisation des touches PanTouchUtilisation de la télécommande Installation et remplacement de la pile de la télécommandeUtilisation des écrans du Cadre pour photo numérique Touche ActionÉcran d’ACCUEIL Écran des vignettesAffichage d’une seule photo sur plein écran Démarrage et personnalisation des diaporamas Contrôle du volume Branchement de haut-parleurs au Cadre pour photoVisionnement d’une vidéo Choix de méthodes de copie de photosCopie d’une seule photo Copie de plusieurs photosSuppression de photos à partir de la mémoire intégrée Suppression de la photo affichéeSuppression d’une seule photo sur l’écran des vignettes Configuration des options de visualisation Configuration de l’horloge interneAffichage d’une horloge avec un calendrier et un diaporama Configuration de l’alarme Réseau de photosCréation d’une programmation pour les diaporamas Ouvrir ou Fermer la programmation des diaporamasChangement de cadre décoratif Copie de fichiers à partir d’un ordinateur ou d’une cléBranchement à un ordinateur Windows Débranchement du Cadre pour photo numérique de l’ordinateur Branchement d’une clé USBMenu de configuration PanTouch Diaporama Foire aux questionsGarantie limitée Énoncé du FCC Informations portant sur la du FCC