Using the appliance
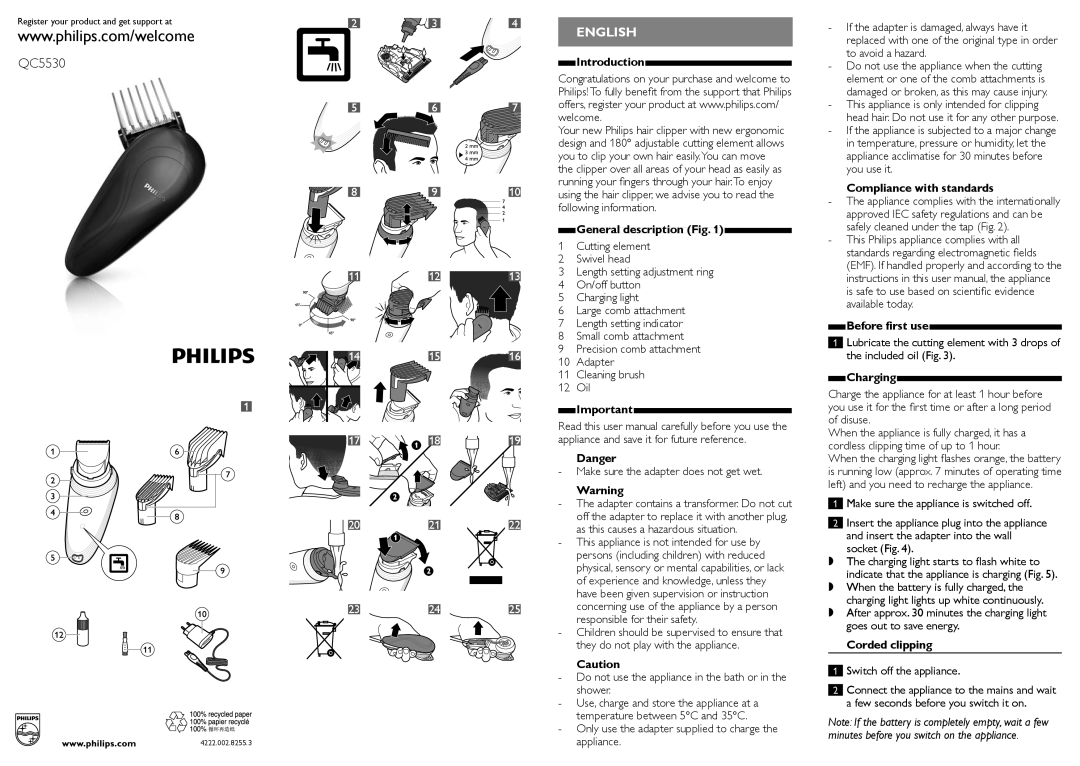
Make sure your hair is clean and dry. Do not use the appliance on freshly washed hair.
Preparing for hair clipping
1Comb your hair with a styling comb in the direction of hair growth (Fig. 6).
Clipping with comb attachment
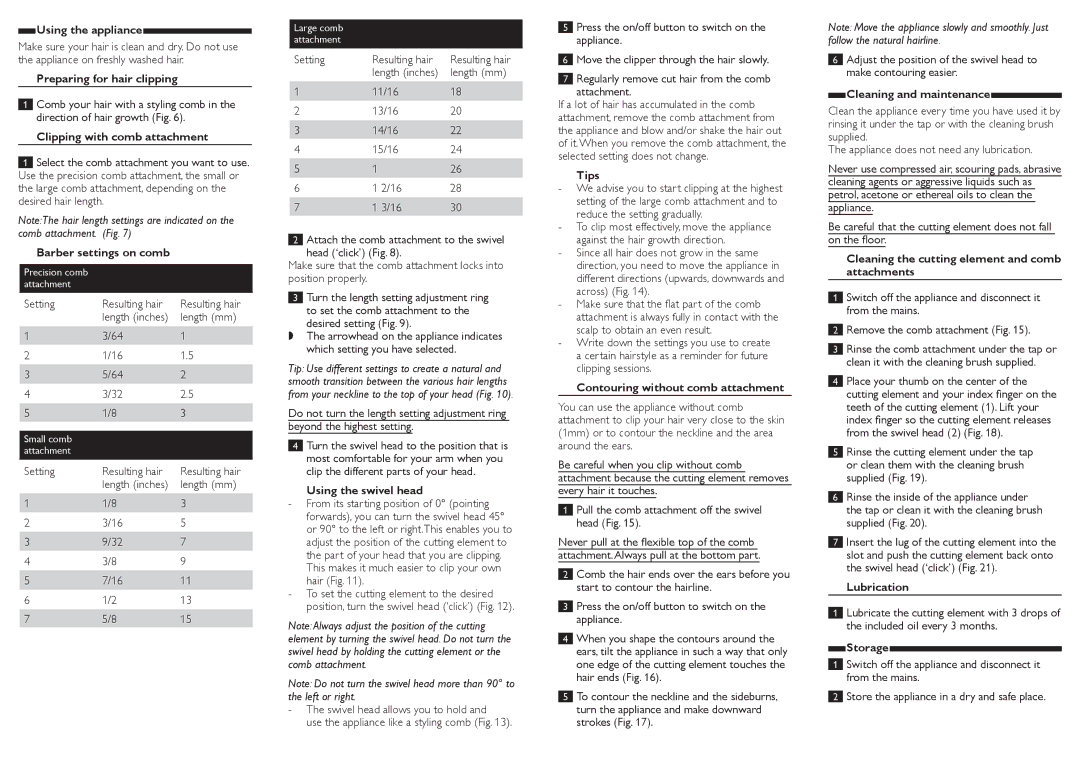
1Select the comb attachment you want to use. Use the precision comb attachment, the small or the large comb attachment, depending on the desired hair length.
Note:The hair length settings are indicated on the comb attachment. (Fig. 7)
Barber settings on comb
Precision comb attachment
Setting | Resulting hair | Resulting hair |
| length (inches) | length (mm) |
1 | 3/64 | 1 |
2 | 1/16 | 1.5 |
3 | 5/64 | 2 |
4 | 3/32 | 2.5 |
5 | 1/8 | 3 |
Small comb |
|
|
attachment |
|
|
Setting | Resulting hair | Resulting hair |
| length (inches) | length (mm) |
1 | 1/8 | 3 |
2 | 3/16 | 5 |
3 | 9/32 | 7 |
4 | 3/8 | 9 |
5 | 7/16 | 11 |
6 | 1/2 | 13 |
7 | 5/8 | 15 |
Large comb attachment
Setting | Resulting hair | Resulting hair |
| length (inches) | length (mm) |
1 | 11/16 | 18 |
2 | 13/16 | 20 |
3 | 14/16 | 22 |
4 | 15/16 | 24 |
5 | 1 | 26 |
6 | 1 2/16 | 28 |
7 | 1 3/16 | 30 |
2Attach the comb attachment to the swivel head (‘click’) (Fig. 8).
Make sure that the comb attachment locks into position properly.
3Turn the length setting adjustment ring to set the comb attachment to the desired setting (Fig. 9).
,, The arrowhead on the appliance indicates which setting you have selected.
Tip: Use different settings to create a natural and smooth transition between the various hair lengths from your neckline to the top of your head (Fig. 10).
Do not turn the length setting adjustment ring beyond the highest setting.
4Turn the swivel head to the position that is most comfortable for your arm when you clip the different parts of your head.
Using the swivel head
Note: Always adjust the position of the cutting element by turning the swivel head. Do not turn the swivel head by holding the cutting element or the comb attachment.
Note: Do not turn the swivel head more than 90° to the left or right.
5Press the on/off button to switch on the appliance.
6Move the clipper through the hair slowly.
7Regularly remove cut hair from the comb
attachment.
If a lot of hair has accumulated in the comb attachment, remove the comb attachment from the appliance and blow and/or shake the hair out of it. When you remove the comb attachment, the selected setting does not change.
Tips
Contouring without comb attachment
You can use the appliance without comb attachment to clip your hair very close to the skin (1mm) or to contour the neckline and the area around the ears.
Be careful when you clip without comb attachment because the cutting element removes every hair it touches.
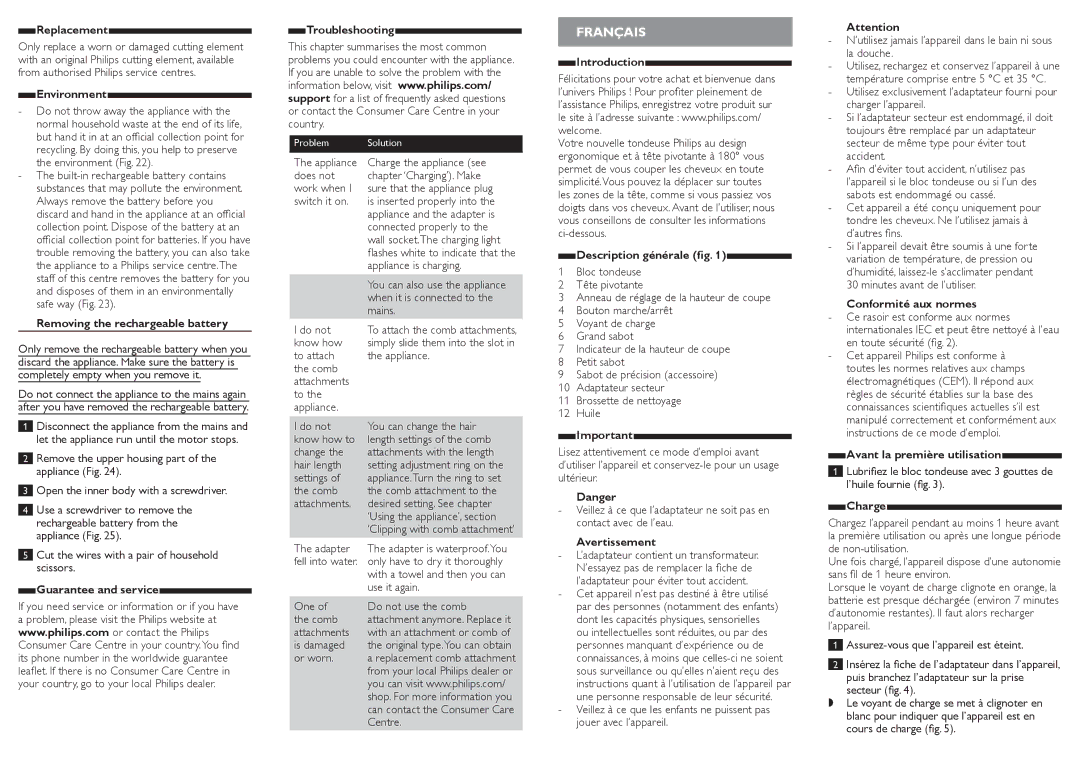
1Pull the comb attachment off the swivel head (Fig. 15).
Never pull at the flexible top of the comb attachment.Always pull at the bottom part.
2Comb the hair ends over the ears before you start to contour the hairline.
3Press the on/off button to switch on the appliance.
4When you shape the contours around the ears, tilt the appliance in such a way that only one edge of the cutting element touches the hair ends (Fig. 16).
5To contour the neckline and the sideburns, turn the appliance and make downward strokes (Fig. 17).
Note: Move the appliance slowly and smoothly. Just follow the natural hairline.
6Adjust the position of the swivel head to make contouring easier.
Cleaning and maintenance
Clean the appliance every time you have used it by rinsing it under the tap or with the cleaning brush supplied.
The appliance does not need any lubrication.
Never use compressed air, scouring pads, abrasive cleaning agents or aggressive liquids such as petrol, acetone or ethereal oils to clean the appliance.
Be careful that the cutting element does not fall on the floor.
Cleaning the cutting element and comb attachments
1Switch off the appliance and disconnect it from the mains.
2Remove the comb attachment (Fig. 15).
3Rinse the comb attachment under the tap or clean it with the cleaning brush supplied.
4Place your thumb on the center of the cutting element and your index finger on the teeth of the cutting element (1). Lift your index finger so the cutting element releases from the swivel head (2) (Fig. 18).
5Rinse the cutting element under the tap or clean them with the cleaning brush supplied (Fig. 19).
6Rinse the inside of the appliance under the tap or clean it with the cleaning brush supplied (Fig. 20).
7Insert the lug of the cutting element into the slot and push the cutting element back onto the swivel head (‘click’) (Fig. 21).
Lubrication
1Lubricate the cutting element with 3 drops of the included oil every 3 months.
Storage
1Switch off the appliance and disconnect it from the mains.
2Store the appliance in a dry and safe place.
