Function Description
Moves cursor left or right to select Screens Moves cursor up or down to select items To change option for the selected items Switch to next function
To bring up the selected screen Go to the previous page
Go to the next page
Go to the top of the screen Go to the bottom of the screen
To display the General Help Screen
Discard changes and exit the UEFI SETUP UTILITY Load optimal default values for all the settings Save changes and exit the UEFI SETUP UTILITY Print screen
Jump to the Exit Screen or exit the current screen
3.1.2 Navigation Keys
Please check the following table for the function description of each navigation key.
Navigation Key(s)
![]() /
/ ![]()
/
+ / - <Tab> <Enter> <PGUP> <PGDN> <HOME>
<END>
<F1>
<F7>
<F9>
<F10>
<F12>
<ESC>
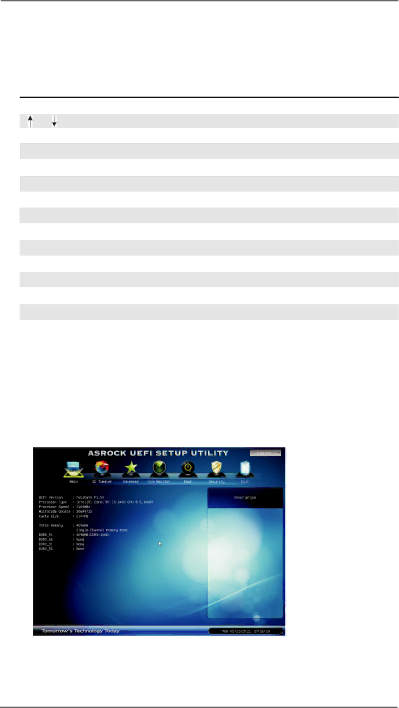
3.2 Main Screen
When you enter the UEFI SETUP UTILITY, the Main screen will appear and display the system overview.
32