Soil Removal System
The soil removal system gives you sparkling clean dishes, while using less energy and time. The soil removal system includes:
A
How the soil removal system works
1.Load the dishwasher. Remove bones, large chunks or
soil will be ground up and disposed down the drain with the rinse water.
2.Hot water fills the dishwasher to a level near the bottom of the overfill protection float.
3.The Heating indicator glows and the dishwasher pauses while the water is heated.
4.When the water reaches the proper temperature, the Heating indicator turns off and the cycle countdown resumes.
5.Detergent from the detergent dispenser is dispensed at the
correct cycle times and hot water is pumped through the pump.
6.Hot water and detergent sprays against the soiled surfaces of the load and removes food particles.
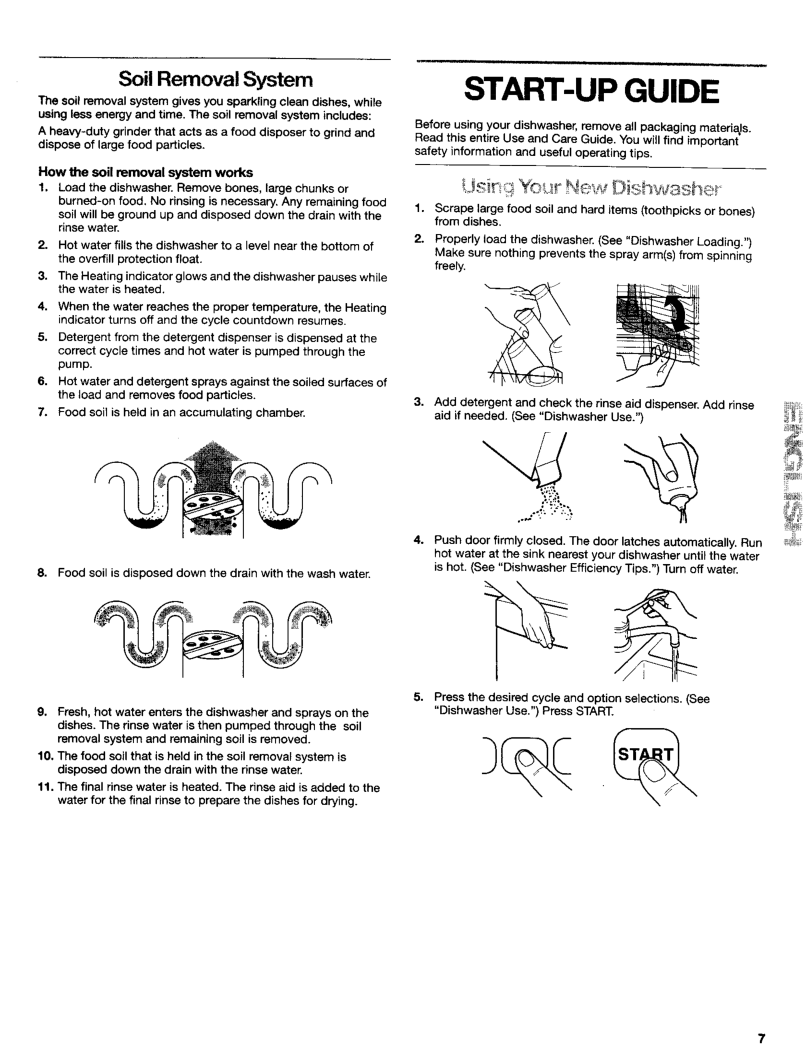
7.Food soil is held in an accumulating chamber.
m
START-UP GUIDE
Before using your dishwasher, remove all packaging materials. Read this entire Use and Care Guide. You will find important safety information and useful operating tips.
1.Scrape large food soil and hard items (toothpicks or bones) from dishes.
2.Properly load the dishwasher. (See "Dishwasher Loading.")
Make sure nothing prevents the spray arm(s) from spinning freely.
\
3.Add detergent and check the rinse aid dispenser. Add rinse aid if needed. (See "Dishwasher Use.")
£@@
8.Food soil is disposed down the drain with the wash water.
9.Fresh, hot water enters the dishwasher and sprays on the dishes. The rinse water is then pumped through the soil removal system and remaining soil is removed.
10.The food soil that is held in the soil removal system is disposed down the drain with the rinse water.
11.The final rinse water is heated. The rinse aid is added to the water for the final rinse to prepare the dishes for drying.
4.Push door firmly closed. The door latches automatically. Run hot water at the sink nearest your dishwasher until the water is hot. (See "Dishwasher Efficiency Tips.") Turn off water.
5.Press the desired cycle and option selections. (See "Dishwasher Use.") Press START.
7