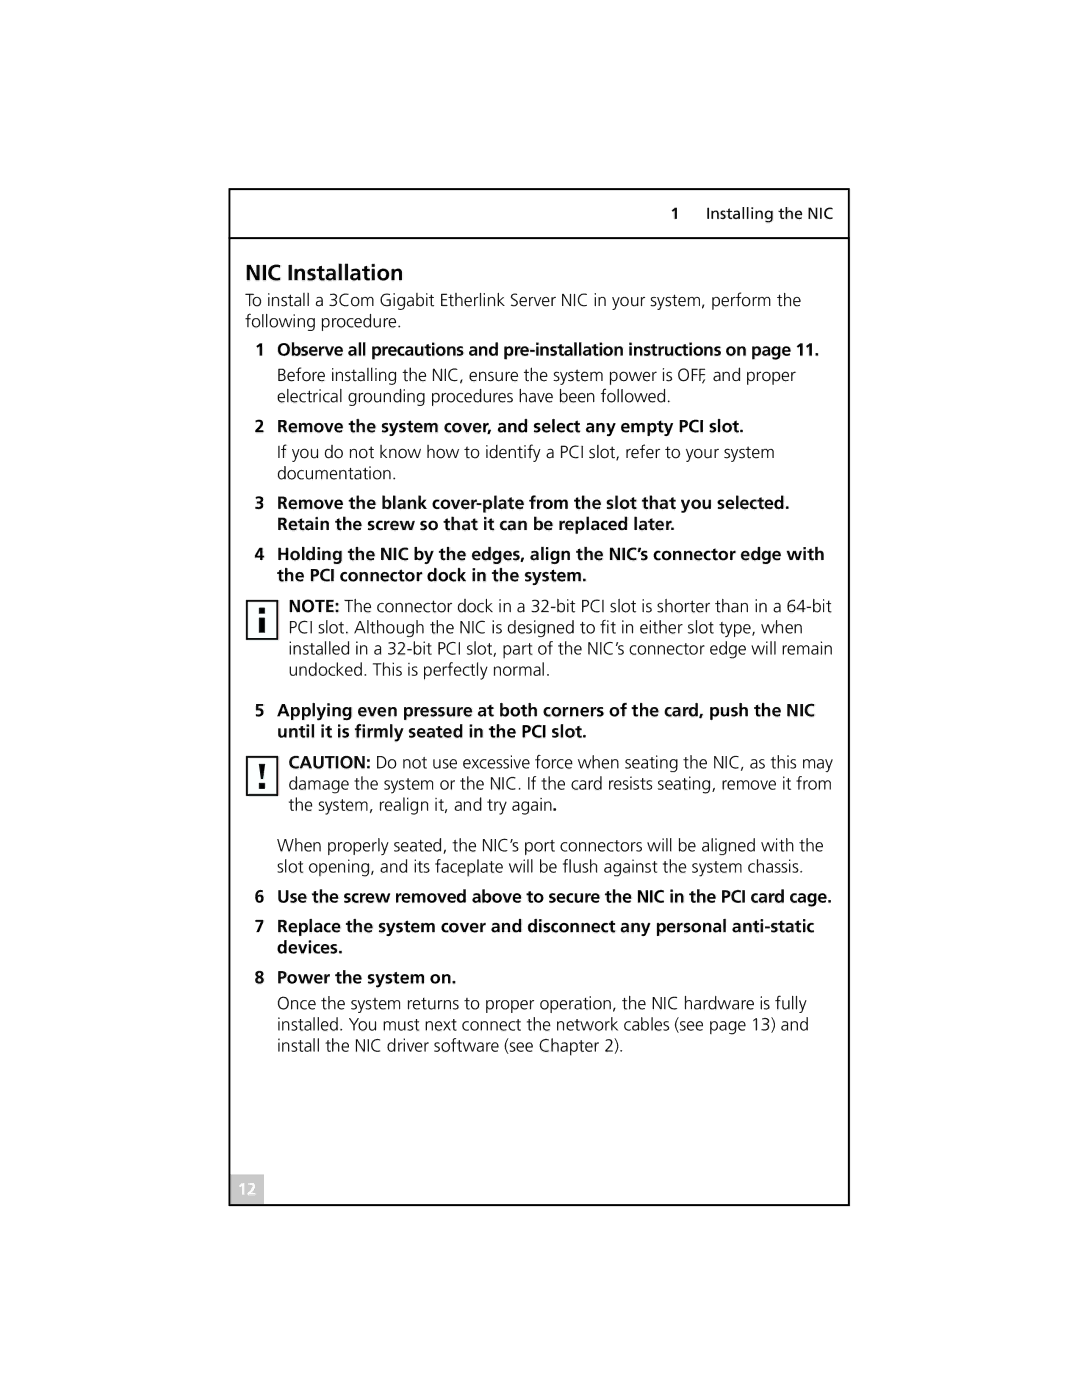
710011, 710026, 710025, 710024, 3C985B-SX specifications
3Com, a pioneer in networking technology, has introduced several notable network interface cards (NICs) geared towards enhancing network performance and connectivity. Among these products are the 3Com 710011, 3C986-T, 3C985B-SX, 710026, and 710024, each designed with unique features to cater to various networking needs.The 3Com 710011 is a 10/100 PCI Ethernet card that offers a reliable connection for desktop computers and servers. It features auto-sensing technology that allows it to automatically detect and adjust to the speed of the network, whether it’s 10 Mbps or 100 Mbps. This flexibility is crucial for environments where network demands can fluctuate. Additionally, the card supports full-duplex communication, enabling simultaneous data transmission and reception, thereby enhancing efficiency and reducing latency.
Next, the 3C986-T is a Gigabit Ethernet PCI card that stands out for its impressive performance capabilities. It supports speeds of up to 1000 Mbps, making it an excellent choice for environments requiring high bandwidth, such as data centers and enterprise networks. The 3C986-T is equipped with advanced features such as Jumbo Frame support, which allows for the transmission of larger packets, thus improving throughput and reducing CPU load. Furthermore, it is compatible with various operating systems, ensuring broad usability across different network setups.
The 3C985B-SX is another high-performance card designed for fiber optic connections. It supports 1000Base-SX standards, offering reliable connectivity over multimode fiber cables. This NIC is ideal for applications demanding high speed and long-distance data transmission, with a reach of up to 550 meters depending on the fiber used. With its low latency and high data integrity, the 3C985B-SX is well-suited for businesses that prioritize performance and reliability in their networking infrastructure.
The 710026 and 710024 models are additional offerings from 3Com, featuring robust technology to support various networking applications. The 710026 is specifically designed for wireless networking needs, providing seamless connectivity to Wi-Fi networks while supporting advanced security protocols to safeguard data transmission. On the other hand, the 710024 is optimized for desktop users, providing a cost-effective solution for connecting to wired networks with reliable performance at 10/100 Mbps.
In summary, these NICs from 3Com, including the 710011, 3C986-T, 3C985B-SX, 710026, and 710024, exemplify the company’s commitment to delivering high-performance networking solutions. With features tailored for various applications, from Gigabit Ethernet support to wireless connectivity, these cards are essential for businesses looking to enhance their network efficiency and reliability.