
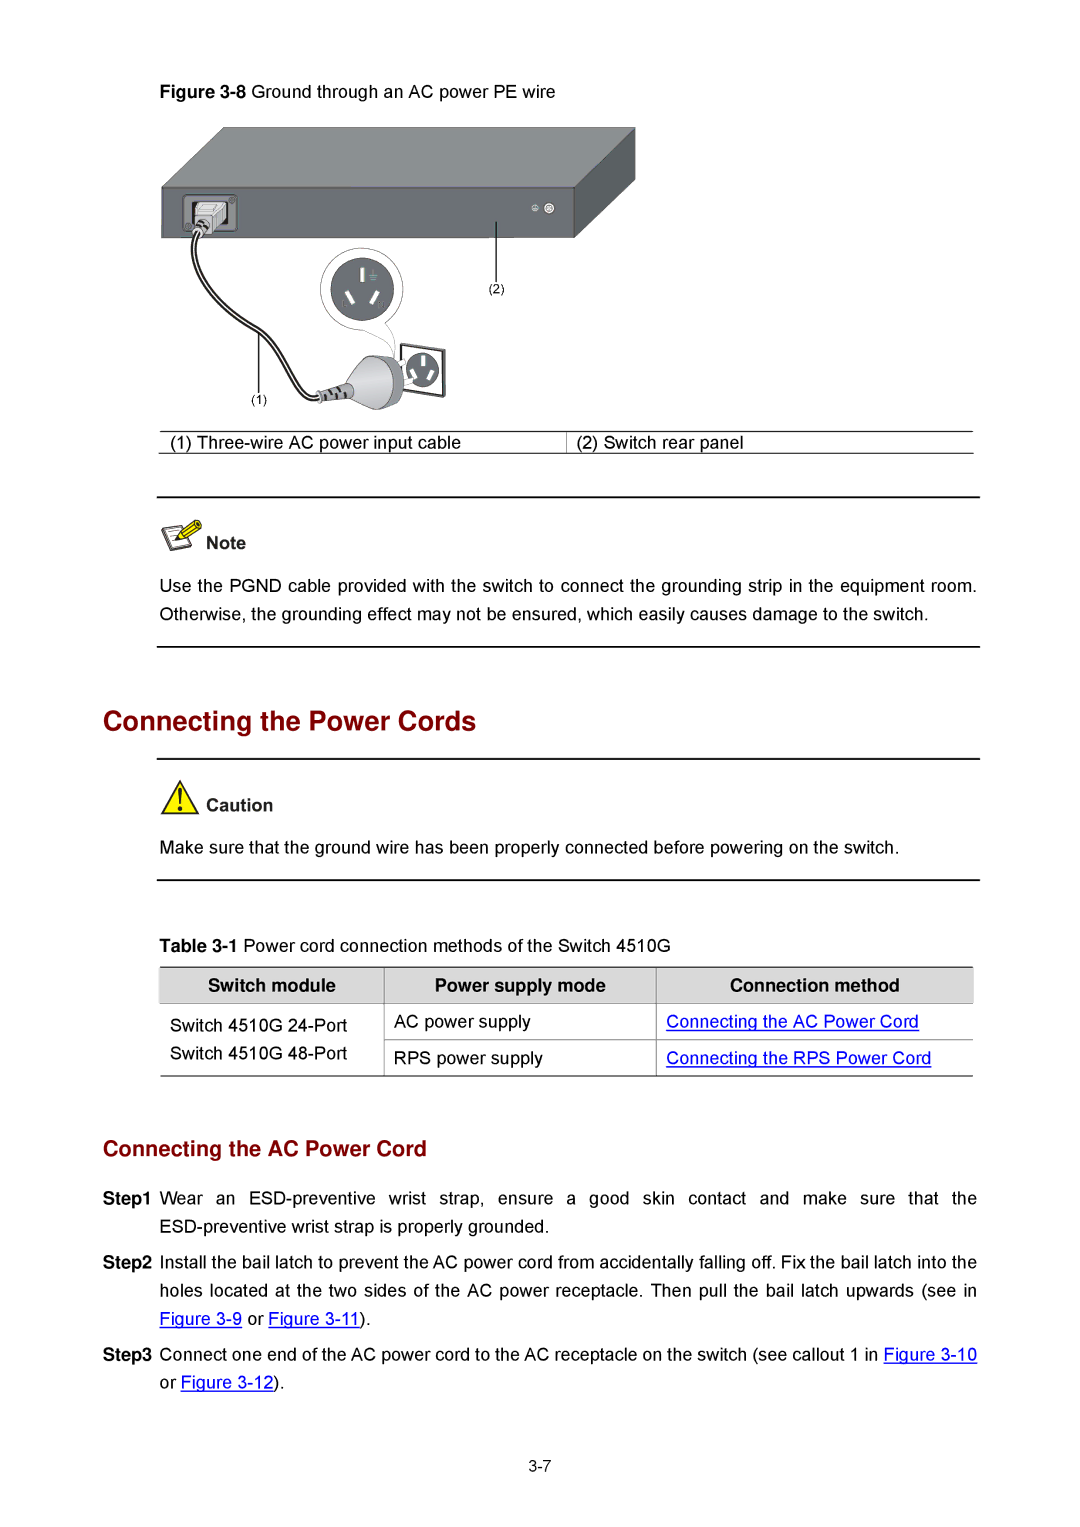
4510G specifications
The 3Com 4510G is a high-performance, stackable switch designed to meet the demands of modern enterprise networks. This switch is part of the 3Com switch family, known for its reliability, ease of use, and advanced features tailored for both small and medium-sized businesses, as well as larger enterprises.One of the standout features of the 3Com 4510G is its high-density 10/100/1000 Mbps Gigabit Ethernet ports. With a configuration of up to 48 ports, this switch allows for efficient data transfer and connectivity among devices in the network. The switch also supports Power over Ethernet (PoE), enabling it to deliver power to PoE-enabled devices like IP phones, wireless access points, and security cameras, simplifying deployment and reducing cable clutter.
In terms of performance, the 3Com 4510G offers non-blocking architecture, which ensures that any port can handle its maximum throughput without causing bottlenecks. This switch is equipped with a high-performance switching capacity, allowing for seamless data flow and minimizing latency, which is critical for applications such as voice over IP (VoIP) and video conferencing.
The 3Com 4510G also provides advanced Layer 2 and Layer 3 routing capabilities. It supports features like VLANs, link aggregation, and multicast routing, which enhance network segmentation and optimize traffic management. The switch supports a comprehensive set of security features, including Access Control Lists (ACLs) and port security, to safeguard the network against unauthorized access.
Management is another strong suite of the 3Com 4510G. It supports Simple Network Management Protocol (SNMP) for effective network monitoring and management, as well as a user-friendly web interface and command-line interface (CLI) for easy configuration. Network administrators can easily troubleshoot and maintain the switch through these interfaces, ensuring optimal performance.
Additionally, the 3Com 4510G is designed with energy efficiency in mind, adhering to environmental standards, and thereby reducing operational costs over time.
With its robust feature set, advanced technologies, and high reliability, the 3Com 4510G switch stands out as an excellent choice for organizations looking to build a scalable and efficient network infrastructure. Its combination of performance, ease of management, and security makes it a valuable asset for meeting current and future networking needs.