RET Series
8.Screw the wastecatcher square bars into the previously inserted wastecatcher holder rods, (Fig.
Fig. | Fig. |
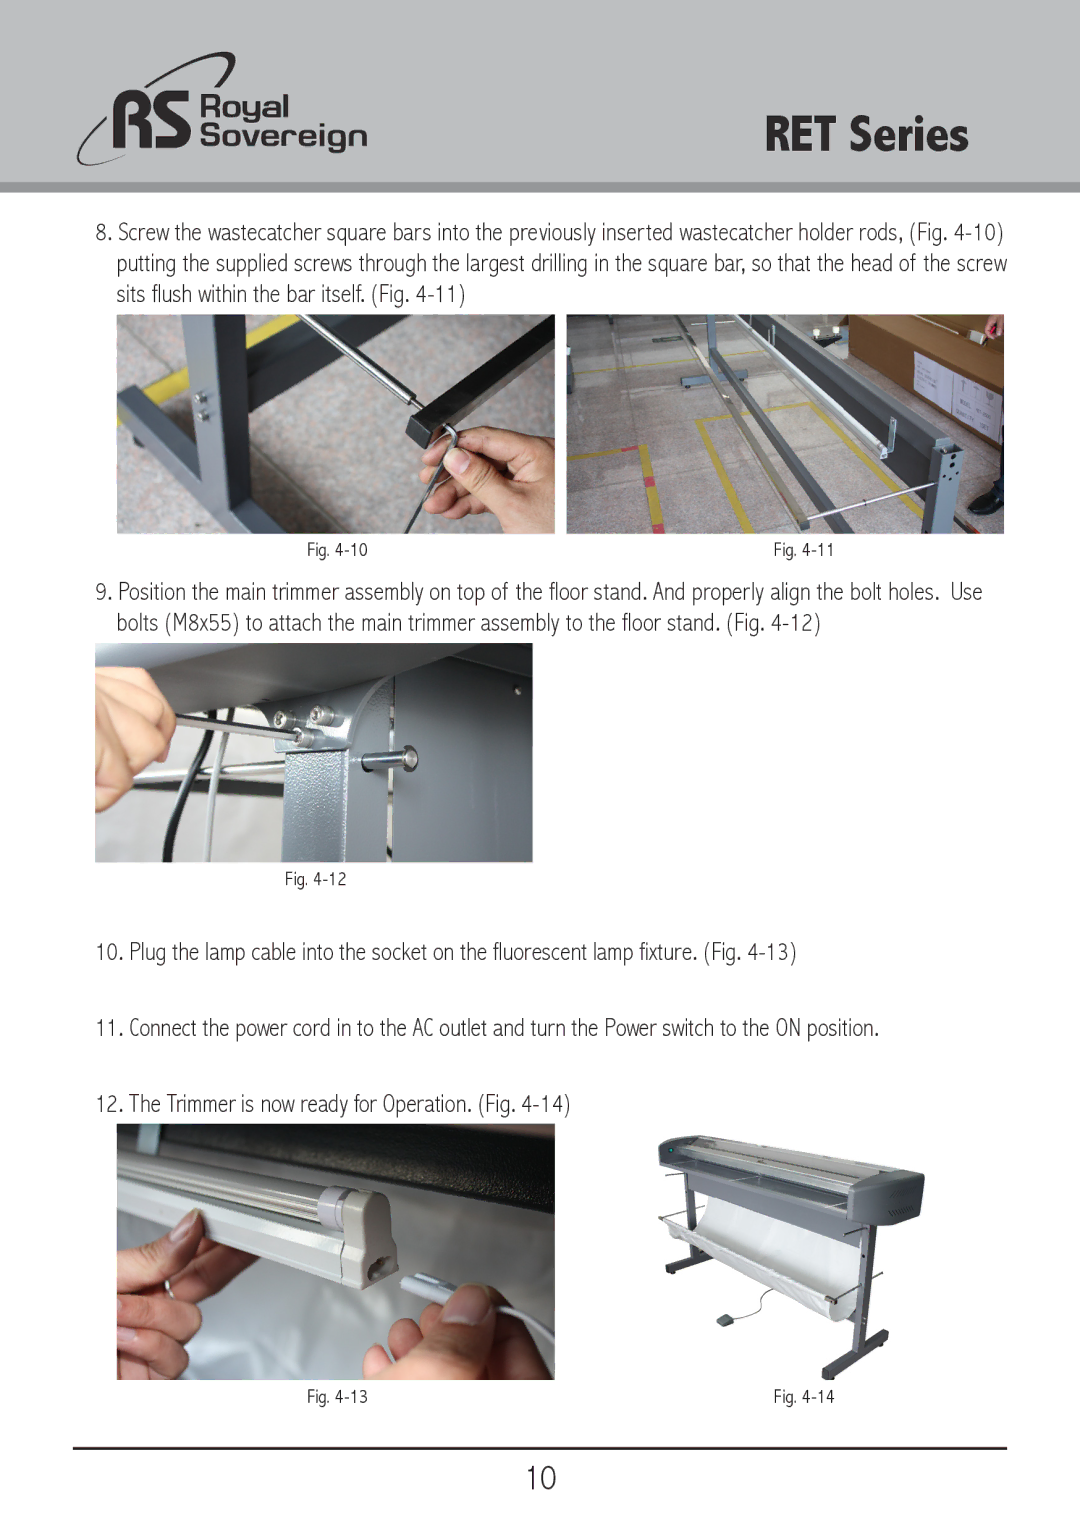
9.Position the main trimmer assembly on top of the floor stand. And properly align the bolt holes. Use bolts (M8x55) to attach the main trimmer assembly to the floor stand. (Fig.
Fig.
10.Plug the lamp cable into the socket on the fluorescent lamp fixture. (Fig.
11.Connect the power cord in to the AC outlet and turn the Power switch to the ON position.
12.The Trimmer is now ready for Operation. (Fig. 4-14)
Fig. | Fig. |
10
