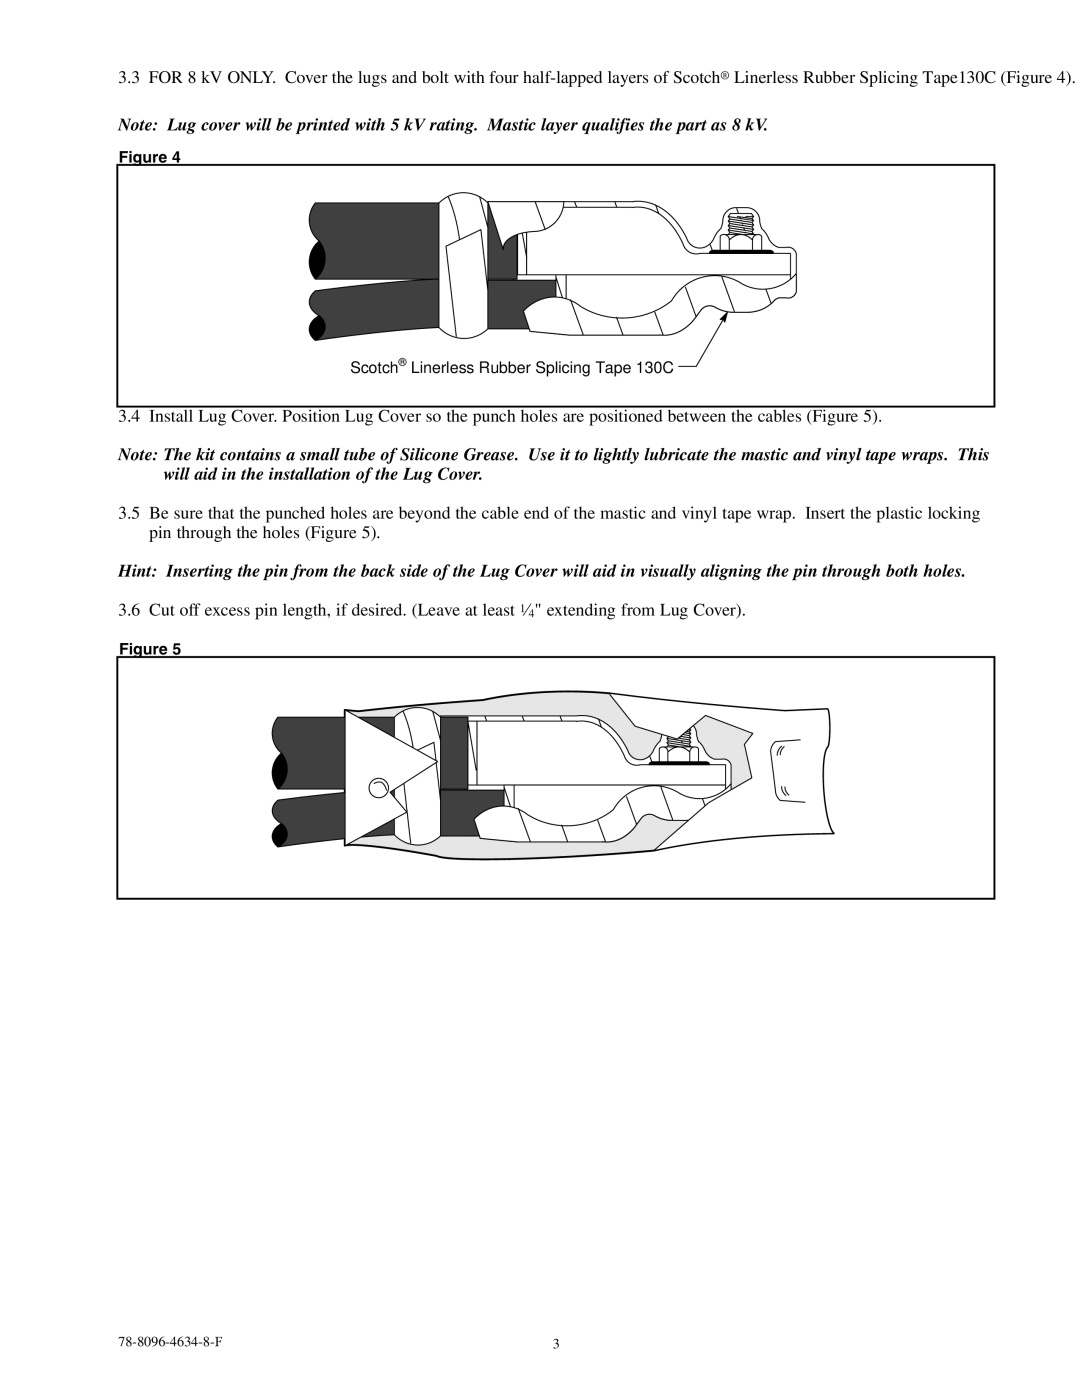
3.3 FOR 8 kV ONLY. Cover the lugs and bolt with four
Note: Lug cover will be printed with 5 kV rating. Mastic layer qualifies the part as 8 kV.
Figure 4
Scotch® Linerless Rubber Splicing Tape 130C
3.4 Install Lug Cover. Position Lug Cover so the punch holes are positioned between the cables (Figure 5).
Note: The kit contains a small tube of Silicone Grease. Use it to lightly lubricate the mastic and vinyl tape wraps. This will aid in the installation of the Lug Cover.
3.5 Be sure that the punched holes are beyond the cable end of the mastic and vinyl tape wrap. Insert the plastic locking pin through the holes (Figure 5).
Hint: Inserting the pin from the back side of the Lug Cover will aid in visually aligning the pin through both holes.
3.6 Cut off excess pin length, if desired. (Leave at least 1⁄4" extending from Lug Cover).
Figure 5
