Getting Started
Follow these steps the first time you use this unit:
1.Retrieve the remote control from the storage slot located on the back panel behind the viewing stand.
2.Connect the PSU to the DC jack on the TV and plug it into a power socket.
3.Extend the antenna or connect an external antenna. You can also remove the antenna and plug in an analog cable (in that case you can skip Steps 5 and 6).
4.Turn the TV power on.
5.Press the Menu button and navigate the TV Setup Menu to the Channel settings to start a channel scan.
6.Scan channels for 2 to 3 minutes, then navigate up and down through the channels.
TV Setup Menu Settings
All buttons and controls are described on the board unless otherwise specified.
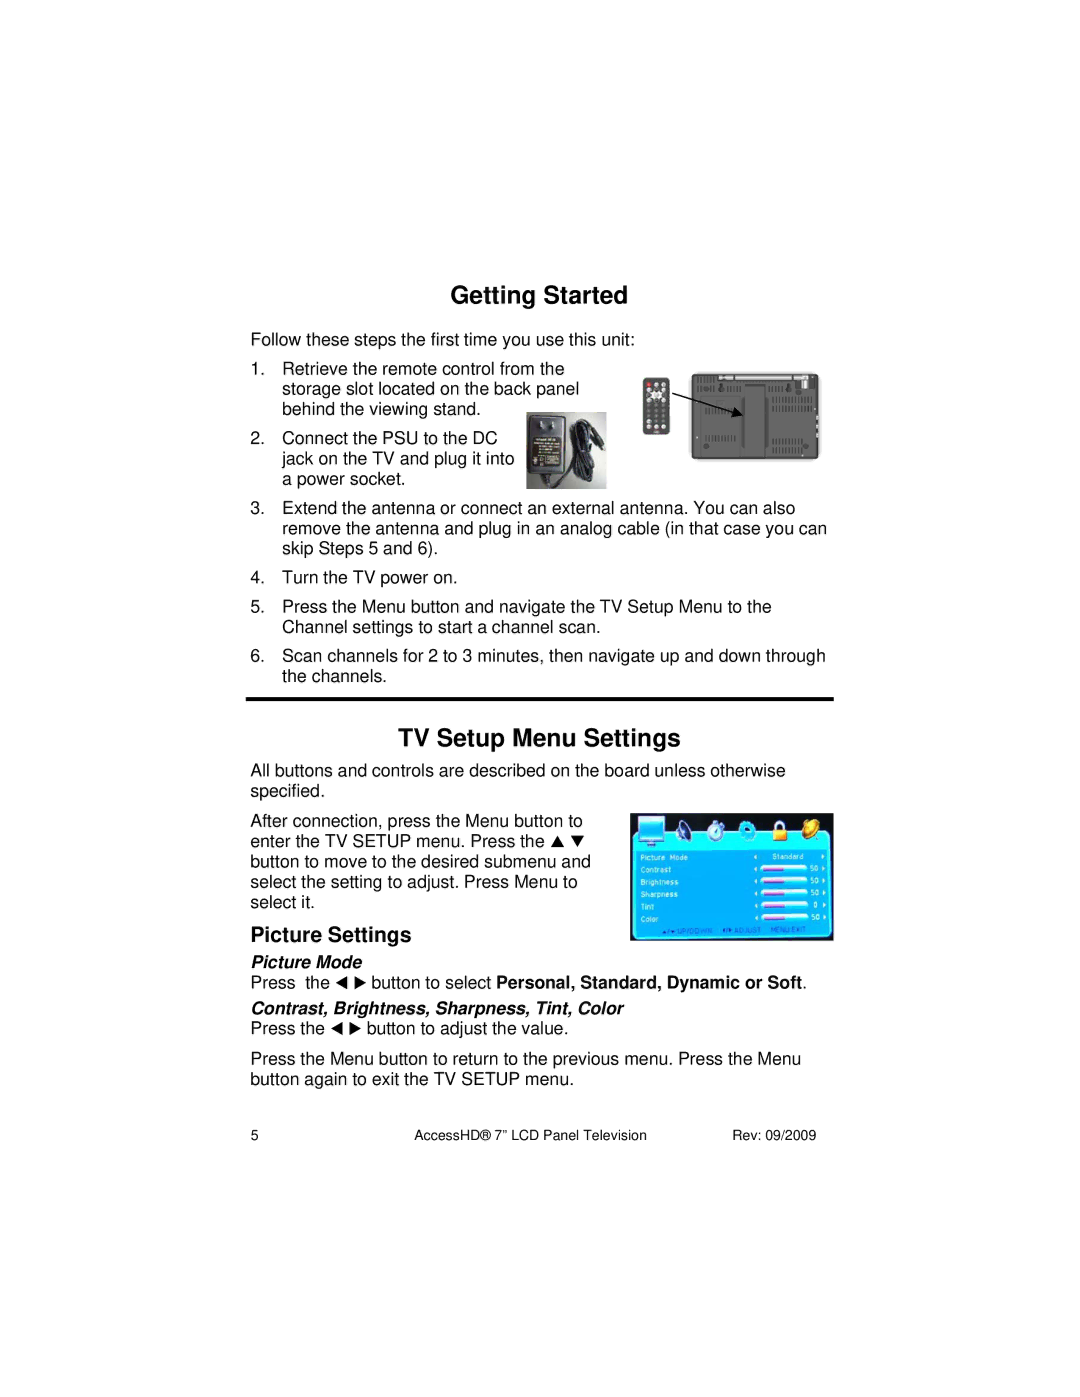
After connection, press the Menu button to enter the TV SETUP menu. Press the button to move to the desired submenu and select the setting to adjust. Press Menu to select it.
Picture Settings
Picture Mode
Press the button to select Personal, Standard, Dynamic or Soft.
Contrast, Brightness, Sharpness, Tint, Color
Press the button to adjust the value.
Press the Menu button to return to the previous menu. Press the Menu button again to exit the TV SETUP menu.
5 | AccessHD® 7” LCD Panel Television | Rev: 09/2009 |
