Quick Installation Guide
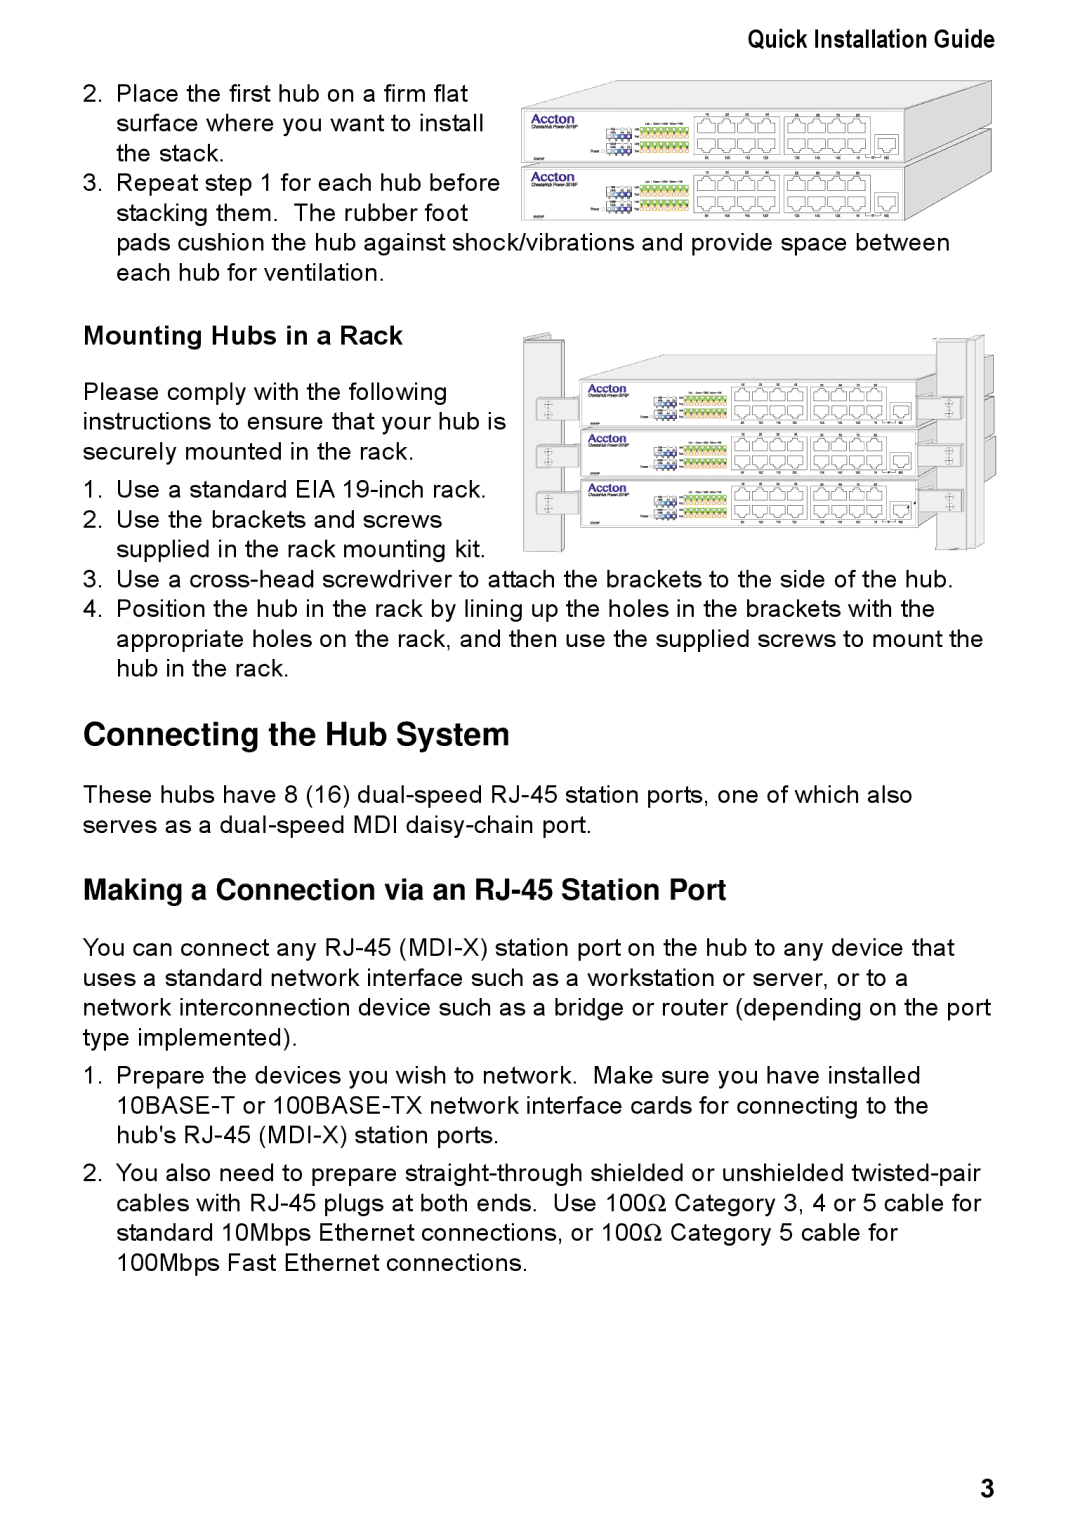
2. Place the first hub on a firm flat surface where you want to install
the stack. 3. Repeat step 1 for each hub before
stacking them. The rubber foot
pads cushion the hub against shock/vibrations and provide space between each hub for ventilation.
Mounting Hubs in a Rack
Please comply with the following instructions to ensure that your hub is securely mounted in the rack.
1. Use a standard EIA
2. Use the brackets and screws supplied in the rack mounting kit.
3.Use a
4.Position the hub in the rack by lining up the holes in the brackets with the appropriate holes on the rack, and then use the supplied screws to mount the hub in the rack.
Connecting the Hub System
These hubs have 8 (16)
Making a Connection via an RJ-45 Station Port
You can connect any
1.Prepare the devices you wish to network. Make sure you have installed
2.You also need to prepare
cables with | Category 3, 4 or 5 cable for |
standard 10Mbps Ethernet connections, or 100Ω | Category 5 cable for |
100Mbps Fast Ethernet connections. |
|
3
