Cheetah Gigabit Adapter
Installation
Warnings:
·This network adapter requires a PC and BIOS that support the PCI Local Bus Specification v2.0 or later. If you are installing in an older PC model, upgrade the BIOS to the latest version.
·Network cards are sensitive to static electricity. To protect the card, avoid touching its electrical components and always touch the metal chassis of your computer before handling the card.
·Backup your driver diskette and use the copy as the working diskette to protect the original from accidental damage.
1.Switch off the computer, unplug the power cord, and remove the computer’s cover.
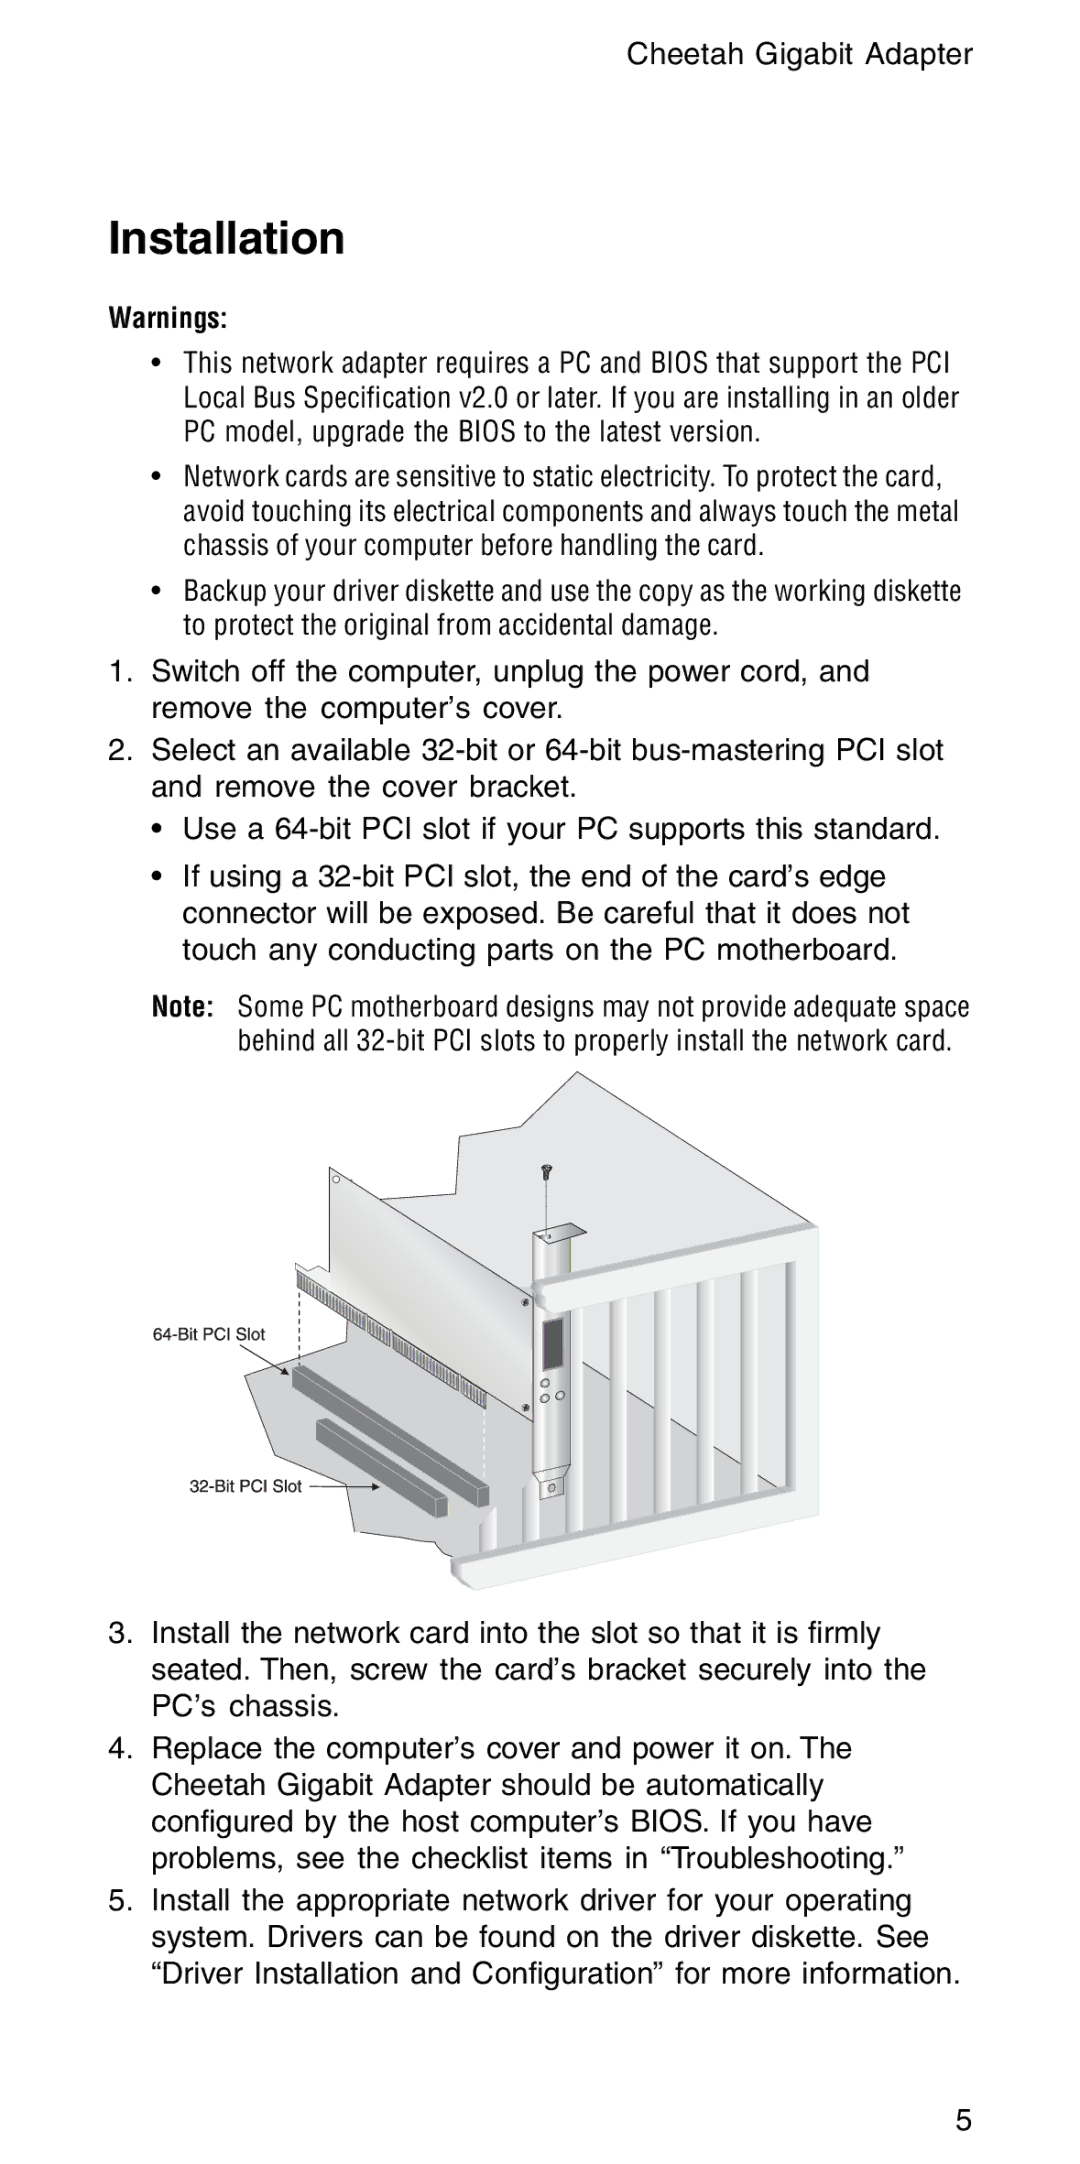
2.Select an available
• Use a
• If using a
Note: Some PC motherboard designs may not provide adequate space behind all
3.Install the network card into the slot so that it is firmly seated. Then, screw the card’s bracket securely into the PC’s chassis.
4.Replace the computer’s cover and power it on. The Cheetah Gigabit Adapter should be automatically configured by the host computer’s BIOS. If you have problems, see the checklist items in “Troubleshooting.”
5.Install the appropriate network driver for your operating system. Drivers can be found on the driver diskette. See “Driver Installation and Configuration” for more information.
5