Note: If you need to go back and change some of the values, simply press S2 (MEMORY) to cycle through all of the set points until you see the one you want to change.
Exiting Set Mode
Press and hold the S4 (MEMORY) button for 2 seconds. The unit will exit setting mode – no values will be flashing anymore.
Note:The unit will save any changes and exit set mode after 30 seconds unattended.
16
WEARING YOUR PEDOMETER |
|
|
|
|
| |
Gently slide the pedometer |
|
|
|
|
|
|
|
|
|
|
|
| |
onto your belt or the top |
|
|
|
|
|
|
|
|
| yes | |||
edge of your pants or skirt. |
|
|
| |||
|
|
|
|
|
| |
It should fit snugly and |
|
|
|
|
|
|
level, above one knee.The |
|
|
| no | ||
strong steel clip makes it |
|
|
|
|
|
|
easy. |
|
|
|
|
|
|
|
|
|
|
|
| |
Note:The pedometer should be as vertical as possible. Walkers with larger stomachs may find it helpful to wear the pedometer farther back on the body, toward one hip.
The cover must be closed for the pedometer to work.
17
To avoid losing or dropping your pedometer, use the included leash and clip to fasten the pedometer securely to your clothing.
Attaching the Leash
1.Attach the pedometer to the leash by looping the thin side of the leash through one of the leash slots on the sides of the pedometer case, near the bottom of the unit.
2.Put the pedometer onto your clothing as discussed above.
3.Attach the alligator clip to a belt loop or the top edge of the pants or skirt.
Note: You can also use a safety pin to fasten the leash to your clothing, loop the leash through your belt or belt
loop, or use a badge holder. 18
First, loop leash through slot on side of pedometer
Next, clasp clothing
Or, loop a belt or belt loop
Or, loop a badge holder, then put into pocket (Badge holder
not included) 19
VIEWING YOUR RESULTS
Once you put on your pedometer with the cover closed, it will automatically begin to record your steps, activity time, distance, and calories burned. Repeatedly press the MODE button to cycle through the pedometer modes:
STEPS gTIME g DISTANCE g CALORIE g CLOCK g STEPS
Time, Distance, and Calories are counted automatically whenever steps are being counted.
•TIME is time spent in step activity.
•DISTANCE is simply stride length x steps.
•CALORIES is calorie burn from activity based on your weight and rate of stepping pace.
Note: For extra accuracy, the default Step Filter Setting is 1. See page 34 to learn more.
TOTAL vs.TRIP MEMORIES
This unit has two sets of memories
TheTOTAL Memories are provided as a way to keep track of your progress over a long period of time.You may wish to reset your total memories once per week, per month, per year, or never! It can be fun to see how many steps or how much distance you walk in a long period of time.
The unit stores bothTrip and alsoTotal memories for Steps, Distance, Calories, and ActivityTime. As steps are taken, the unit increases the values for bothTrip andTotal memories 21 simultaneously.
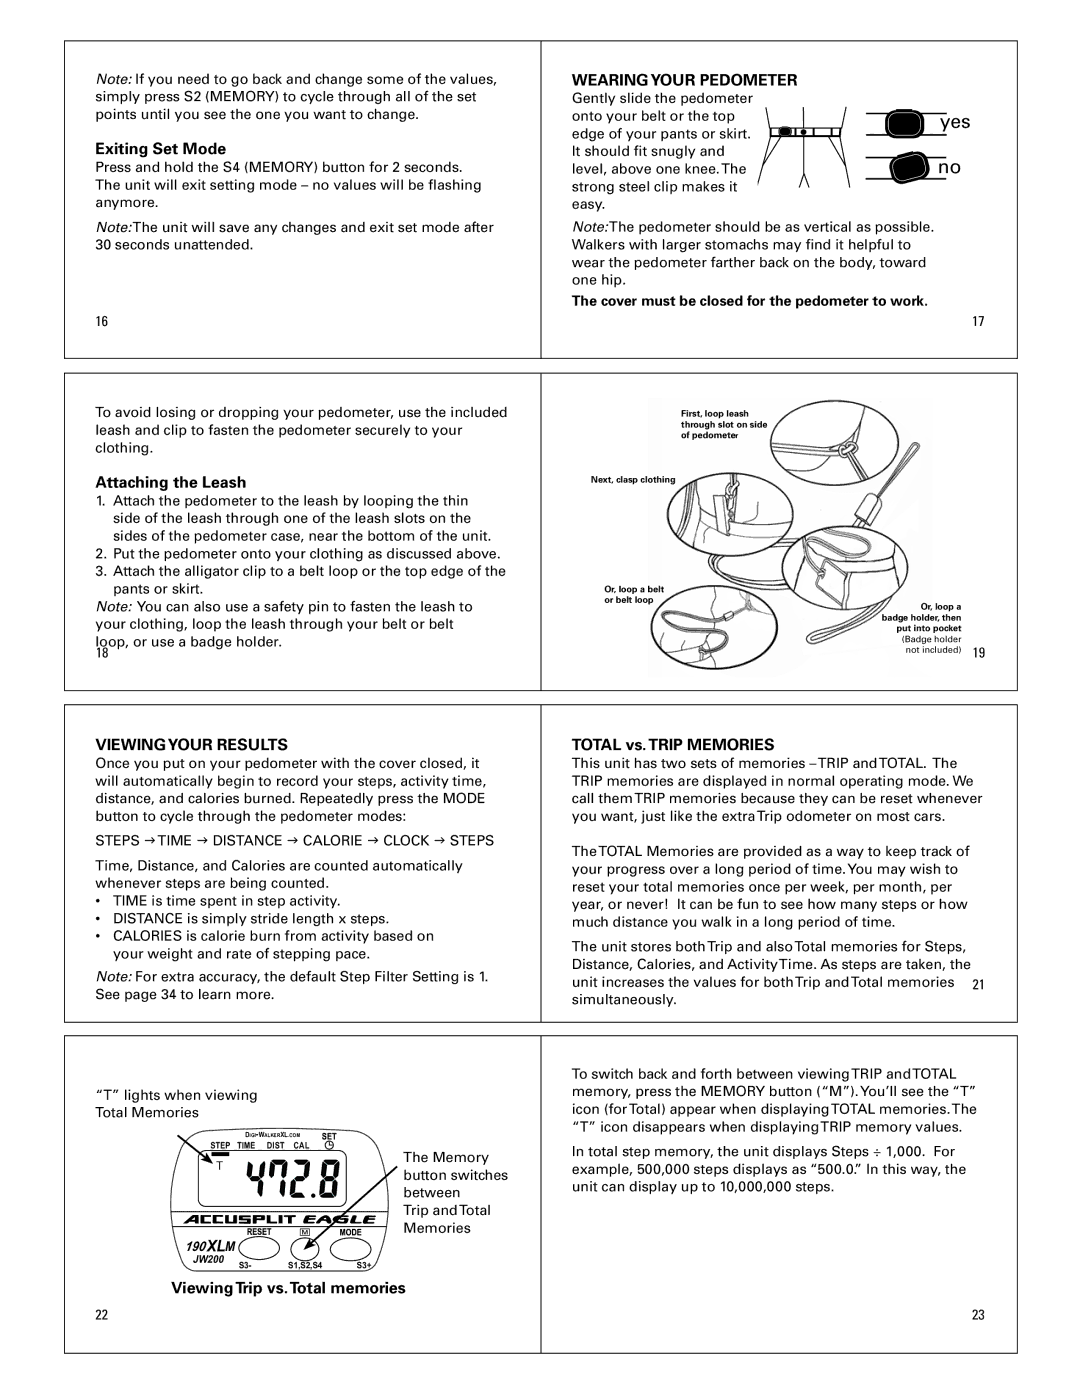
“T” lights when viewing Total Memories
STEP TIME DIST CAL | The Memory | |
T | ||
button switches | ||
| ||
| between | |
| Trip andTotal | |
| Memories |
190 XLM
JW200 | S3- | S1,S2,S4 | S3+ |
|
Viewing Trip vs.Total memories
22
To switch back and forth between viewingTRIP andTOTAL memory, press the MEMORY button (“M”).You’ll see the “T” icon (forTotal) appear when displayingTOTAL memories.The “T” icon disappears when displayingTRIP memory values.
In total step memory, the unit displays Steps ÷ 1,000. For example, 500,000 steps displays as “500.0.” In this way, the unit can display up to 10,000,000 steps.
23
