(1) | PowerC ode | Attach the monitor to the power cord which should then be | |
inserted into a properly grounded electric socket. | |||
|
| ||
|
|
| |
(2) | Audio cable | Connect the audio input socket of the LCD monitor and the | |
(Optional) | computer by mens of the audio cable. | ||
| |||
|
|
| |
|
| Connect the signal cable to the VGA output socket of the graphics | |
(3) | VGAC able | card on the computer. Then tighten the thumbscrews on the | |
|
| connector. |
WARNING: The
Switching theP ower
First, switch the power on to the monitor, then switch the power on to the computer. When you see the LED on the power button go green, this indicates the computer is ready for use. Allow about 10 seconds for the video signal to appear. If you do not see the green light on the power button or a video signal, check the connections.
|
|
|
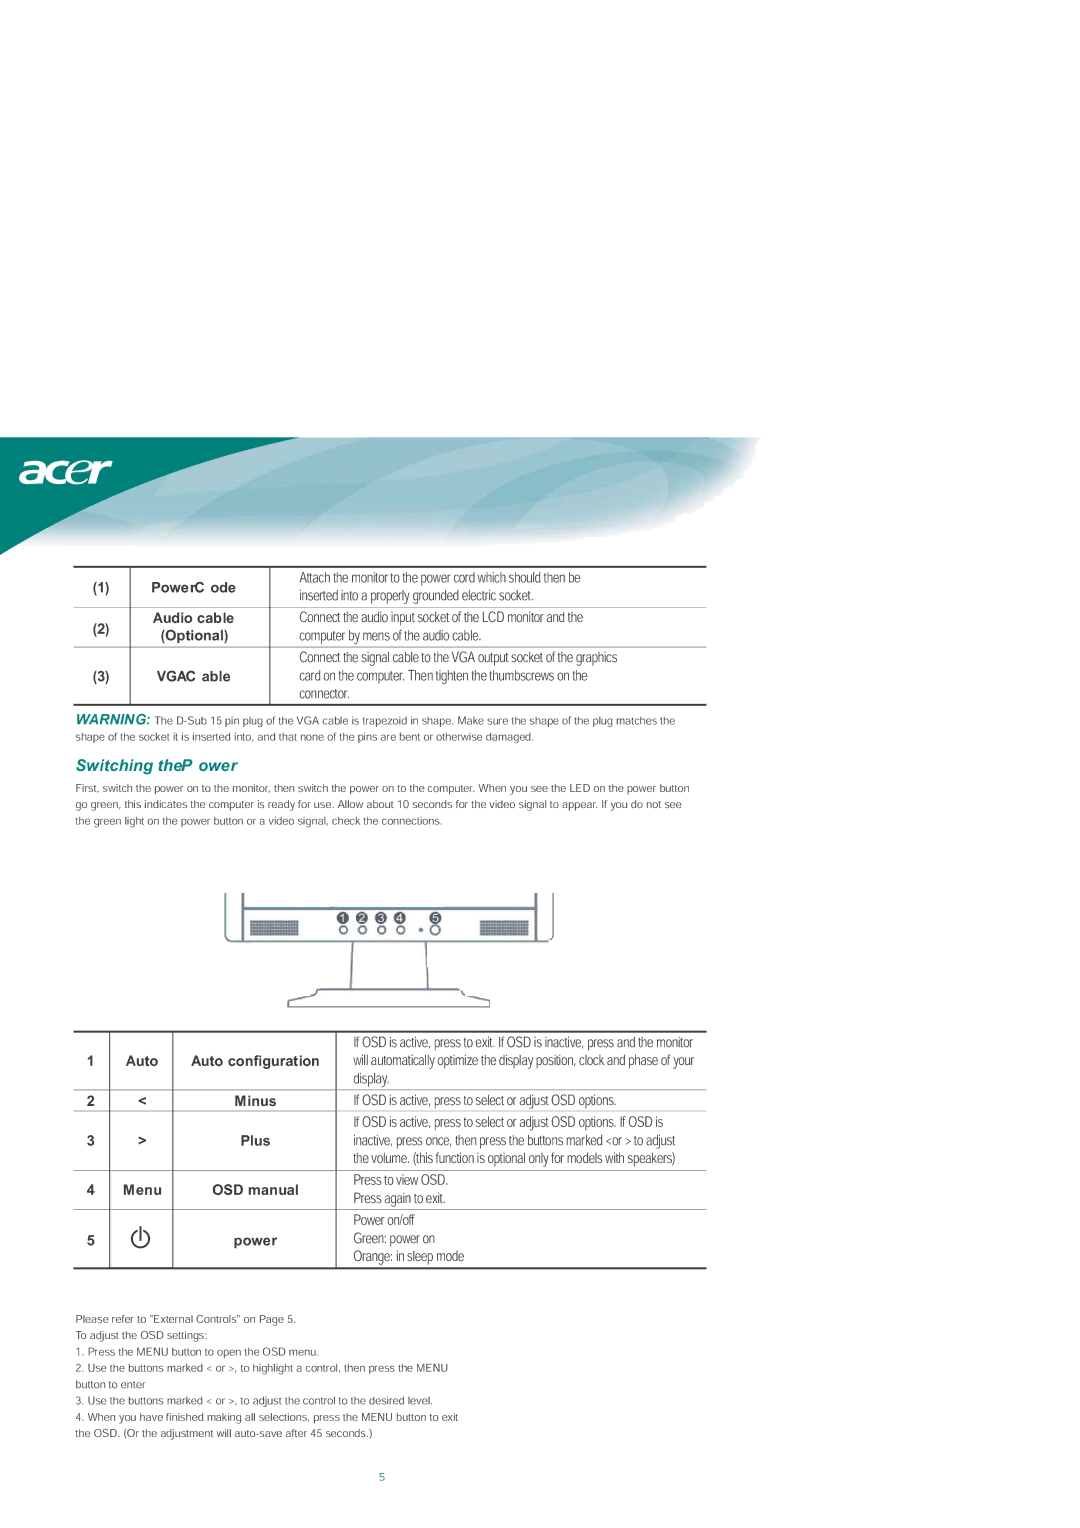
| If OSD is active, press to exit. If OSD is inactive, press and the monitor | |
1 | Auto | Auto configuration | will automatically optimize the display position, clock and phase of your | ||
|
|
|
| display. | |
|
|
|
|
| |
2 | < | Minus | If OSD is active, press to select or adjust OSD options. | ||
|
|
|
|
| |
|
|
|
| If OSD is active, press to select or adjust OSD options. If OSD is | |
3 | > | Plus | inactive, press once, then press the buttons marked <or > to adjust | ||
|
|
|
| the volume. (this function is optional only for models with speakers) | |
|
|
|
|
| |
4 | Menu | OSD manual | Press to view OSD. | ||
Press again to exit. | |||||
|
|
|
| ||
|
|
|
|
| |
|
|
|
| Power on/off | |
5 |
|
| power | Green: power on | |
|
| ||||
|
|
|
| Orange: in sleep mode | |
|
|
|
|
| |
Please refer to "External Controls" on Page 5.
To adjust the OSD settings:
1.Press the MENU button to open the OSD menu.
2.Use the buttons marked < or >, to highlight a control, then press the MENU button to enter
3.Use the buttons marked < or >, to adjust the control to the desired level.
4.When you have finished making all selections, press the MENU button to exit the OSD. (Or the adjustment will
5