
DGBRC7 specifications
Addonics Technologies DGBRC7 is a versatile and robust RAID controller designed to enhance data security and optimize storage performance for various computing environments. This advanced device stands out with its unique blend of features, innovative technologies, and reliable characteristics, making it a favorable choice for both enterprises and individual users who require efficient data management solutions.One of the standout features of the DGBRC7 is its support for multiple RAID levels, including RAID 0, 1, 5, 10, and JBOD. This flexibility allows users to configure their storage systems according to their specific needs, whether they prioritize performance, redundancy, or a balance of both. The controller’s RAID functionality is essential for ensuring data integrity while maximizing storage efficiency, providing peace of mind in critical applications.
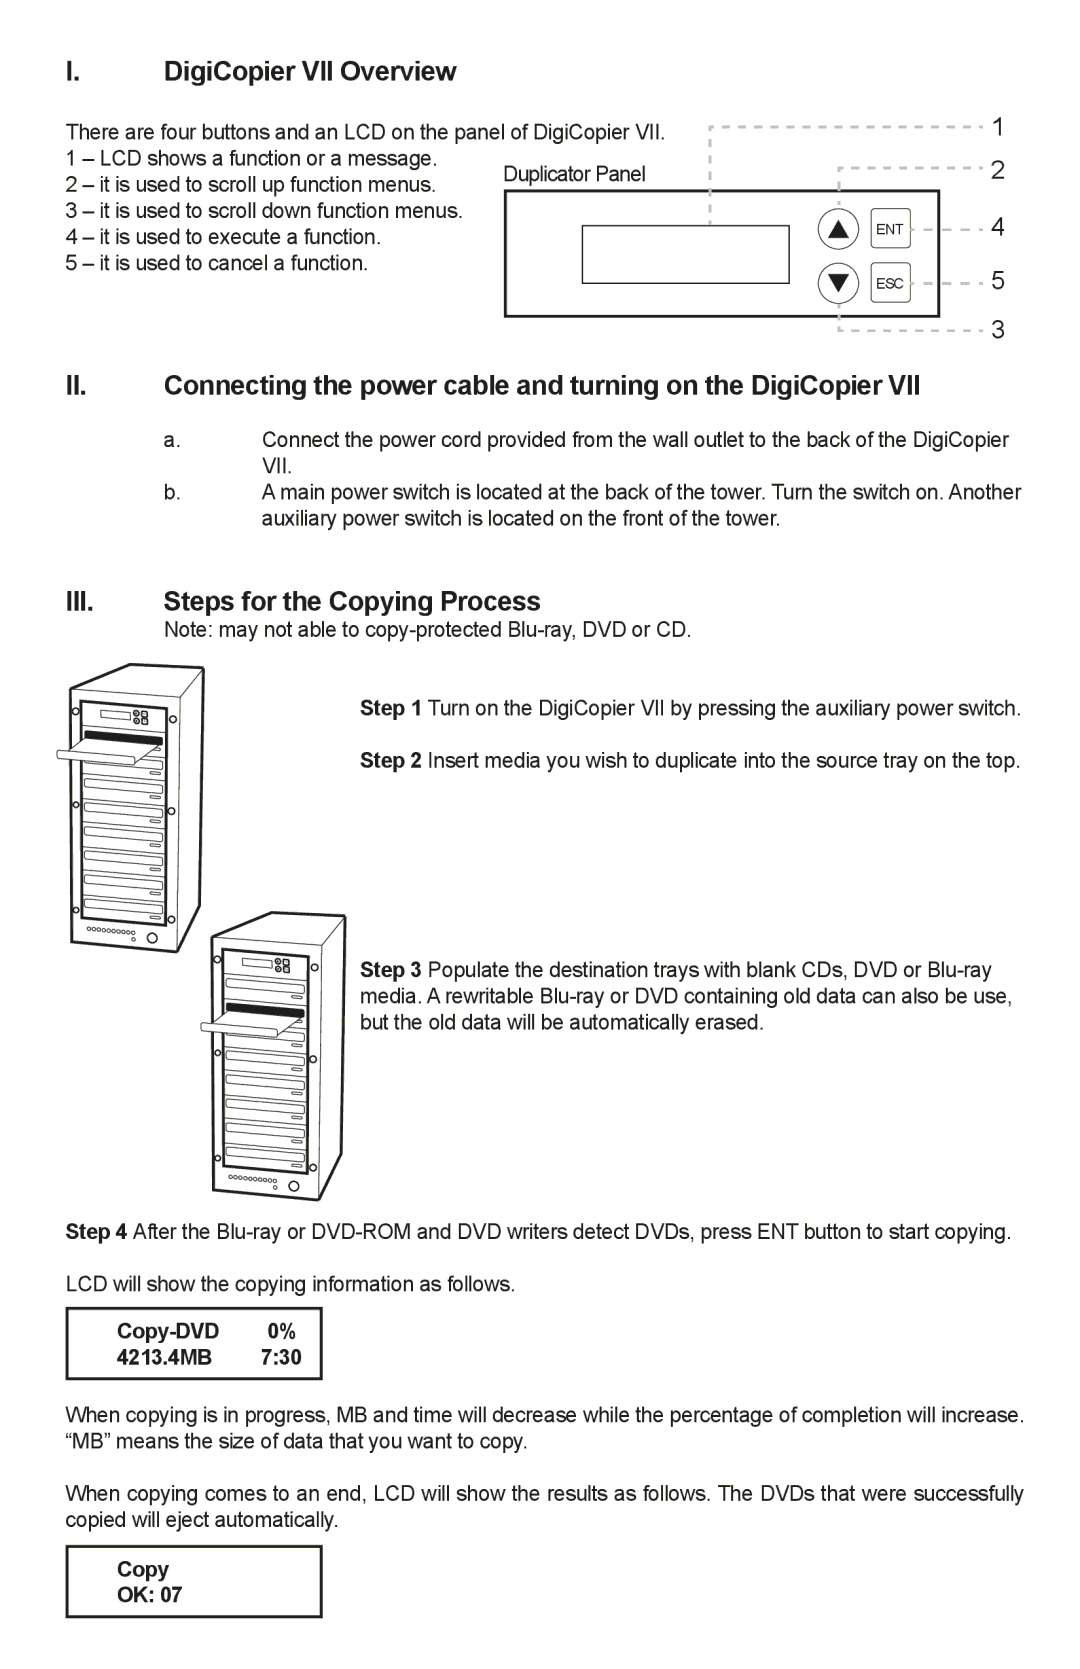
The DGBRC7 employs advanced SATA and SAS technology, capable of managing up to seven hard drives. This capability not only increases storage capacity but also enhances data transfer rates, making it ideal for environments where speed and reliability are paramount. The inclusion of SATA III interfaces further increases the potential for high-speed data transfer, ensuring that users can access their files quickly and efficiently.
Additionally, the controller is equipped with an intuitive configuration and management interface, which simplifies the setup process and ongoing administration. This user-friendly interface allows even those with limited technical skills to easily manage their RAID configurations and monitor system performance.
Another noteworthy characteristic of the DGBRC7 is its support for hot-swappable drives. This feature enables users to replace failed drives without needing to power down the system, thus minimizing downtime and improving overall productivity.
The DGBRC7 also supports major operating systems, including Windows and Linux, ensuring broad compatibility for various user setups. Furthermore, the device comes with a range of backup and recovery options, which are essential for protecting valuable data against loss.
In summary, Addonics Technologies DGBRC7 is an exemplary choice for those seeking a reliable and efficient RAID controller. Its combination of multiple RAID levels, support for advanced storage technologies, and user-friendly management features make it a powerful tool for both personal and professional data management needs. Whether for critical enterprise applications or home use, the DGBRC7 is engineered to deliver performance and peace of mind.