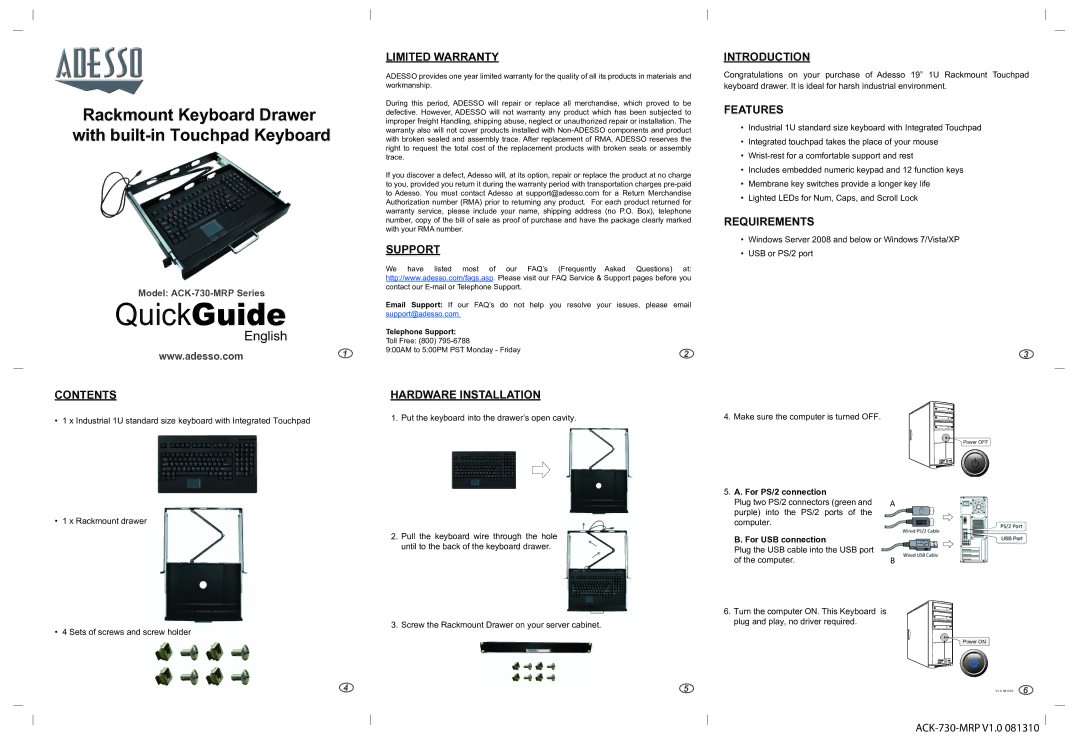
Rackmount Keyboard Drawer with
Model:
QuickGuide
English
www.adesso.com1
CONTENTS
LIMITED WARRANTY
ADESSO provides one year limited warranty for the quality of all its products in materials and workmanship.
During this period, ADESSO will repair or replace all merchandise, which proved to be defective. However, ADESSO will not warranty any product which has been subjected to improper freight Handling, shipping abuse, neglect or unauthorized repair or installation. The warranty also will not cover products installed with
If you discover a defect, Adesso will, at its option, repair or replace the product at no charge to you, provided you return it during the warranty period with transportation charges
SUPPORT
We have listed most of our FAQ’s (Frequently Asked Questions) at: http://www.adesso.com/faqs.asp. Please visit our FAQ Service & Support pages before you contact our
Email Support: If our FAQ’s do not help you resolve your issues, please email support@adesso.com
Telephone Support: |
|
Toll Free: (800) |
|
9:00AM to 5:00PM PST Monday - Friday | 2 |
|
HARDWARE INSTALLATION
INTRODUCTION
Congratulations on your purchase of Adesso 19” 1U Rackmount Touchpad keyboard drawer. It is ideal for harsh industrial environment.
FEATURES
•Industrial 1U standard size keyboard with Integrated Touchpad
•Integrated touchpad takes the place of your mouse
•
•Includes embedded numeric keypad and 12 function keys
•Membrane key switches provide a longer key life
•Lighted LEDs for Num, Caps, and Scroll Lock
REQUIREMENTS
•Windows Server 2008 and below or Windows 7/Vista/XP
•USB or PS/2 port
3
• 1 x Industrial 1U standard size keyboard with Integrated Touchpad
• 1 x Rackmount drawer
1. Put the keyboard into the drawer’s open cavity.
2. Pull the keyboard wire through the hole |
until to the back of the keyboard drawer. |
4.Make sure the computer is turned OFF.
5.A. For PS/2 connection
Plug two PS/2 connectors (green and purple) into the PS/2 ports of the computer.
B. For USB connection
Plug the USB cable into the USB port of the computer.
Power OFF
A
B
• 4 Sets of screws and screw holder
4
3. Screw the Rackmount Drawer on your server cabinet. |
5
6. Turn the computer ON. This Keyboard is plug and play, no driver required.
Power ON
V1.0 081310 | 6 |
