®
Quick Start Guide
For more detailed documentation, visit us online at www.adtran.com.
NetVanta ISDN BRI Dial Backup Interface Module (DIM) | P/N 1200865L1 |
|
|
SLOT 1 NET/D BU
DBU |
SPECIFICATIONS
LAN | CONSOLE |
|
INSTALLATION INSTRUCTIONS
1.Remove power from the base unit.
2.If the Network Interface Module (NIM) is already in the NetVanta chassis, remove all cables from the module and release the pins at both edges of the NIM faceplate and slide the module out of the chassis.
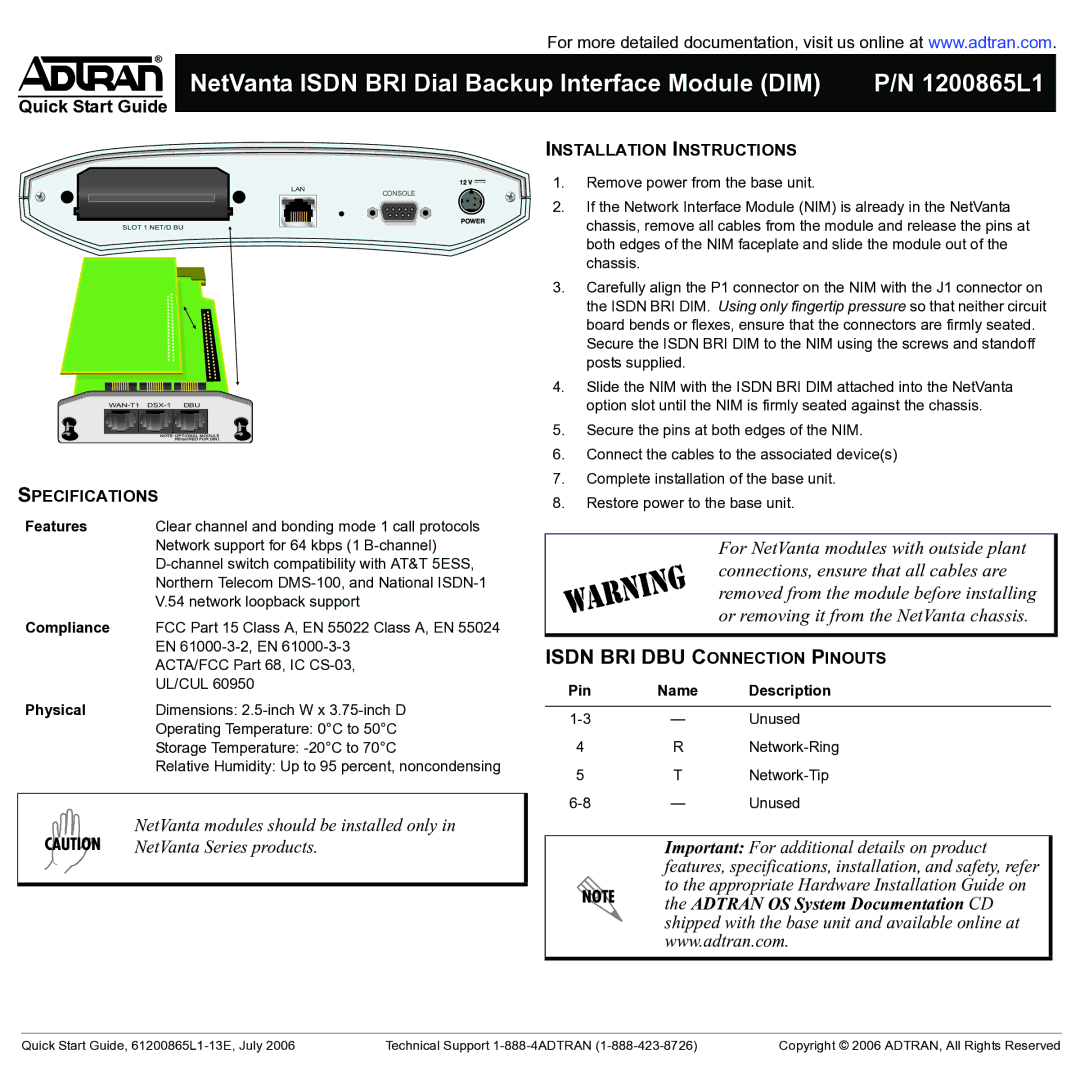
3.Carefully align the P1 connector on the NIM with the J1 connector on the ISDN BRI DIM. Using only fingertip pressure so that neither circuit board bends or flexes, ensure that the connectors are firmly seated.
Secure the ISDN BRI DIM to the NIM using the screws and standoff posts supplied.
4.Slide the NIM with the ISDN BRI DIM attached into the NetVanta option slot until the NIM is firmly seated against the chassis.
5.Secure the pins at both edges of the NIM.
6.Connect the cables to the associated device(s)
7.Complete installation of the base unit.
8.Restore power to the base unit.
Features | Clear channel and bonding mode 1 call protocols | |
|
| Network support for 64 kbps (1 |
|
| |
|
| Northern Telecom |
|
| V.54 network loopback support |
Compliance | FCC Part 15 Class A, EN 55022 Class A, EN 55024 | |
|
| EN |
|
| ACTA/FCC Part 68, IC |
|
| UL/CUL 60950 |
Physical | Dimensions: | |
|
| Operating Temperature: 0°C to 50°C |
|
| Storage Temperature: |
|
| Relative Humidity: Up to 95 percent, noncondensing |
|
|
|
|
| NetVanta modules should be installed only in |
|
| NetVanta Series products. |
|
| |
|
| |
|
|
|
For NetVanta modules with outside plant connections, ensure that all cables are removed from the module before installing or removing it from the NetVanta chassis.
ISDN BRI DBU CONNECTION PINOUTS
Pin | Name | Description |
|
|
|
— | Unused | |
4 | R | |
5 | T | |
— | Unused |
Important: For additional details on product features, specifications, installation, and safety, refer to the appropriate Hardware Installation Guide on the ADTRAN OS System Documentation CD shipped with the base unit and available online at www.adtran.com.
Quick Start Guide, | Technical Support | Copyright © 2006 ADTRAN, All Rights Reserved |
