Building into fitted kitchen units
510
680
70
480 600
![]() 50
50
560
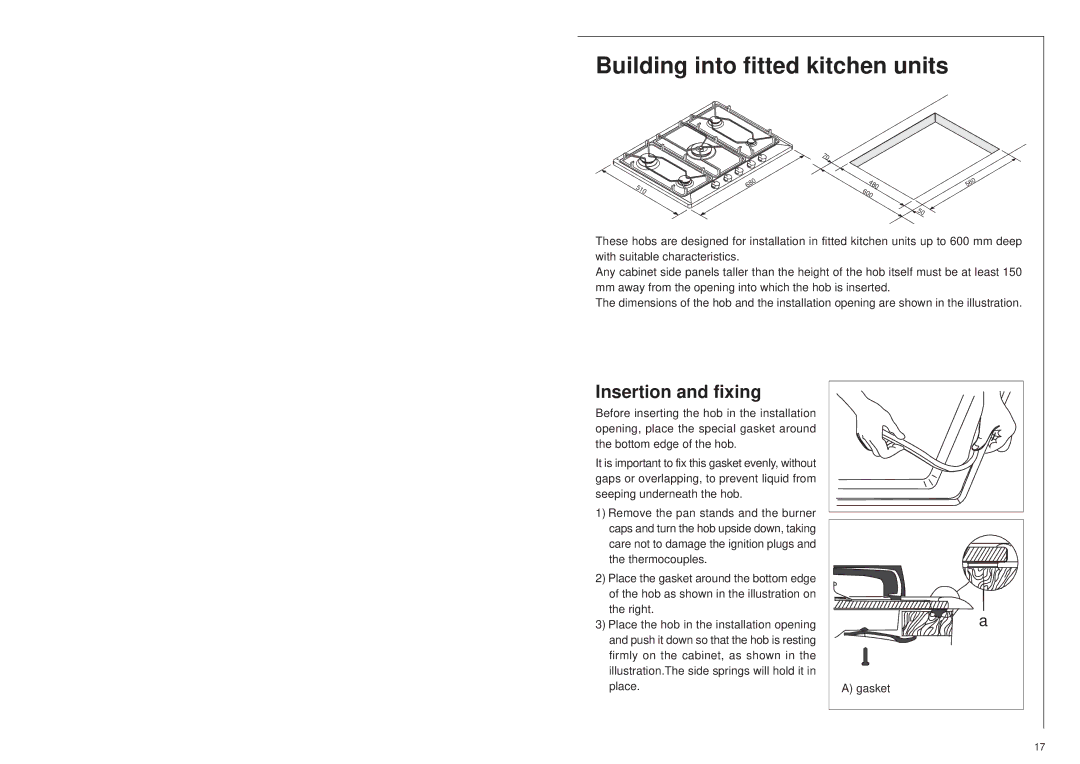
These hobs are designed for installation in fitted kitchen units up to 600 mm deep with suitable characteristics.
Any cabinet side panels taller than the height of the hob itself must be at least 150 mm away from the opening into which the hob is inserted.
The dimensions of the hob and the installation opening are shown in the illustration.
Insertion and fixing
Before inserting the hob in the installation opening, place the special gasket around the bottom edge of the hob.
It is important to fix this gasket evenly, without gaps or overlapping, to prevent liquid from seeping underneath the hob.
1)Remove the pan stands and the burner caps and turn the hob upside down, taking care not to damage the ignition plugs and the thermocouples.
2)Place the gasket around the bottom edge of the hob as shown in the illustration on the right.
3)Place the hob in the installation opening and push it down so that the hob is resting firmly on the cabinet, as shown in the illustration.The side springs will hold it in place.
a |
A) gasket |
17