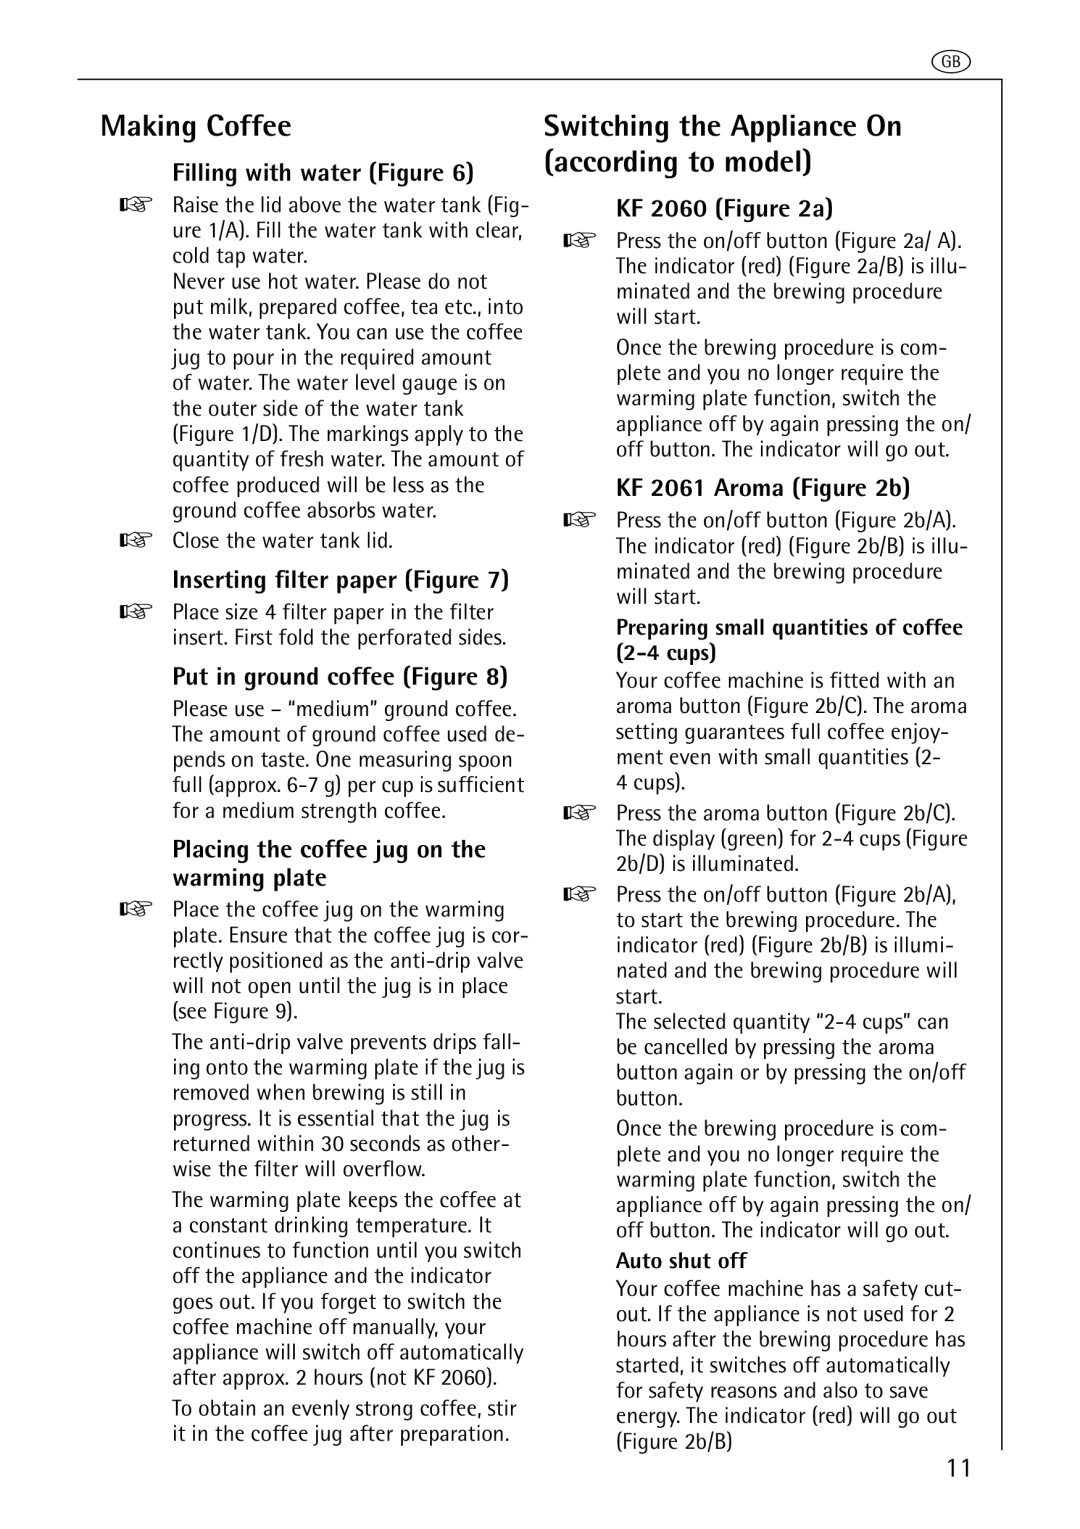
KF 2061 AROMA, KF 2060, KF 2062 TIMER specifications
The AEG KF 2060, KF 2061 AROMA, and KF 2062 TIMER are innovative coffee makers designed for coffee enthusiasts who seek convenience, flavor, and advanced brewing technology. Each model boasts unique features that cater to different preferences while maintaining a focus on high-quality coffee production.The AEG KF 2060 is an efficient coffee maker designed for straightforward use. With a sleek and compact design, it fits easily on any kitchen countertop. A standout feature is its anti-drip system, which prevents spills and mess during the brewing process. The KF 2060 also incorporates a 1.5-liter water tank that allows for the brewing of up to 12 cups of coffee, making it ideal for gatherings and larger families. The easy-to-read water level indicator ensures precise measurements for optimal brewing.
Next, the AEG KF 2061 AROMA variation enhances the flavor profile of the coffee with its Aroma Function, which optimizes brewing time and temperature to extract the best flavors from the coffee grounds. This model features a glass carafe that retains heat while presenting a classic aesthetic. The KF 2061 is equipped with a programmable timer, allowing users to wake up to freshly brewed coffee. This feature is particularly convenient for busy mornings, ensuring that coffee is ready when you are. Similar to the KF 2060, it is designed with an anti-drip system, further enhancing user experience.
The KF 2062 TIMER takes convenience to the next level with advanced programmable settings. This model includes a digital display that allows users to set the brewing time, while the programmable timer means coffee can be set to brew at a specific time, effortlessly fitting into busy schedules. Its keep-warm function maintains optimal coffee temperature for hours, ensuring that each cup remains as delicious as the first. The KF 2062 TIMER also prioritizes user safety with an automatic shut-off feature, providing peace of mind during use.
In terms of technology, all three models incorporate a powerful heating element that ensures quick boiling and efficient brewing, delivering a rich and aromatic cup of coffee every time. The permanent coffee filter included with these models not only saves on paper filters but also enhances the flavor and aroma extraction during the brewing process.
Overall, the AEG KF 2060, KF 2061 AROMA, and KF 2062 TIMER cater to a range of coffee preferences and lifestyles, each providing a unique blend of features and advanced technologies. From traditional brewing to aroma optimization and programmable convenience, these coffee makers ensure a satisfying daily coffee experience.