OPERATING INSTRUCTIONS
MODEL 3LY41/8540
OSCILLATING CERAMIC HEATER with REMOTE CONTROL
MODEL 3LY41/8540
READ AND SAVE THESE INSTRUCTIONS
READ CAREFULLY BEFORE ATTEMPTING TO ASSEMBLE, INSTALL, OPERATE OR MAINTAIN THE PRODUCT DESCRIBED.
PROTECT YOURSELF AND OTHERS BY OBSERVING ALL SAFETY INFORMATION. FAILURE TO COMPLY WITH
INSTRUCTIONS COULD RESULT IN PERSONAL INJURY AND/OR PROPERTY DAMAGE!
RETAIN INSTRUCTIONS FOR FUTURE REFERENCE.
OPERATION
Control Panel: (Figure 1)
1. When the heater is plugged in there will be a “beep” | |
| to indicate that there is power to the unit. |
2. | ON/FUNCTION button. When this button is pushed, |
| HIGH indicator light comes on and heater is in the |
| high heat mode. (1500 watts) |
3. | Press the ON/FUNCTION button again the HIGH |
| indicator light goes off and the LOW indicator light |
| comes on and the heater is now in the low heat |
+
+
Figure 2
DESCRIPTION
The AirKing Oscillating Ceramic Heater features 2 heat settings and a fan only setting.The heater oscillates 120° and comes with a remote control for convenience. This unit also features a built in timer to allow up to 7.5 hours of operation before automatic shut- down and comes with a 6ft. (1.82m) 16/3 grounded cordset.
SPECIFICATIONS
Motor | 120 V/60 Hz |
|
| ||||
Control | Manual/Remote |
|
| ||||
Settings | High and Low Heat; Fan only | ||||||
Air Flow Distribution | ..... 120˚ |
|
|
|
| ||
Approvals | UL/CUL listed. Close mesh | ||||||
|
|
| blower guard meets OSHA requirements. | ||||
|
|
|
|
|
|
|
|
| MODEL |
| 3LY41/8540 |
|
| ||
| SETTINGS | HIGH | LOW |
| FAN |
| |
| BTU |
| 5118 | 3070 |
| Ø |
|
| Amps |
| 12.5 | 7.0 |
| 0.288 |
|
| Watts |
| 1500 | 900 |
| 33.4 |
|
| dB A |
| 47 | <40 |
| 47 |
|
GENERAL SAFETY INFORMATION
1.Use this Heater only as described in this manual. Any other use not recommended by the manufacturer may cause fire, electrical shock, or injury to persons.
2.This Heater is intended for GENERAL USE ONLY.
3.Make certain that the power source conforms to the elec- trical requirements of the Heater.
4.Extreme caution is necessary when any Heater is used by or near children or invalids and whenever the Heater is left operating unattended.
5.The power cord is equipped with a
WARNING: USE OF A
6.Where possible, avoid the use of extension cords because the extension cord may overheat and cause a risk of fire. If they must be used, minimize the risk of overheating by en- suring that they are CUL/UL listed, a minimum No. 14 AWG, rated not less than 1875 watts and of proper length. Never use a single extension cord to operate more than one Heater.
7.Do not operate any Heater with a damaged cord or plug or after the Heater malfunctions, has been dropped or damaged in any manner. Return Heater to authorized service facility for examination, electrical or mechanical adjustment or repair.
8.Unplug power cord before servicing or moving the Heater. Always unplug Heater when not in use.
WARNING: DO NOT DEPEND ON THE ON/OFF SWITCH AS THE SOLE MEANS OF DISCONNECTING POWER WHEN SERVICING OR MOVING THE HEATER. ALWAYS UNPLUG THE POWER CORD.
9.Do not insert or allow fingers or foreign objects to enter any ventilation or exhaust opening as it may cause an electric shock or fire, or damage the Heater. Do not block or tamper with the Heater in any manner while it is in operation.
10.To prevent a possible fire, do not block air intakes or ex- haust in any manner. Do not place on soft surfaces, like a bed, where openings may become blocked.
11.Always place the Heater on a stable, flat, level surface when op- erating, to avoid the chance of the Heater overturning. Locate the Power Cord so the Heater or other objects are not resting on it. Do not run Power Cord under carpeting. Do not cover Power Cord with throw rugs, runners, or the like. Arrange Power Cord away from room traffic and where it will not be tripped over.
12.This Heater is hot when in use. To avoid burns, do not let bare skin touch hot surfaces. Always use handle when moving this Heater. Keep combustible materials, such as furniture, pillows, bedding, papers, clothes and curtains at least 3 feet (0.9 m) from the front of the Heater and keep them at least 1 foot (0.3 m) from the sides and rear.
13.A Heater has hot and arcing or sparking parts inside. It must NOT be used in potentially dangerous locations such as flammable, explosive,
14.This Heater is not intended for use in wet or damp locations. Never locate a Heater where it may fall into a bathtub or other water container.
15.Do not use Heater outdoors.
WARNING: REDUCE THE RISK OF FIRE OF ELECTRIC SHOCK – DO NOT USE THIS HEATER WITH ANY SOLID STATE SPEED CONTROL DEVICES.
| mode. (900 watts) |
4. | Press the ON/FUNCTION button again and the LOW |
| indicator light goes off and the FAN indicator light |
| comes on and the heater is in fan only mode. |
5. | OFF button – Press this button will shut the |
| heater off. |
6. | “TIMER” button. Press it once and the light comes |
| on indicating 1/2 hour of time. Press it again and the |
| light indicates 1 hour. Press it a third time and it indi- |
| cates 1.5 hours. The total time that can be indicated |
| at one time is 7.5 hours. Continuing to press the timer |
| button will cycle through the settings until all timer |
| lights are off. When the time indicator lights are off, |
| the heater will run continuously. |
7. | The “SWING” button. Press this button and the swing |
| light comes on and the heater will oscillate back and |
| fourth a full 120 degrees. Press it again and the light |
| will go out and the oscillation will stop. |
8. | The heater must be placed flat on the floor or the tip- |
| over switch will shut it off automatically. |
9. | To disconnect Heater, press “ON/OFF” button, then |
| remove plug from outlet |
CONTROLS
1 | 2 4 | L H |
|
| Fan |
| |
0.5 |
|
| |
| TIMER | ON | SWING |
| FUNCTION |
OFF
Figure 1
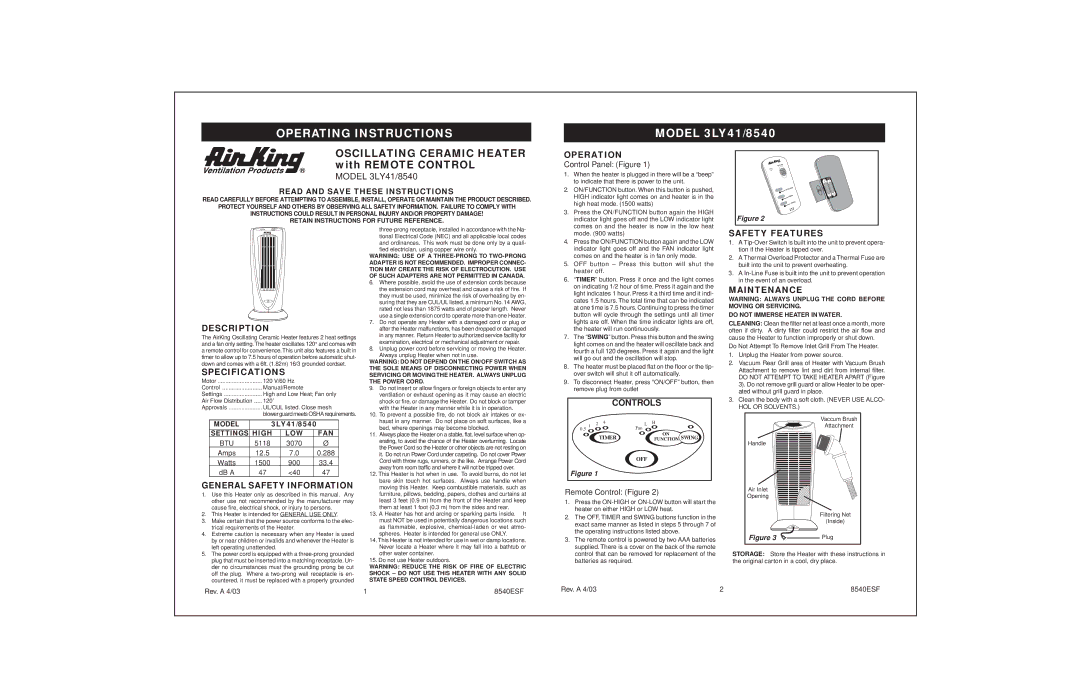
Remote Control: (Figure 2)
1.Press the
2.The OFF, TIMER and SWING buttons function in the exact same manner as listed in steps 5 through 7 of the operating instructions listed above.
3.The remote control is powered by two AAA batteries supplied. There is a cover on the back of the remote control that can be removed for replacement of the batteries as required.
SAFETY FEATURES
1.A
2.A Thermal Overload Protector and a Thermal Fuse are built into the unit to prevent overheating.
3.A
MAINTENANCE
WARNING: ALWAYS UNPLUG THE CORD BEFORE MOVING OR SERVICING.
DO NOT IMMERSE HEATER IN WATER.
CLEANING: Clean the filter net at least once a month, more often if dirty. A dirty filter could restrict the air flow and cause the Heater to function improperly or shut down.
Do Not Attempt To Remove Inlet Grill From The Heater.
1.Unplug the Heater from power source.
2.Vacuum Rear Grill area of Heater with Vacuum Brush Attachment to remove lint and dirt from internal filter. DO NOT ATTEMPT TO TAKE HEATER APART (Figure 3). Do not remove grill guard or allow Heater to be oper- ated without grill guard in place.
3.Clean the body with a soft cloth. (NEVER USE ALCO-
HOL OR SOLVENTS.)
| Vaccum Brush |
| Attachment |
Handle |
|
Air Inlet |
|
Opening |
|
| Filtering Net |
| (Inside) |
Figure 3 | Plug |
STORAGE: Store the Heater with these instructions in the original carton in a cool, dry place.
Rev. A 4/03 | 1 | 8540ESF |
Rev. A 4/03 | 2 | 8540ESF |