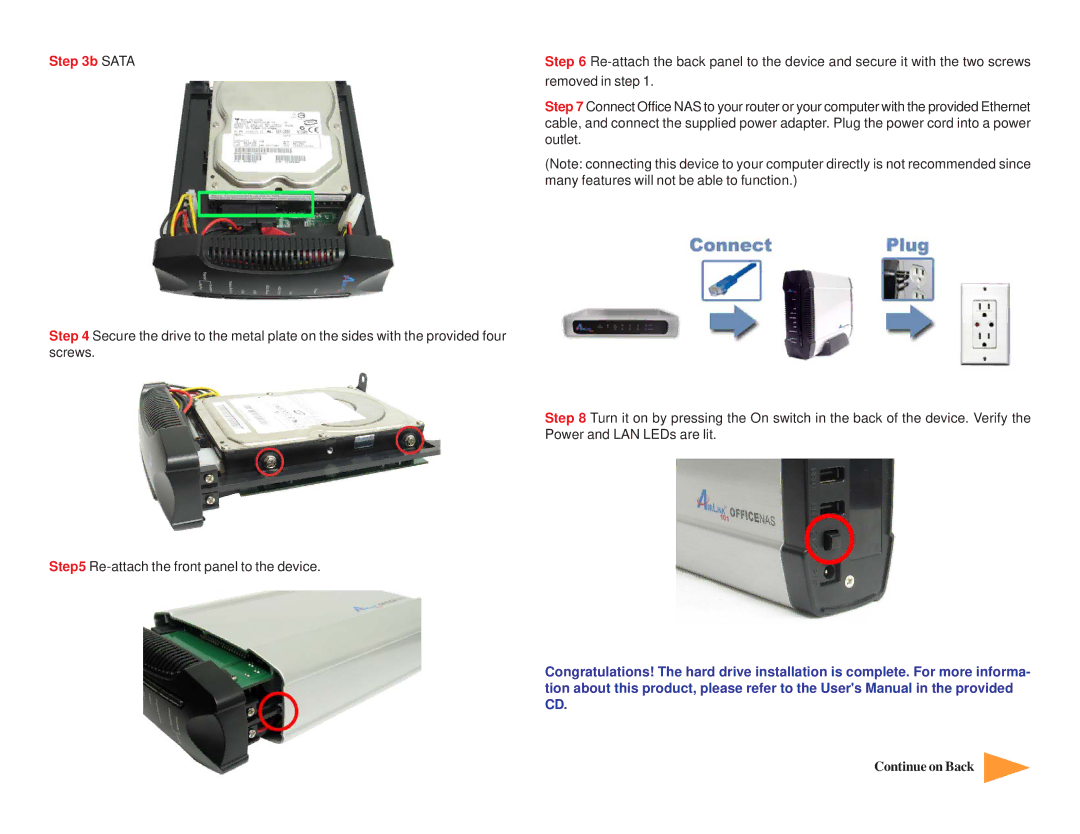
Step 3b SATA
Step 4 Secure the drive to the metal plate on the sides with the provided four screws.
Step5
Step 6
Step 7 Connect Office NAS to your router or your computer with the provided Ethernet cable, and connect the supplied power adapter. Plug the power cord into a power outlet.
(Note: connecting this device to your computer directly is not recommended since many features will not be able to function.)
Step 8 Turn it on by pressing the On switch in the back of the device. Verify the Power and LAN LEDs are lit.
Congratulations! The hard drive installation is complete. For more informa- tion about this product, please refer to the User's Manual in the provided CD.
Continue on Back
